
Today I have a bit of a different card to show you. It is my version of “Instagram”. I know that there are many out there who do & follow social media, especially “Instagram”. I can honestly say I am not one of them. I don’t even go onto Facebook that much except to post my cards which usually takes me all of about 15m. Much prefer to be outside in the garden or down at the beach. There are probably heaps of these types of cards already out there (to be honest, I haven’t looked), but a door suddenly opened the other day when my niece mentioned Instagram.
Now that I’ve created this one, there are so many ideas going through my head. For my card I have tried to stay as close to  the icon as possible, with the exception of a couple of small changes.
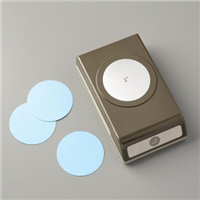
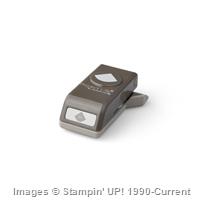
I adhered pieces of Basic Black, Real Red, Daffodil Delight, Pool Party & Tempting Turquoise onto a piece of Soft Suede & rounded the corners at the top with the Project Life Corner Punch.
This was then adhered to a piece of Sahara Sand Card which the corners had also been rounded prior to adhering the Soft Suede piece.
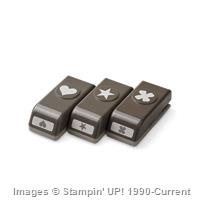
I cut a piece of Basic Black into a 1 1/4″ square & adhered it to the top. A piece of Basic Black was punched using the 1″ Circle Punch, a Flower punched in Real Red using the Itty Bitty Accents Punch Pack & adhered to the centre of the Black Circle prior to adhering to the top of the Black Square with Stampin’ Dimensionals.
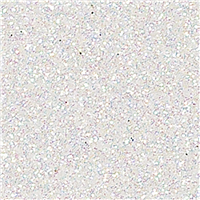
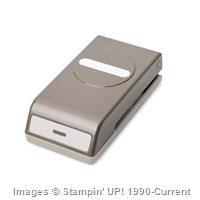
For the centre piece, I punched a piece of Sahara Sand Card with the 2″ Circle Punch & sponged around the edge with Sahara Sand Ink & a Dauber. I repeated this sponging all around the edge of the card.
I adhered a Basic Black Circle to the centre. This was punched using the 1 3/4″ Circle Punch. I then decided that it needed more in the middle, so I punched 2 more circles in Basic Black – 1 x 1 1/4″ & 1 x 1 3/8″ Circle Punches. These were both adhered on top of each other prior to adhering to the centre with Stampin’ Dimensionals.
As my Basic Black Card Base looked a little dull, I cut a piece of Modern Medley DSP & adhered it to the front prior to adhering the “camera” to the front.
My “16” was cut using Dies (before SU!) in the Dazzling Diamonds Glimmer Paper & adhered to the top circle. The little circle from the “6” was adhered to the centre of the Real Red flower.
I decided to stamp “Happy Birthday” onto Whisper White Card in Real Red Ink, punch with the Word Window Punch & adhered to Card Front.
I hope you like my version of the “Instagram” Card.
Until next time, Happy Stampin’
Vicky
 Products used –

Built for Free Using: My Stampin Blog