Happy April’s Fool!!!!!
Yep, today is April 1 & marks April Fools Day!!! So look lout for all those pransters that you have around you or know!!!!
Today also brings the start of our weekly challenge over at Sunny Challenges & Creations & was created by Kris. Very easy this week, so we would love to see heaps of creations posted…..
Measurements –
Base Card – Whisper White – 8 1/4″ x 4 1/8″ or 21cm x 15cm – Scored in the middle & folded in half
Layer 1 – Basic Black – 5 1/2″ x 3 7/8″ or 14cm x 10cm
Layer 2 – Whisper White – 5 5/8″ x 3 3/4″ or 13.5cm x 9.5cm
Layer 3 – Basic Black – 5 1/4″ x 2″ or 13cm x 5cm
Layer 4 – Pear Pizzazz – 3″ x 3/4″ or 8cm x 2.5cm
Layer 5 – Pear Pizzazz – 2 1/2″ x 2 1/2″ or 6.5cm x 6.5cm
Layer 6 – Whisper White – 2 3/8″ x 2 3/8″ or 6cm x 6cm
I did start out to use Night of Navy & Pear Pizzaz. By the time I come to the ribbon, I realised what I had done, but by then it was too late, so I continued with it. I quiet like like the colours together. Do you ever do that? I seem to do it all the time! I did want to use more of the Pear Pizzazz Cardstock, but suddenly realised that I only had 2 small bits left to complete my card!
 |
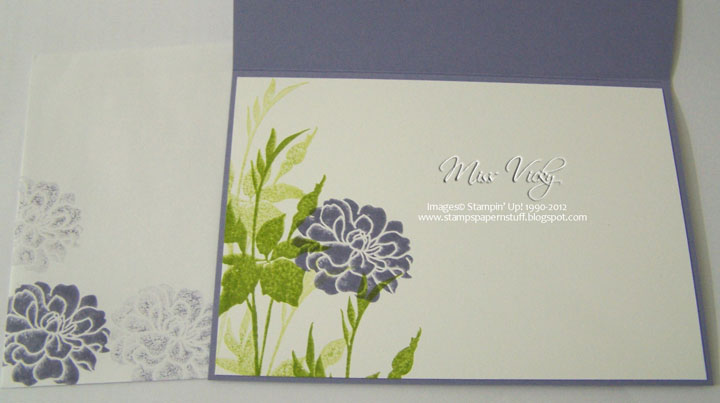
| Envelope & Inside Card… |
I run the small piece of Basic Black through the Bigshot using Embossing Folder – Vintage Wallpaper. I repeated the same for the smaller piece of Whisper White using Embossing Folder – Perfect Polka Dots. The embossed Basic Black was adhered to the embossed Whisper White with Tombow Glue, then to the larger piece of Basic Black before adhering to the Base Card – Whisper White.
I punched along one edge of the small piece of Pear Pizzazz using the Scallop Trim Border Punch, adhered a piece of Ribbon along the middle, tucked ends under, tied a bow & adhered to the card with Tombow Glue.
 |
| Close Up of Flower Image… |
I inked my image with Pear Pizzazz Ink & for a little bit of a different look, I randomly applied my Basic Black SU! Marker to the inked image before stamping onto a scrap piece of Whisper White Cardstock. I again stamped the image in Pear Pizzazz Ink, stamped onto the square piece of Whisper White, adhered to the square piece of Pear Pizzaz & finally to the Base Card using Tombow Glue.
I cut around the 2-coloured stamped image & adhered to the top of the stamped image using Stampin’ Dimensionals. I applied small Basic Pearls to the centres of the flowers. I think I missed a couple, but me being me, had to fix immediately as it was annoying me!!!!!!!
Again, no sentiment. This would be the perfect card for Mother’s Day.
I really love how the flower come out & will be doing more this way. It gives such a lovely effect to your image.
Supplies –
Stamp Set – Because I Care
Ink – Pear Pizzazz
Cardstock – Whisper White, Pear Pizzazz
Punches – Scallop Trim Border
Embossing Folder – Perfect Polka Dots, Vintage Wallpaper
Ribbon – 1/8″ Taffeta – Basic Black
Accessories – SU! Marker – Basic Black, Pearls, Stampin’ Dimensionals, Tombow Glue
Don’t forget to hop on over to see what the other girls have created, as well as our weekly guest designers. We have a new guest designer for the month of Aptil too!
Until next time, Happy Stampin’


 Please feel free to contact me if you have any questions.
 July Events & Specials – Click on the links to Register