Thinking of You…

…at Christmas
Getting very close to Christmas & knowing that it will be here before we know it, I thought I would attempt to create some of my cards.  The stamp set I’ve used for this card is one of the new ones & is so perfect for this time of the year!
Card –
Base Card – Early Expresso – 8 1/4″ x 4 1/4″ or 20.9cm x 10.5cm – once scored & folded in half longways
Layer 1 – Old Olive – 4″ x 3 7/8″ or 10cm x 9.5cm
Layer 2 – DSP – 3 7/8″ x 3 3/4″ or 9.5cm x 9cm
Layer 3 – Old Olive – 2 5/8″ x 2 1/8″ or 6.5cm x 5cm
Layer 4 – Whisper White – 2 1/2″ x 2″ or 6cm x 4.5cm
Inside –
Whisper White – 5 5/8″ x 4″ or 14cm x 10cm
Layer 1 – DSP – 1 1/2″ x 4″ or 3.5cm x 10cm
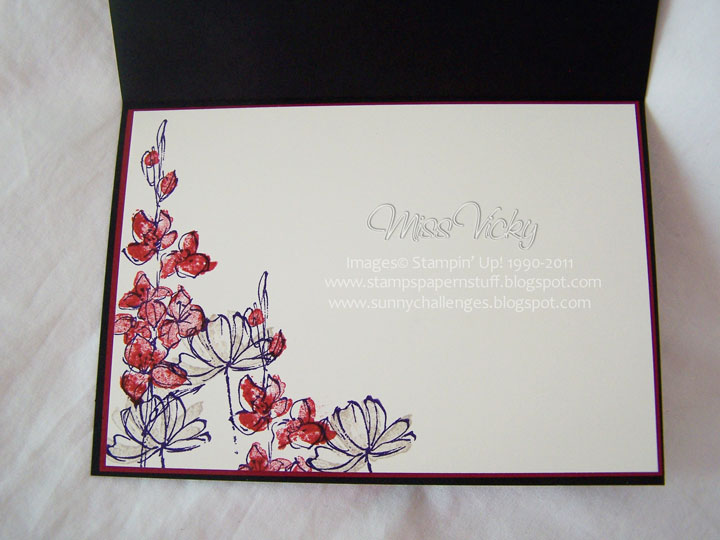
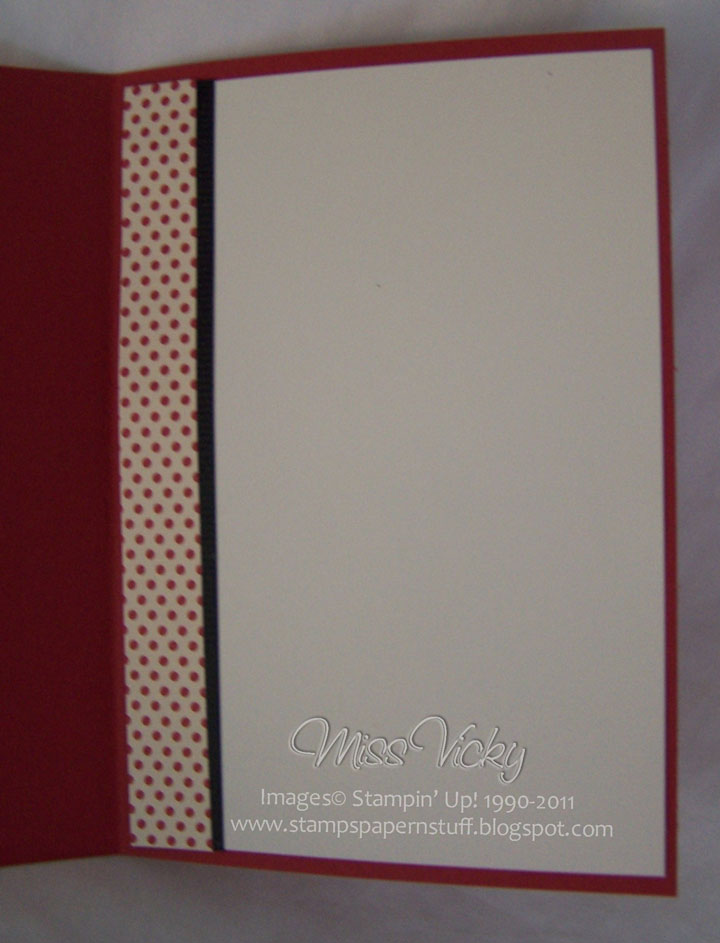
I stamped a partial image onto the piece of Whisper White Cardstock using Old Olive Ink, punched along one side of the DSP using my Scallop Border Punch & adhered to the piece of Whisper White.  This piece will be adhered to the inside of the card once it has been completed.
After my Base Card had been scored down the middle & folded in half longways, I punched along the bottom part of the card using my Scallop Edge Punch.  I then applied white dots to it using my Gel Pen.  This was then set aside to dry.
With Snail Adhesive, I adhered the DSP piece to the piece of Old Olive Cardstock, attached a piece of Old Olive Grosgrain Ribbon towards the top & tied a knot on the RHS.  This whole piece was then adhered to the Base Card – Early Expresso.
I inked the image in Early Expresso Ink, stamped direct onto the small piece of Whisper White Cardstock, adhered to the piece of Old Olive Cardstock with Stick Strip & using SU Dimensionals adhered to the card as per the photo.  I chose not to colour the image.
I stamped the sentiment onto a piece of Whisper White Cardstock using Early Expresso Ink, punched it out using the Scallop Oval Punch & applied to a piece of Old Olive Cardstock which had been punched with the same punch & cut down the middle.  This was adhered to the bottom of the card using SU Dimensionals.
The card may look a little complicated to make, but all in all, a very easy, fast card for Christmas!
Supplies –
Stamp Set – Beautiful Season
Ink – Early Expresso, Old Olive
Cardstock – Whisper White, Old Olive, Early Expresso
DSP  – Love Letters
Punches – Scallop Oval
Ribbon – 5/8″ Grosgrain – Old Olive
Accessories – SU Dimensionals, Snail Adhesive, Sticky Strip, Gel Pen
Until next time, Enjoy!

SSC 217…

I am in the middle of doing Wedding Reception Stationery so shouldn’t really be doing any cards, let along attempt sketches, but while the paint is drying, the mouse will play.  Anyhow, I have to make the bride & groom a “Congratulations” Card, so this is a good excuse!
This card has been created for the challenge over at Stamping 411 I finally inked a stamp set which has been sitting on my shelf for a little time now.  After seeing it in ink, I now have a million ideas to use it, but alas as it is a Hotess Set, so will be retiring at the end of the month.
This week Stamping 411 not only have 2 sketches but they have a “Contest” so to speak.  The winner will receive a FREE Level 3 Hostess Set from the previous Idea Book & Catalogue – “Playful Pieces“. 
If I get the time, I will attempt to have a go at the other sketch too, as a few ideas popped into my head while making the card for #2 sketch
As always, measurements have been supplied for us –
Base: 11 x 4 1/4″, scored and folded in half at 5 1/2″ – Basic Black
Layer 2: 5 x 3 3/4″  – Riding Hood Red
Layer 3: 4 7/8″ x 3 5/8″  – DSP
Layer 4: 3 1/8″ x 4 1/8″ – Basic Black
Layer 5: 3×4″ – Very Vanilla
Layer 6: Ribbon or cardstock
Layer 7: ANY shape punch
I stamped my images direct onto Very Vanilla Cardstock using Basic Black Ink.  Thinking I would try something a little different & not do the 2-step stamping technique onto the image, I coloured the images using my Aqua Painter, Riding Hood Red & Crumb Cake Inks.  I think it come out ok.  I very roughly coloured the images, as I think the stamp set calls for that, not to keep your colouring within the lines, so to speak!
I put the card through the Bigshot using Embossing Folder – Perfect Polka Dots, layered it to Basic Black, then to DSP & then to Riding Hood Red Cardstock.  A piece of Ribbon was adhered across the bottom about 1/4 way up & a bow tied.
I stamped my sentiment using Basic Black Ink onto Very Vanilla, punched using Oval Punch & run it through the Bigshot, again using the same Embossing Folder.  The piece was then adhered to a piece of Crumb Cake Cardstock which had been punched using the Scallop Oval Punch.  I adhered to the card using SU Dimensionals.
The whole piece was then adhered to the Base Card – Basic Black.
For my inside, I did the 2-Step Stamping Technique using Basic Black, Riding Hood Red & Crumb Cake Inks onto Very Vanilla, adhered to layer of Riding Hood Red Cardstock & then to the Base Card.
What looks like a hard sketch, is really a great one to do!
Supplies –
Stamp Set – Fast & Fabulous, Oval All
Inks – Basic Black, Riding Hood Red, Crumb Cake
Cardstock – Very Vanilla, Crumb Cake, Riding Hood Red, Blasic Black
DSP – Love Letter
Embossing Folder – Perfect Polka Dots
Punches – Oval, Scallop Oval
Ribbon – 1/8″ Taffeta – Basic Black
Accessories – SU Dimensionals, Bigshot, Snail Adhesive, Aqua Painter
Until next time, Enjoy!

TSSC 186…

Just as I was cleaning up my desk, which is usually a mess after my craft session, I suddenly had an urge to do another card using Black, Red & White.  Why?  Who knows, but create I did.  So to make it a little easier, I went in search of a sketch & as usual Mary-Jo to the rescue.  She always has great sketches!
Mine started off to be a male card, but after looking at the end result, it could either be male or female.  My apologies to Mary-Jo as I didn’t strictly keep to the sketch.
Base Card – Riding Hood Red – 5 7/8″ x 4 1/4″ or 15cm x 10.5cm
Layer 1 – Basic Black – 5 3/4″ x 4″ or 14.5cm x 10cm
Layer 2 – Very Vanilla – 5 5/8″ x 3 7/8″ or 14cm x 9.5cm
Layer 3 – DSP – 1 1/2″ x 3 7/8″ or 4cm x 9.5cm
?
Card Inside…

? I stamped 3 identical images onto Very Vanilla Cardstock using Basic Black Ink.  I punched 3 circles in Riding Hood Red & layered them over the top of the stamped images.  I adhered the DSP to the bottom of the Very Vanilla & run the whole lot through the Bigshot using Square Lattice Embossing Folder.  This was adhered to Basic Black Cardstock & then to the Base Card – Riding Hood Red.

I stamped 3 smaller identical images onto Very Vanilla Cardstock again in Basic Black, punched them out & adhered on top of the Riding Hood Red circles.

The greeting was inked using Basic Black Ink onto Very Vanilla Cardstock & punched with the Large Oval Punch.  I punched another large oval in Basic Black Cardstock, cut in half & adhered to the back of the Very Vanilla with just a small edge showing top & bottom.  This was adhered over the top of the DSP using SU Dimensionals.

Supplies –
Stamp Set – Circle Circus, Well Scripted
Ink – Basic Black
Cardstock – Very Vanilla, Riding Hood Red, Basic Black
DSP – Love Letter
Punches – 3/4″ Circle, 1″ Circle, Extra Large Oval
Embossing Folder – Square Lattice
Accessories – Snail Adhesive, Bigshot, SU Dimensionals
Until next time, Enjoy!

SC 001/11…

I thought I would do another card for our current sketch & stamp set.  It is not too late to create a card from the sketch using “Inspired by Nature” Stamp Set.  Check out the details – http://www.sunnychallenges.blogspot.com/
For my card, I thought I would use some of the outgoing DSP, emboss a little here & there, put it altogether & that would be it.  Yes, I used the DSP, but after putting it together, looked at it & found out I totally forgot to do the embossing.  Oh well, all the embossing stuff will have to wait another day.
I cut a piece of DSP, adhered to Very Vanilla Cardstock & adhered to the base card – Riding Hood Red.  I stamped the image directly onto DSP using Basic Black Ink, adhered to Riding Hood Red & then to base card.
For my butterflies, I used the Bigshot & Embosslits Die – Beautiful Wings, along with DSP & Riding Hood Red.  The butterflies were adhered randomly over the card with Basic Pearls adhered down the middle of them.
Again, a very easy card, although I can’t help think it would have been much better if I had not forgotten to Heat Embossed.
Supplies –
Stamp Set – Inspired by Nature
Ink – Basic Black
Cardstock – Very Vanilla, Riding Hood Red, Basic Black
Embosslit Dies – Beautiful Wings
DSP – Love Letter
Accessories – Snail Glue, Basic Pearls, Bigshot
Why not head across to the challenge site & take a look at the lovely creations.  There is still time to submit your creation
Until next time, Enjoy!

Iris Folding…

I “googled” Iris Folding to find this card by Jennifer Thomas.  It looked too easy to be possible, but decided to give it a go.  Surprise, Surprise!  It was a great little fold.

Base Card – Very Vanilla – 5 7/8 x 4 1/8″ or 15cm x 10.5cm
Layer 1 – Cherry Cobbler – 5 3/4″ x 4″ or 14.5cm x 10cm

Using a pencil & ruler, I measured the middle of the Cherry Cobbler Card & placed the pattern square in the middle.  I then used my Square Punch to punch the centre.  Once completed, the Iris Pattern was placed in the middle with a small piece of sticky tape.

I cut 2 long strips of DSP, folded in half lengthways, opened & adhered together.  I repeated this step for the 2nd piece of DSP.

I then followed the pattern with my DSP pieces, cutting & sticking the ends down as I went along.  The end result is a lovely little centre piece for stamping an image.

I punched Very Vanilla Cardstock using the Square Punch.  I stamped a couple of images onto Very Vanilla using Cherry Cobbler Ink.  I adhered this to the centre of the Iris Fold.

I placed a piece of Lace Trim Ribbon towards the bottom of the Cherry Cobbler & tied a bow.  I stamped the sentiment using Basic Black Ink, punched out with Oval Punch & stamped a couple of flower images onto the same piece as the sentiment.  This was adhered to a piece of Basic Black Card which had been punched using the Large Oval Punch.

I adhered the Cherry Cobbler to the Base Card – Very Vanilla Cardstock, applied Basic Pearls to the flowers & the corners of the square.
Supplies –
Stamp Set -Silhouette Sentiments
Ink – Cherry Cobbler, Basic Black
Cardstock – Very Vanilla, Cherry Cobler
DSP – Love Letter
Punches – 1 3/4″ Square, Large Oval, Oval
Ribbon – Crochet Trim – Chantilly

Accessories – Multipurpose Glue, Snail Adhesive, Basic Pearls
Non-SU – Sticky Tape, Ruler, Pencil, Rubber

Until next time, Enjoy!