Gift Set…

Today, I’ve done something a little different.  I saw this on Stamp & Scrap with Frenchie – http://www.frenchiestamps.com/2010/10/frenchies-freaky-friday-and-cute-6×6.html & had to have a go.  It is not often that I will sit & watch videos or read tutorials or instructions, but I must say, I enjoyed it!  So clear & easy!
I changed mine to hold gift cards.  I made 2 each of the cards shown below to go into it!
From the top –
Bag & Cards
Gift Bag
Supplies –
Stamp Set – Cottage Garden
Ink – Poppy Parade, Concord Crush
Cardstock – Whisper White, Poppy Parade
DSP – DSP Patterns Stack
Accessories – Sticky Strip, Stampin’ Dimensionals, Brads – Silver,
Grosgrain Ribbon – White, Gel Pen
Until next time, Enjoy!

Frenzy Friday Sketch…

This sketch is from Sketch Frenzy Friday over at http://sketchfrenzyfriday.blogspot.com/
My Card –
Supplies –
Stamp Set – A Word for You, Printed Petals
Ink – Poppy Parade
Cardstock – Sahara Sand, Whisper White, So Saffron, Poppy Parade
DSP – Designer Series Paper Patterns
Accessories – Anywhere Glue Stick, Embossing Powder – Clear, Crystal Effects, Heat Tool
Until next time, Enjoy!

Birthday Card…

Hello Stampers,
I’ve just finished making a card for my niece who has her birthday today!
Not typical colours for a little girl, but I think they work in well together & a little different

Supplies –
Stamp Set – Forest Friends
Ink – Pixie Pink
Cardstock – Chocolate Chip, Whisper White
DSP – Pink Pirouette
Punches – 1 3/4″ Circle, 1 1/4″ Punch
Accessories – Snail Adhesive, SU Mini Dots
Non-SU – Ribbon
I’ve used my pc to type “Happy Birthday” & printed
These colours could easily be changed to suit a boy!
Enjoy
Vicky

Challenge – C4C18

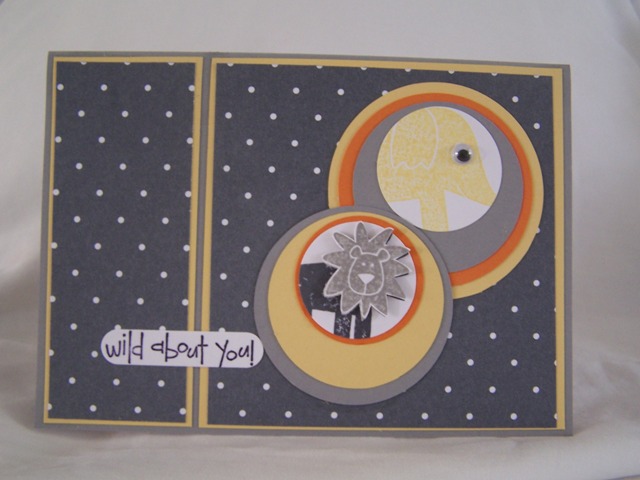
Let’s have some fun!  Polka Dots Fun!
This is the weekly Challenge set by Crazy 4 Challenges!
Design a card/project using Polka Dots. 
My take of it is below.  See below for the link to their website, more details & samples.

Supplies –
Cardstock – Whisper White
DSP – Patterns DSP – Pink Pirouette
Punches – Scallop Edge, Scallop Circle, 1 1/4″ Circle
Accessories – Snail Adhesive, Ribbon, Pencil & Rubber, Uni-Ball Gel Pen

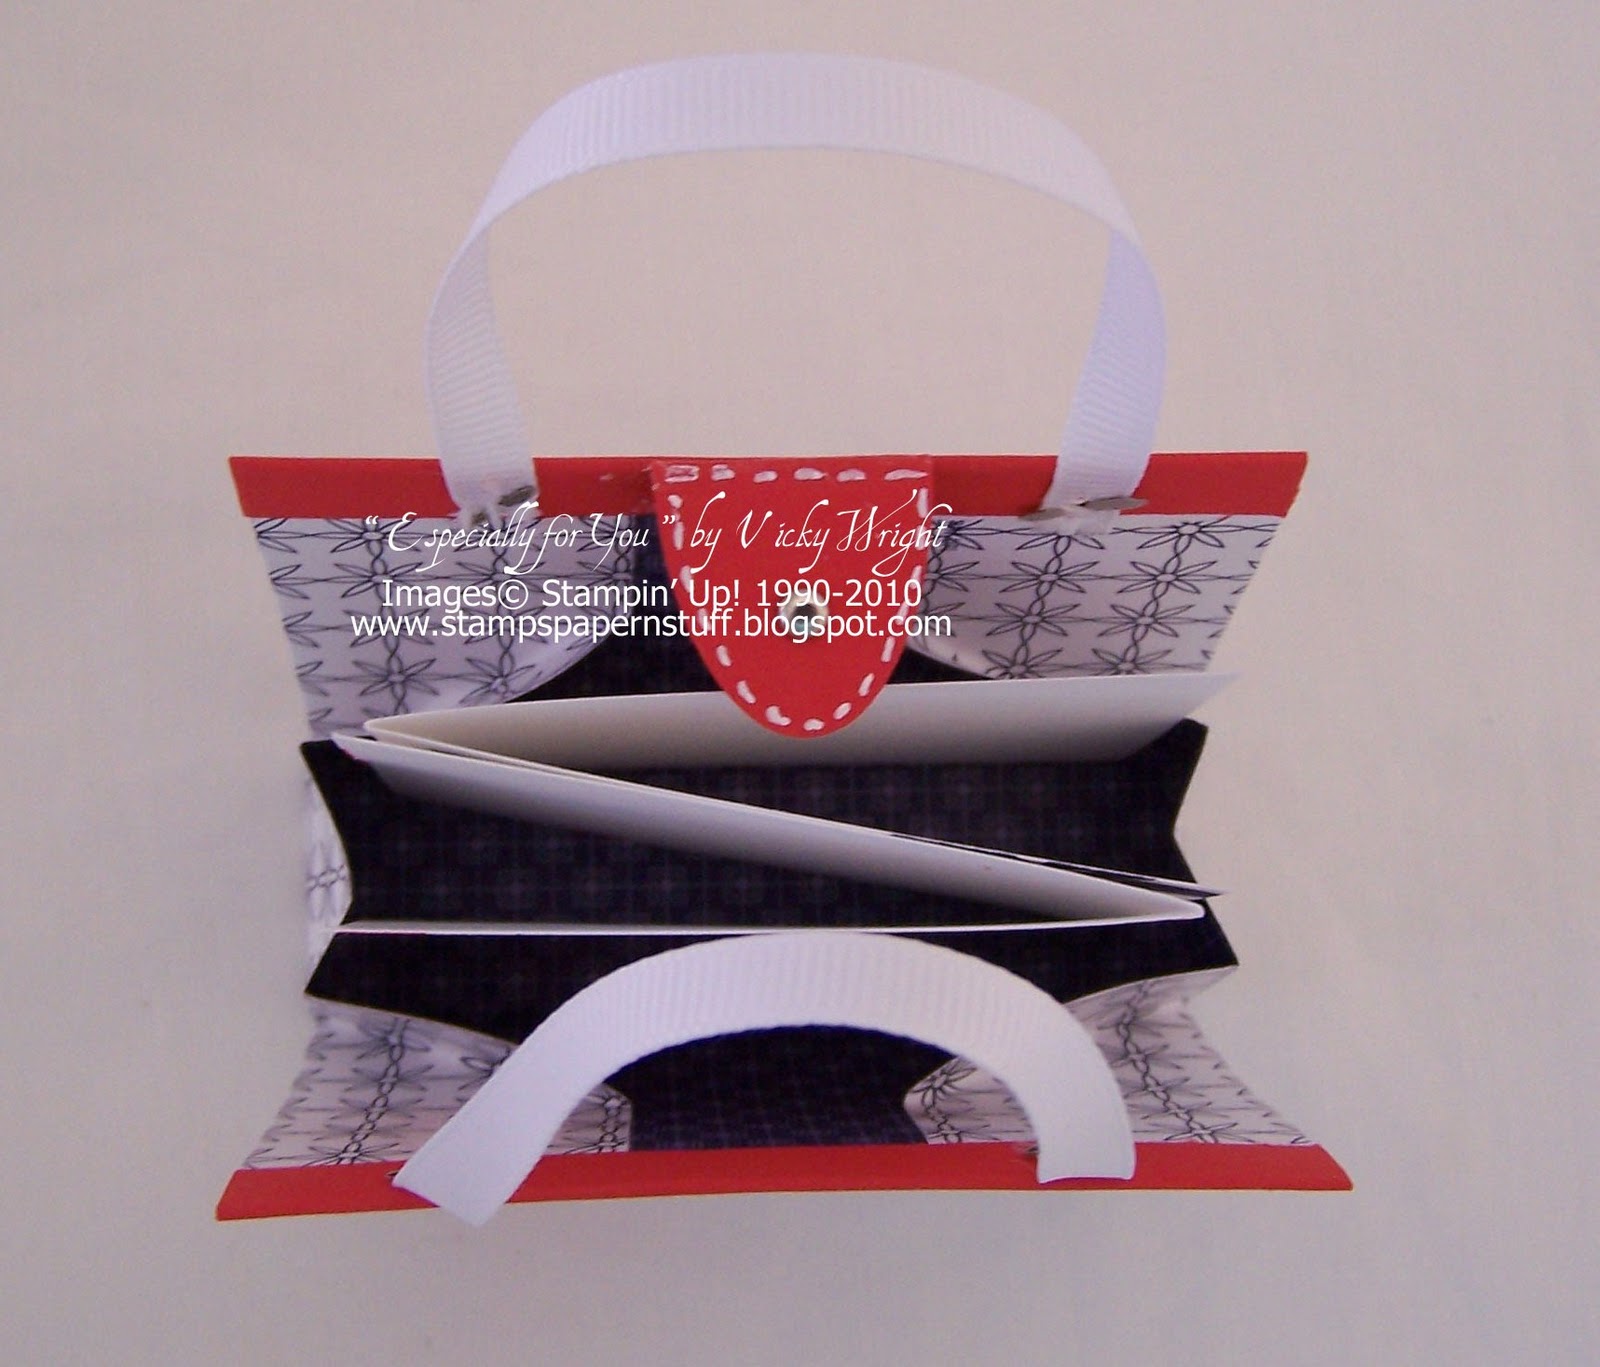
 I saw this in a magazine a long time ago & it has always been at the back of my mind.  I have never seen one on the internet or if there is, I have not come across one before.  I’ve made a simple tutorial if you are interested in trying one.

Tutorial for Baby Dress –
Instructions –

Dress –
1. Cut Whisper White Cardstock – 4” x 6 “
2. Score card in half
3. Measure halfway along fold
4. Using 1 ¼” Circle Punch, punch small ½ circle for neck
5. Measure down 1 ½” from top of card
6. Measure in ½” from edge, cut – sleeves
7. Repeat Steps 6 & 7 for other side
8. Using a pencil, rule a line starting from where the cut finishes to the bottom of outside of card
There should now be a small slant running down the length of the card
9. Using scissors, cut from bottom to the top – where the cut for the sleeve finishes
10. Repeat Steps 8 & 9 for other side
11. Will now start to look like the shape of a dress
12. Erase pencil lines

Overlay –
1. Cut DSP 4” x 6”
2. Starting from underneath the sleeves, match up against Cardstock, rule shape & cut –
3. Top will be small than bottom
4. Using Scallop Edge, punch hemline – Hem should be about ½” shorter than Card
5. Apply adhesive on DSP & adhere to Card in line with the sleeves
6. Attach matching Ribbon & tie bow
7. Cut small pocket from DSP
8. Apply Faux Sewing along edge of pocket using Uni-Ball Gel Pen
9. Adhere to dress

TIP –
To give a different look –
? Attach a flower, Brads or Buttons instead of bow
? Place a small row of Rhinestones along the top, running from sleeve to sleeve
? Add another layer – opposite side of DSP or something entirely different – Translucent

The List is endless, but I kept mine very clean and simple on purpose!

If you would like to play along all you have to do is create a card/project and upload it to your blog and/or to your SCS Gallery using the keyword C4C18.  Don’t forget to go to http://www.crazy4challenges.blogspot.com/ to upload your card, so as everyone else can see it too.

Until next time, have a great night
Vicky

Challenge – 261209

Good Morning All,
Here I go again, another challenge!  I am going to have to give them away for a little as I have a little bit of stuff to catch up before going home.
This sketch to me cried out kids, or maybe that is my excuse!
Anyhow, here it is………..
I heart 2 stamp… Sketch
My Card
Close-Up
Supplies –
Stamp Set – Wild About You
Cardstock – Basic Grey, Pumpkin Pie, So Saffron, Whisper White
DSP – Patterns DSP
Ink – Going Gray, Basic Gray, So Saffron, Basic Black
Punches – 1 14″ Circle, 1 3/8″ Circle, Word Window
Accessories – Stampin’ Dimensionals, Snail Adhesive
Non-SU – Elephant’s Eye
I’ve cut the Lion’s Main to bing it to life a little & stuff a couple of SU Dimensionals behind it.  I would have drawn the elephant’s mouth, but at the moment unable to find my Black Marker!
This is a great set & use it a lot, although sometimes I forget I have it…
Enjoy
Vicky