Flower Fancy….

I must apologise if I have case’d this card from someone as I am not too sure.  Please do let me know if you recognise it.  It was one we did way back in July of this year.  Where does the time go?

I love the bold bright colours of this card.  Not usually my colours but that is the great thing about Teaching & doing Techniques, it does get you right out of your comfort zone.  Plus I like to try & create cards that I know the ladies in the class will like, as well as creating cards to suit each individual style.

 
Until next time, Happy Stampin’

Faux Patrina…..

… is one of the Techniques we completed in our Technique Class way back in October.  The 2nd card you can check out here

Usually when doing techniques, especially the ones that I think do not require a lot of embellishment on the cards, I like to keep them very simple.  This way the technique is shown to it’s full potential & not overpowered by stamps, etc.

In fact, if I remember correctly I took the layout from a sketch we had going at Sunny Challenges & Creations.  I am really happy with the final look of the card, but more importantly so were the ladies who attended the class.

Until next time, Happy Stampin’

SC 061/12…

Woke up this morning to the glorious sound of RAIN!!!!!!  Keep it coming Huey!

Our challenge this week over at Sunny Challenges & Creations is to “Use Something from the NEW Idea Book & Catalogue“.   What a great challenge – it could be from as small as a Button, Embossing Powder through to Embossing Folder & Stamps.  The possibilites are endless!

For the life of me, my mine went a complete blank & couldn’t get my head around all the stamps, so I opted to use something from the new Holiday Catalogue, although I have used one of the new In Colours AND Ink.

Measurements –
Base Card – Lucky Limeade – 8 1/4″ x 4 1/8″ 0r 22cm x 15cm – Scored in middle & folded in half
:Layer 1 – Very Vanilla – 3 7/8″ x 5 3/8″ or 10cm x 13.5cm
Layer 2 – Primrose Petals – 2″ x 5 1/8″ or 5cm x 13cm
Layer 3 – DSP – 1 7/8″ x 5″ or 4.5cm x 12.5cm
Layer 4 – Primose Petals – 2″ x 4 1/2″ or 4.5cm x 11.5cm

Supplies –
Stamp Set – Perfect Punches
Ink – Primrose Petals, Early Expresso
Cardstock – Primrose Petals, Very Vanilla, Lucky Limeade
DSP – Candlelight Christmas Speciality Series Paper
Punches – Scallop Circle, 1 1/4″ Circle
Embossing Folder – Perfect Polka Dots
Accessories – Snail Adhesive, Simply Scoring Tool, Stampin’ Dimensionals, Sticky Strip, Big Shot, Tombow Multipurpose Glue

I run the piece of Very Vanilla Cardstock through the Bigshot using the Perfect Polka Dots Embossing Folder & adhered to the Base Card – Lucky Limeade with Tombow Multipurpose Glue.

All layers of DSP were adhered to the corresponding pieces of Primrose Petal Cardstock prior to adhering to the Base Card with Snail Adhesive.

I cut a piece of 12″ x 1 1/4″ strip of DSP, scored at 1/4″ intervals with my Simply Scoring Tool, folded concentina style & adhered to the Base Card with Sticky Strip.

For my sentiment, I stamped the image twice onto a scrap of Very Vanilla Cardstock – once in Early Expresso & the other in Primrose Petals.  The stamped image in Early Expresso Ink was punched using the Scallop Circle Punch while the Primrose Petal image was punched with the 1 1/4″ Circle Punch.  I adhered the smaller circle to the top of the Early Expresso piece with Stampin’ Dimensionals prior to adhering to the Rosette with Sticky Strip.

Don’t forget to pop on over to check out what Gwen, KrisChristine, Jonia have created & join us this week for this great challenge.

Until next time, Happy Stampin’

Faux Wood…

Envelope & Inside…

I love how easy this card come together.  The technique is fantastic & very easy to complete.  Makes for a great male card – we all have trouble with creating them sometimes.

This will be one of the cards we are going to create in our next technique class – details below – “Faux Wood“…..

I’ve used colours that are not normally used in the everyday wood you see around the place, as I wanted to try someting different & to see if I could create a completely different look.  To lift the colours a little, I decided to add a little bit of Real Red.  I’m glad I did, as it brough the whole card alive, including the background.

?I want the card to be for a male, but instead of for the traditional stamps, eg cars, trees, etc, I thought “why not a Rosette?”  Who says these can’t be for the males?  I’m really happy with the final result, but would love to hear what you think.

Venue    Caloundra Community Centre
               78 Buderim Street, Currimundi
Cost        $15.00
Time       1.00pm – 4.00pm
BYO       Tool Kit & Adhesives
Date        Sunday,  7 October

?

Close Up of Faux Wood & Rosette…
  
Don’t forget to check back in a couple of days time & I will show you the 2nd card we will be crating using the same technique.
 
Until then, Happy Stampin’

SC 06012…

Our challenge this week was set by Gwen.  Along with the sketch we have to use Embossing on our cards, ie Heat Embossing or Dry Embossing using your Big Shot & Embossing Folders or any other Embossing that you may like to try.

I’ve been playing with colours the last couple of weeks & decided to go ahead with one of the combinations I found I really liked. 

Measurements –
Base Card – Whisper White – 8 1/4″ x 4 1/8″ or 22cm x 15cm
Layer 1 – Basic Gray – 5 3/4″ x 4″ or 14.5cm x 9.5cm
Layer 2 – Whisper White – 5 5/8″ x 3 7/8″ or 14cm x 9cm
Layer 3 – Not Quiet Navy – 1″ x 5 5/8″

Supplies –
Stamp Set – Perfect Punches, Nature Walk, French Foliage, Established Elegance
Ink – Baja Breeze, Marina Mist, Basic Gray, Not Quite Navy
Cardstock – Whisper White, Basic Gray, Not Quite Navy
Ribbon – 5/8″ White Organza
Punches – Scallop Trim Border, Scallop Oval
Embossing Folder – Vimtage Wallpaper
Accessories – Stampin’ Up! Dimensionals, Tombow Multipurpose Glue, Snail Adhesive, Big Shot

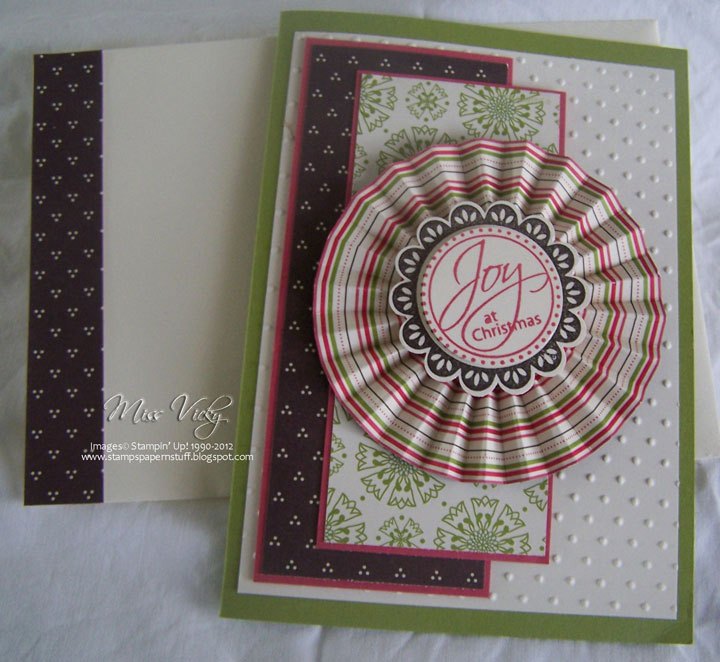
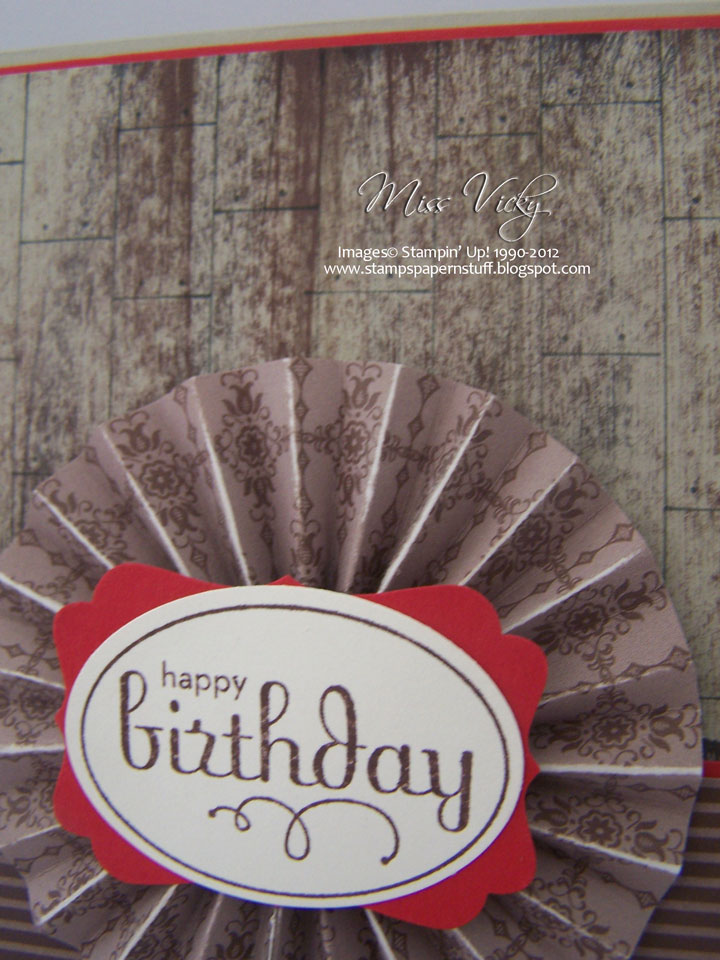
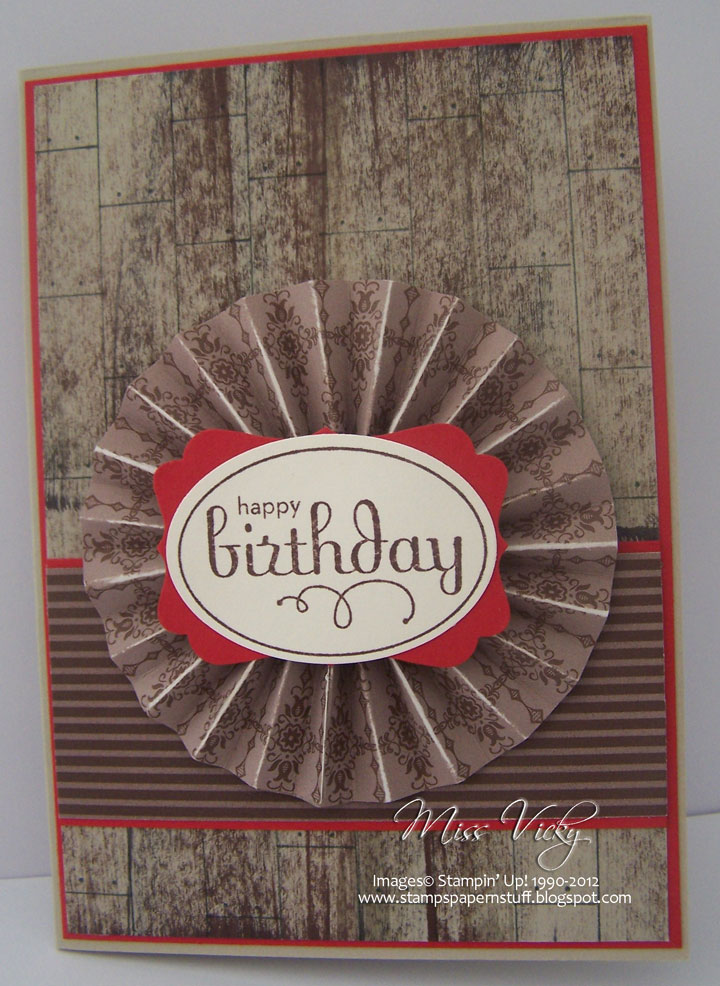
I randomly stamped my images onto the smaller piece of Whisper White Cardstock using Basic Gray, Baja Breeze, Marina Mist & Not Quite Navy Inks.  The whole piece was put through the Big Shot using Embossing Folder – Vintage Wallpaper.

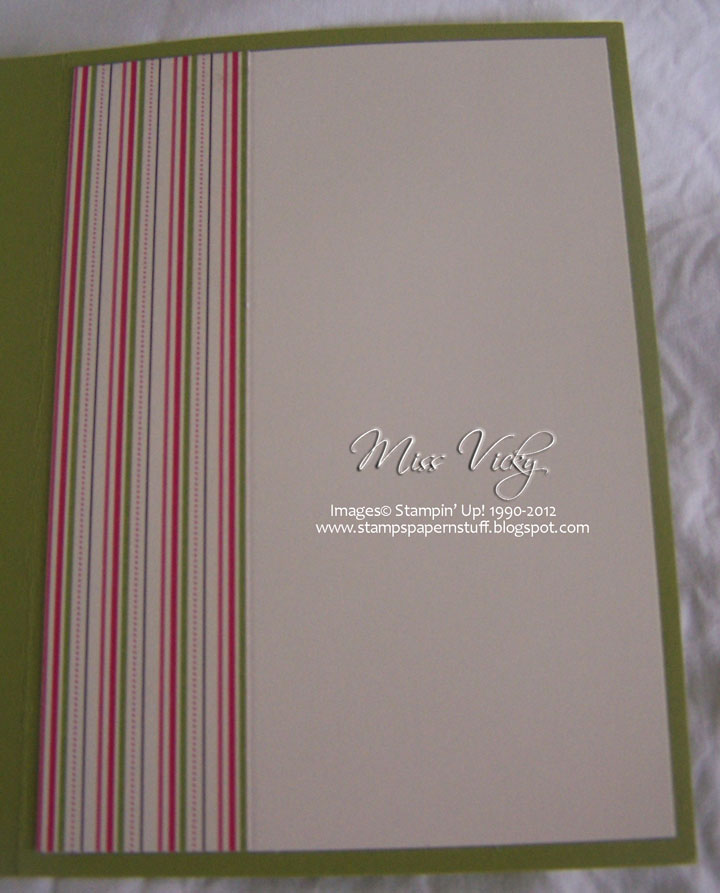
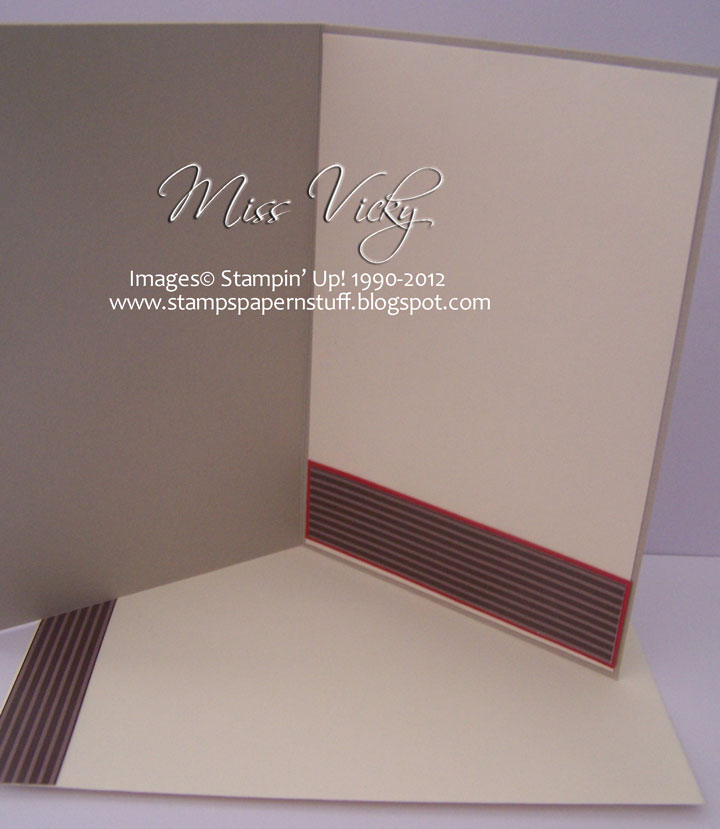
I punched along both sides of the piece of Not Quite Navy Cardstock with the Scallop Trim Border Punch, adhered the ribbon along the middle, tucked the ends under & tied a knot.  This whole piece was then adhered to the piece of Basic Gray Cardstock & finally to the Base Card – Whisper White.

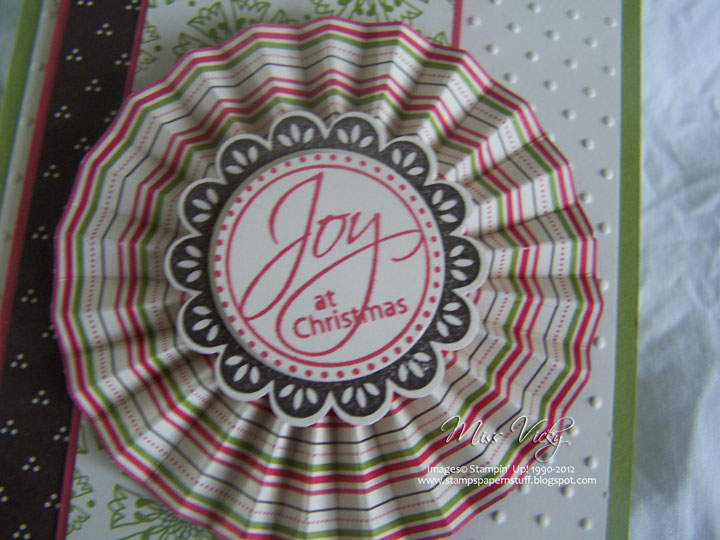
I stamped the wording onto a scrap piece of Whisper White Cardstock with Not Quite Navy Ink, punched with the Scallop Oval Punch & adhered to the card with Stampin’ Dimensionals.

Don’t forget to hop on over to Sunny Challenges & Creations to check out what the other girls have created.  This is the perfect time to dig out those Heat Tools or your Big Shot & join us this week for this fun challenge.

Until next time, Happy Stampin!