2017 Calendar

I thought I would share with you something a little different today.20160809_134304_resizedblog

I am getting ready for a Christmas Fair which will be held in December.  I am excited about this as I’ve never done one since moving here but have been told it is well attended by the community.

I created a sheet of small calendars on my pc before cutting them down to the size I wanted.  They actually measure 7cm x 7cm.

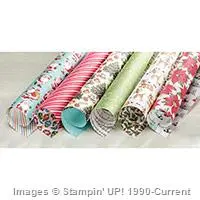
I adhered a piece of “Have a Cuppa” DSP Stack (Retired) to a piece of Whisper White before adhering to a Bermuda Bay Base.

The Calendar was layered onto a piece of Melon Mambo & then onto the DSP.

For the inside, I adhered a piece from the same Stack onto a piece of Melon Mambo & then to the Base – Bermuda Bay.

Until next time, Happy Stampin’

Logo---Blog-Sig---130416


20160809_134255_resizedblog


Star of Peace

Our star was created in our last Technique Class 2 weeks ago.  Everyone had a different colour DSP which made it a little bit more fun.

The inspiration was taken from the Holiday Catalogue, Page 22.  All I did was add an extra smaller star & used the Christmas Greetings Dies from page 34 of the same catalogue.

To create your own Peace Star, click on the link above the photo.

Until next time, Happy Stampin’

Vicky

98. Peace Star

006wma-blog


Tiny Gift Box

Today’s post is the last of our projects we created at our Play Day a few weeks ago.  It was created by Naomi who very generously shared it with us.  In saying this, it is very easy to create but I had so much trouble creating it that it just about took me 2 weeks to get it right.  I know, you are shaking your head in disbelief.  Maybe I just wasn’t in the “zone”!

It is perfect for chocolates, a little bit of jewellery or little nick knacks for that special person for Christmas or in fact by changing out the DSP, etc any occasion.

For your own tutorial to create the box, please click on the link above the photo.

Until next time, Happy Stampin’

Vicky

95. Tiny Gift Box

003box-wm-blog

Merry Christmas

I can’t believe that I haven’t posted in nearly a month.  I have been creating but have been busy with weddings too which means I don’t get onto my blog as much as I would like.

Today’s post is of a couple of little Christmas Bags of yummy chocolates I created last month for a couple of markets I attended.  In fact, they are proving very popular that they just about walk out the door.  I’ve had to come home each time & do more.  They make for great little Christmas Gifts.

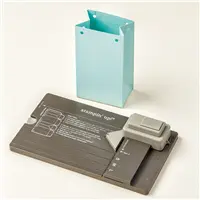
To create my bag I used the Gift Bag Punch Board, the gorgeous new “Home for Christmas” DSP which is from the current Holiday Catalogue & will be retiring at the end of the catalogue.

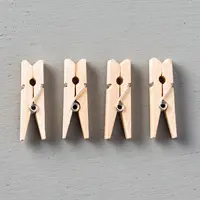
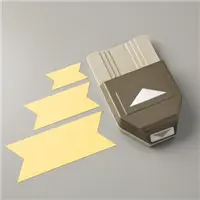
I combined Mossy Meadow, Real Red & Very Vanilla Card for my Banners, which were created using the Triple Banner Punch.  I covered  couple of Pegs with the Same DSP which held the Banner in place & closed the little bag.

I hope you like my little project today.

Until next time, Happy  Stampin’

Vicky

005wm-blog
“Home for Christmas” Gift Bags


Products used to create this project –

Pack of Cards

While deciding to create a Pack of Cards sometime ago, I decided to use this piece for the box front.  I actually found a tutorial on Pinterest, which I am unable to find now & altered it to fit the Australia 11B Envelopes.  Thank you so much for your inspiration & Tutorial.

I began by sponging a piece of Whisper White CS in Pink Pirouette & then Pear Pizzazz Inks.  Once complete, I then stamped the Background Stamp (non SU!) over the top in Early Espresso Ink.  I actually stamped off once or twice prior to stamping as I wanted it to be a lighter shade.

The stamped image are from “Awesomely Artistic” Stamp Set which have been stamped in Early Espresso Ink.

The Butterfly is from “Watercolor Wings” which has been stamped in Pink Pirouette & Pear Pizzazz Inks, prior to cutting out with matching Bold Butterfly Framelits & adhered to the bottom part of the box with a Stampin’ Dimensional.  This is to keep the lid of the box closed.

The layered Butterfly has been cut from Early Espresso by running through the Big Shot with the Butterflies Thinlits & adhered to the centre of the stamped butterfly & Rhinestones adhered down the centre.

If you check back in a few days time, I will sho you the 4 cards I created to fit inside the box.

Until next time, Happy Stampin’
Vicky

001-holder-wm-blog