… but too late.
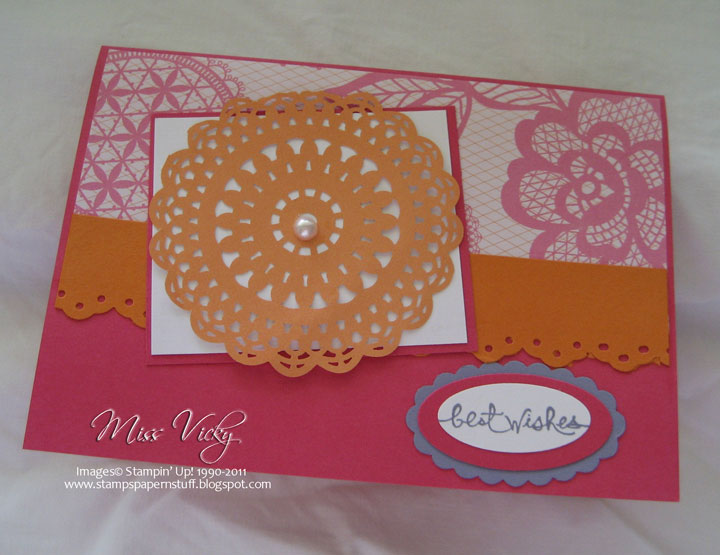
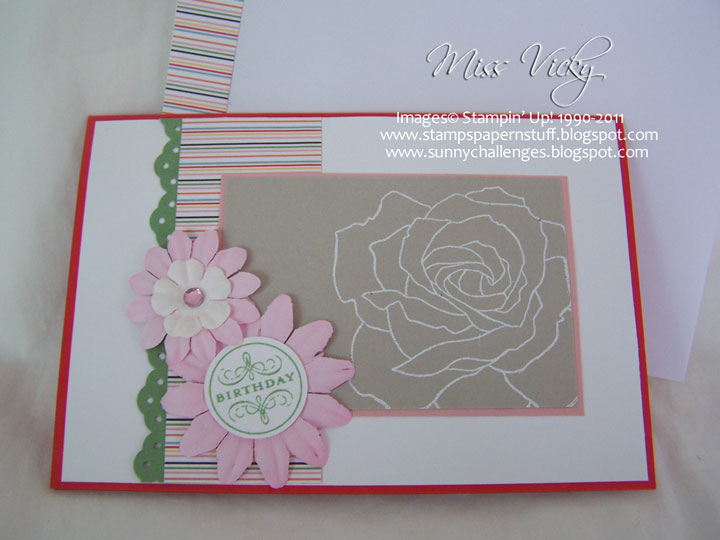
I created this card for a challenge which didn’t make the deadline, but not too worry. The challenge called for a clean & simple (CAS) card & as I had my embossing stuff out, thought I would do a little embossing. I also dug out one of my favourite stamps & dusted the dust off of it.
Base Card – Poppy Parade – 5 7/8″ x 4 1/8″ or 15cm x 10.5cm – once scored & folded in half
Layer 1 – Whisper White – 5 3/4″ x 4″ or 14.5cm x 10cm
Layer 2 – Wild Wasabi – 4″ x 1″ or 10cm x 2.5cm
Layer 3 – DSP – 4″ x 1 1/2″ or 10cm x 4cm
Layer 4 – Blushing Bride – 3 5/8″ x 2 1/2″ or 9cm x 6cm
Layer 5 – Crumb Cake – 3 1/2″ x 2 3/8″ or 8.5cm x 5.5cm
Using the Eyelet Border Punch, I punched along one longer side of Wild Wasabi Cardstock & adhered to the LHS of Whisper White Cardstock. The DSP strip of paper was adhered over the top of the punched edge. The whole piece was then adhered to the Base Card using Snail Adhesive.
?
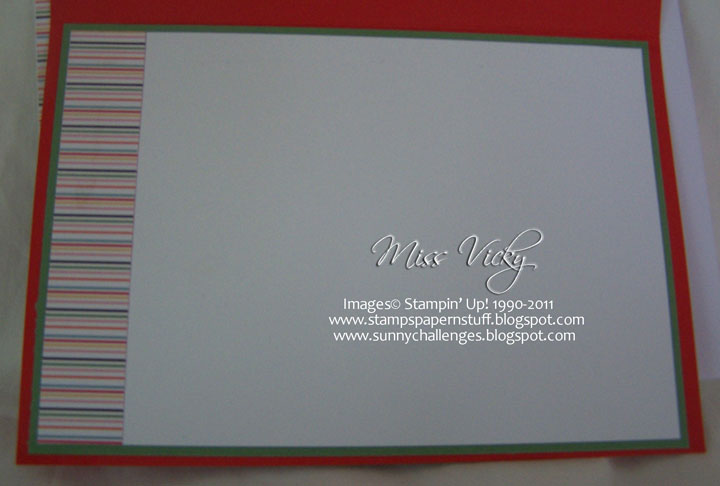
 |
| Inside… |
I rubbed my Embossing Buddy over the piece of Crumb Cake, stamped my image with Versamark, poured White Embossing Powder over the top, tapped excess powder from the cardstock & set it using my Heat Tool. This piece was the adhered to the piece of Blushing Bride & finally to the Base Card.
My flowers are from my stack I have in a drawer, they could be SU or they may not be. I do know that I had dyed a couple of flowers sometime ago using Re-Inkers. So being a little lazy & not wanting to hunt for my flowers, I used the first couple I laid my hands on. I adhered the white flower to the smaller of the pink flowers & stuck a Pink Rhinestone in the middle. Again, the rhinestone was from a stash I have on hand for my wedding invitations.
For my sentiment, I stamped it onto a scrap of Whisper White Cardstock using Wild Wasabi Ink & punched the centre out with my 1″ Circle Punch. I adhered this to the centre of the large flower using SU Dimensionals. Both flowers were adhered to the card with SU Dimensionals with the larger flower at the front.
Supplies –
Stamp Set – Fifth Avenue, Happiest Birthday Wishes
Ink – Versamark, Wild Wasabi
Cardstock – Poppy Parade, Whisper White, Crumb Cake,
Wild Wasabi, Blushing Bride
DSP – Flirtatious Speciality
Punches – 1″ Circle, Eyelet Border
Accessories – SU Dimensionals, Snail Adhesive, Embossing Buddy,
Embossing Powder – White, Heat Tool, Flowers
Non-SU – Pink Rhinestones, Flowers
Until next time, Enjoy!