Another sketch, another card, except this time I have created a matching “
something” to go with the card. In fact, the matching “
something” was created first & the card created to match the “
something“. Sorry folks, the “
something” won’t be posted until tmw.
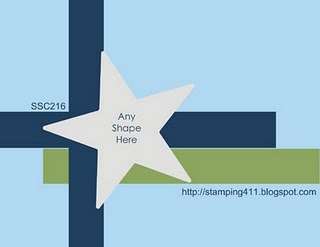
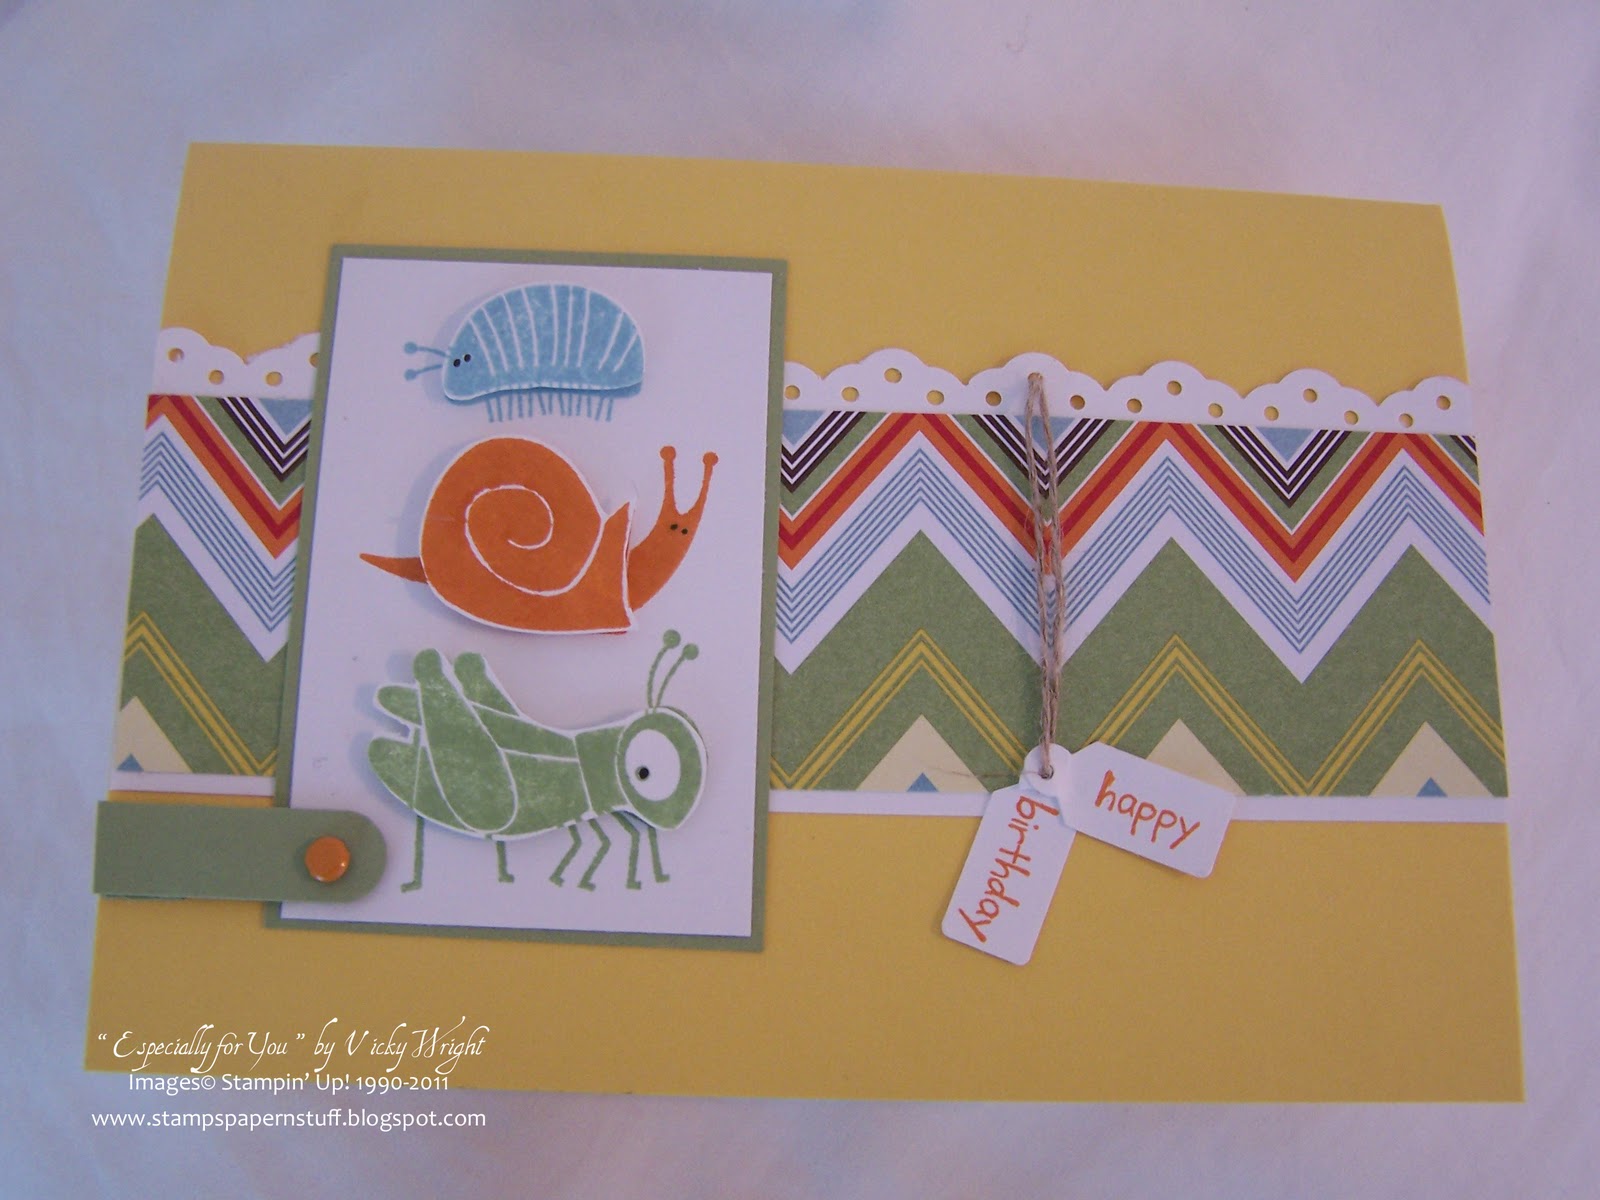
The card has been created from the sketch at
Stamping 411 Such a great & very easy sketch. Countless possibilities for this sketch. Of course the best thing about the sketch from Stamping 411 – Measurements are provided –
Base Layer: 11 x 4 1/4″, scored and folded in half at 5 1/2″ – Pumpkin Pie
Layer 2: 5 x 3 3/4″ – Pear Pizzazz
Layer 3: 4 7/8″ x 3 5/8″ – DSP
Layers 4 & 5: 1/2″ x 4 inch strip of paper – DSP
Layer 6: Note, you can use ANY shape on this layer! – DSP
 |
| Inside Card |
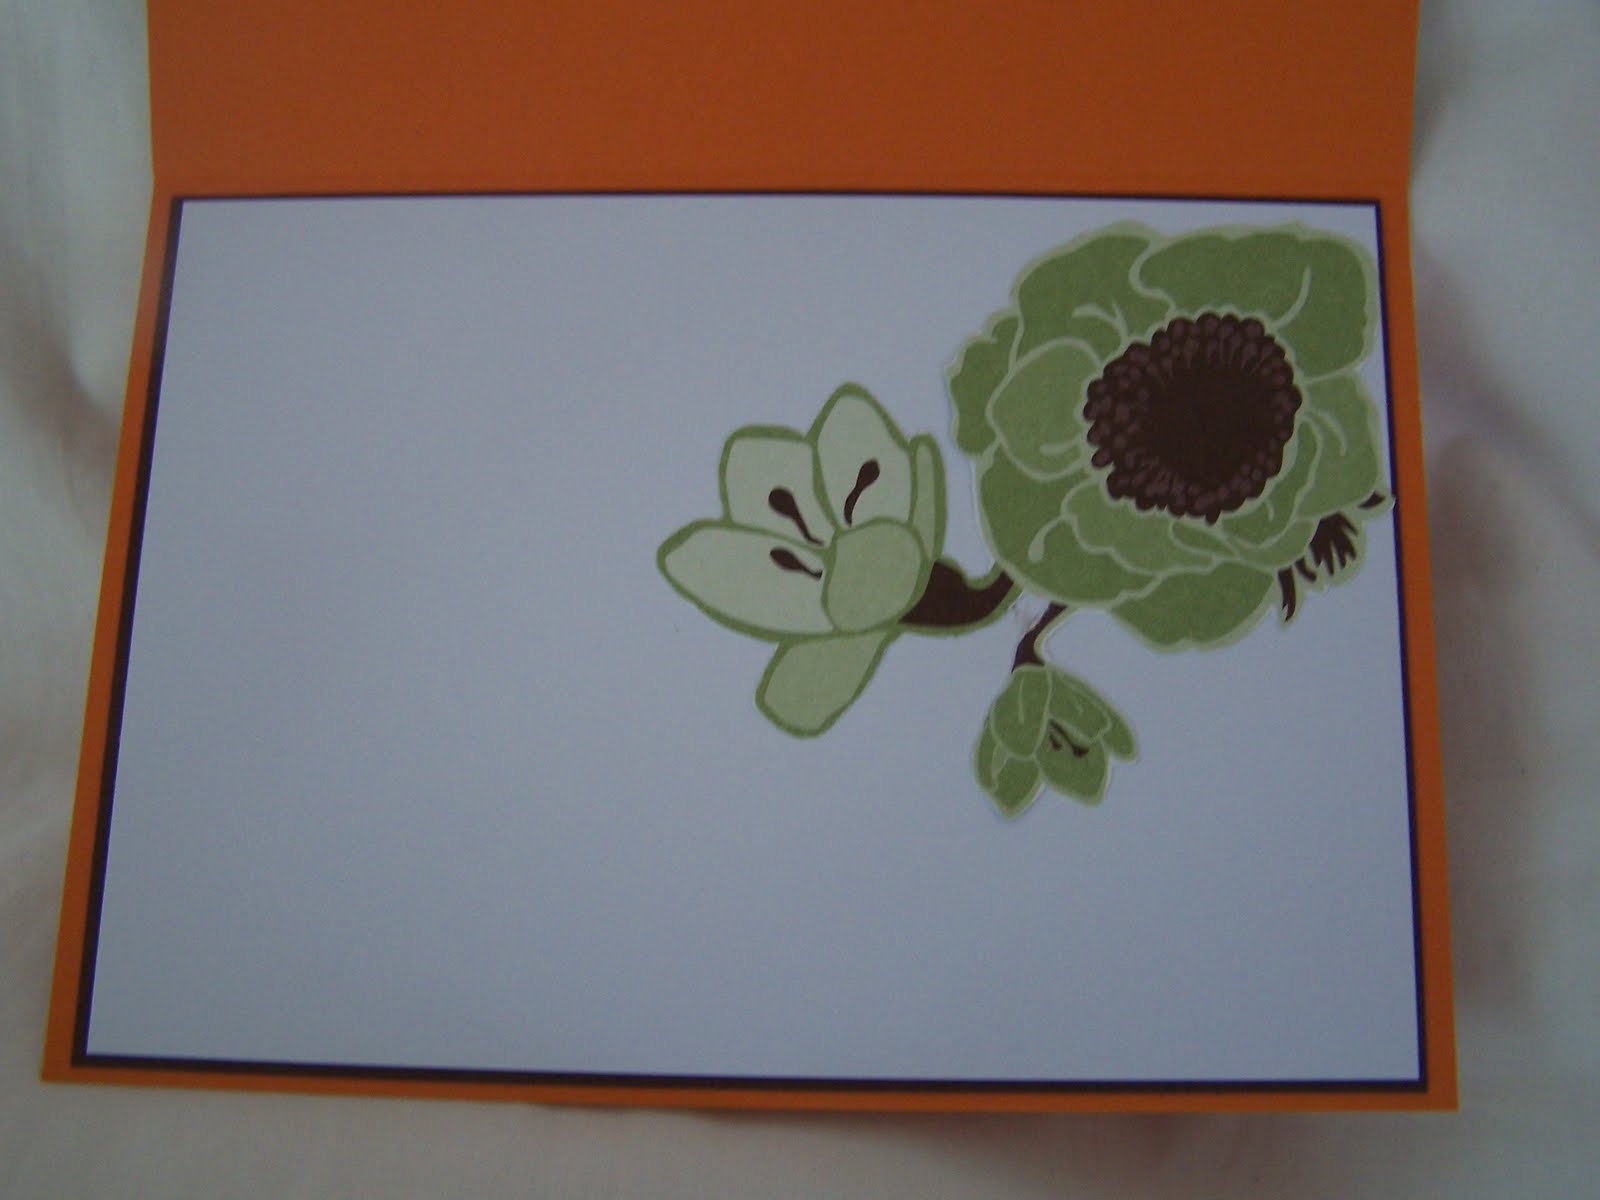
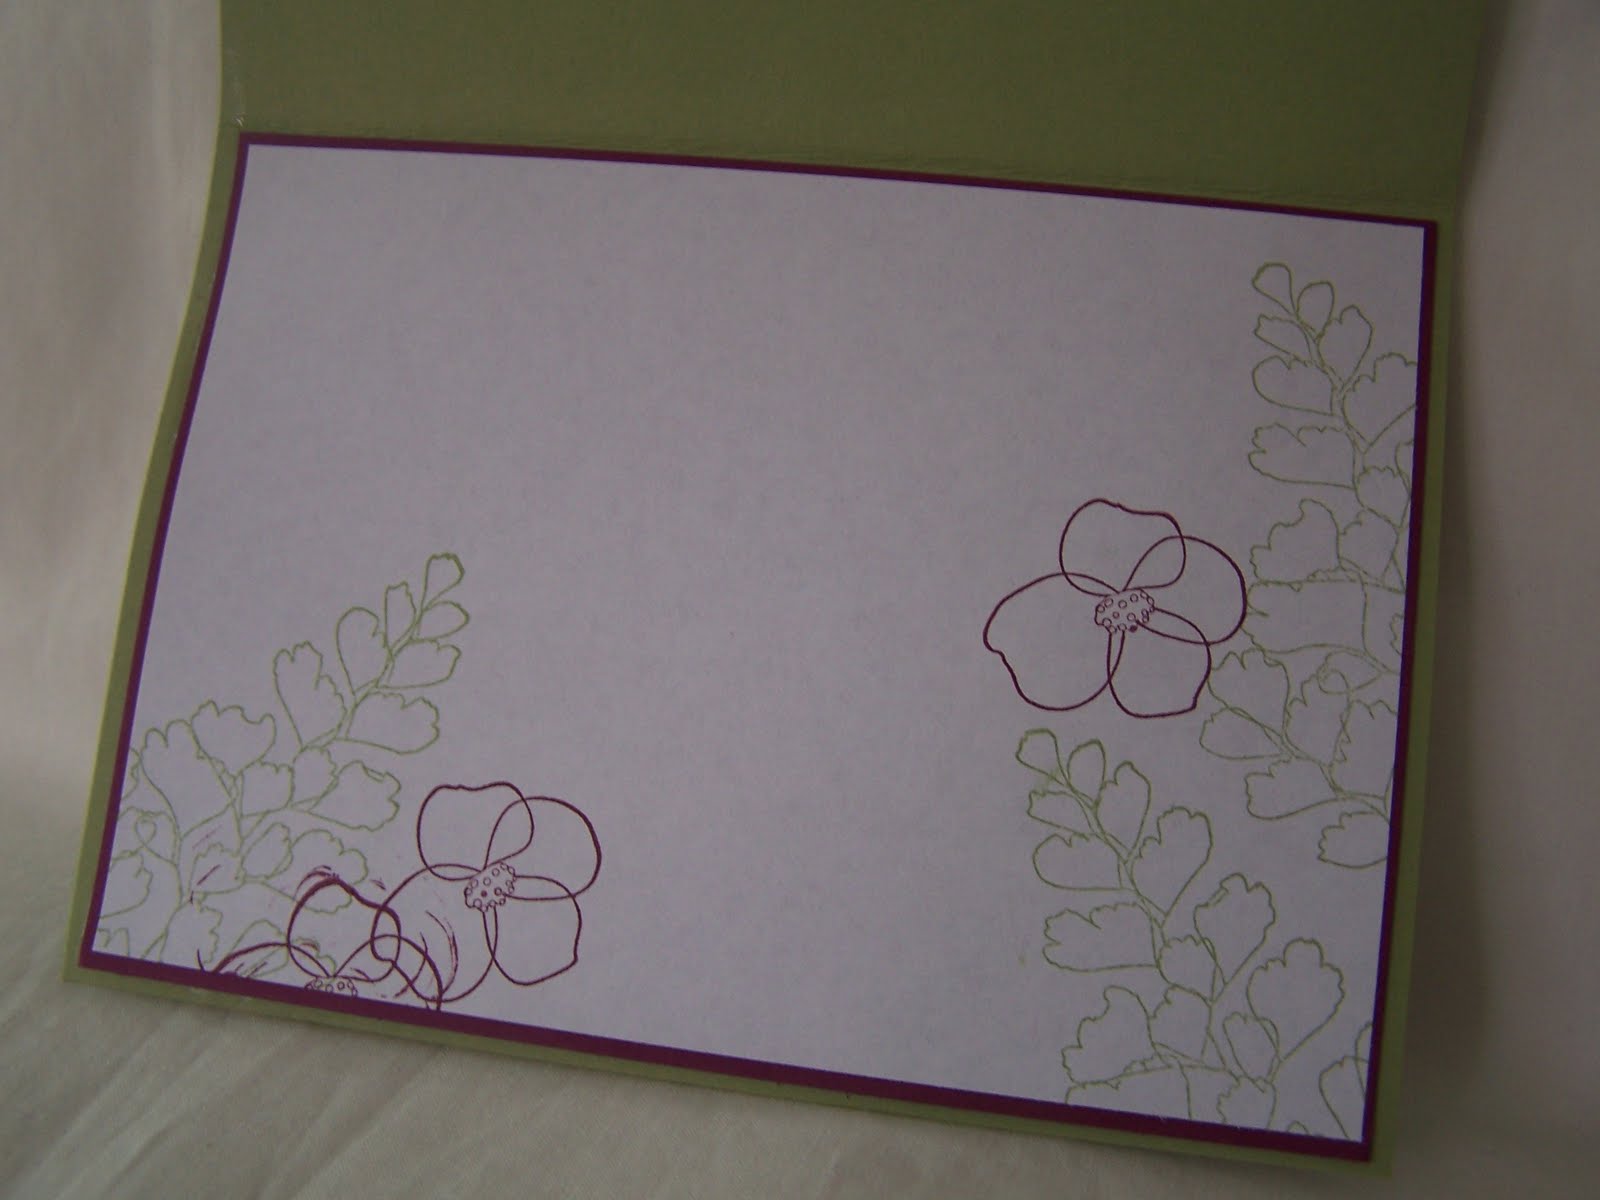
Inside Card –
As I had already cut a couple of different colours & shapes of flowers which I was going to use for the front of the card, I decided instead to use one for the inside. I applied adhesive to the back of the flower, adhered to Whisper White Cardstock, then to a piece of Chocolate Chip before adhering to the Base Card. I think it gives it a little bit of a different look.
?
 |
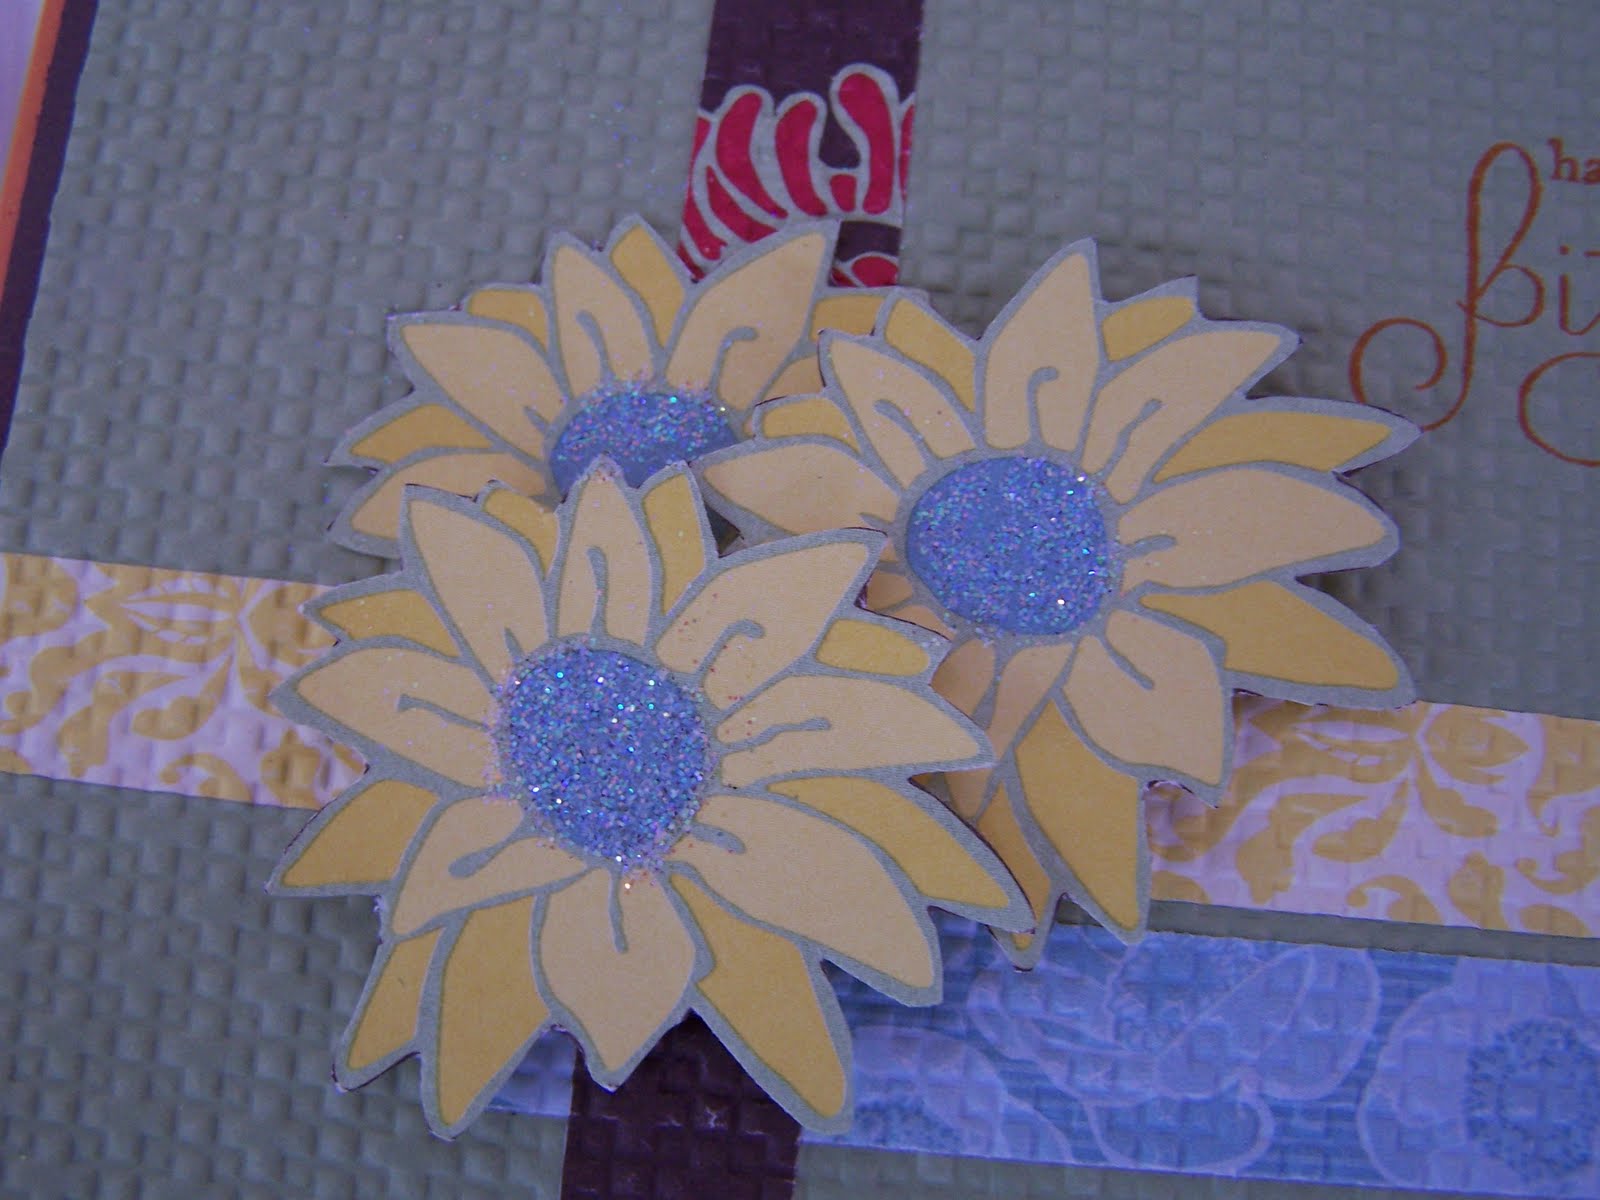
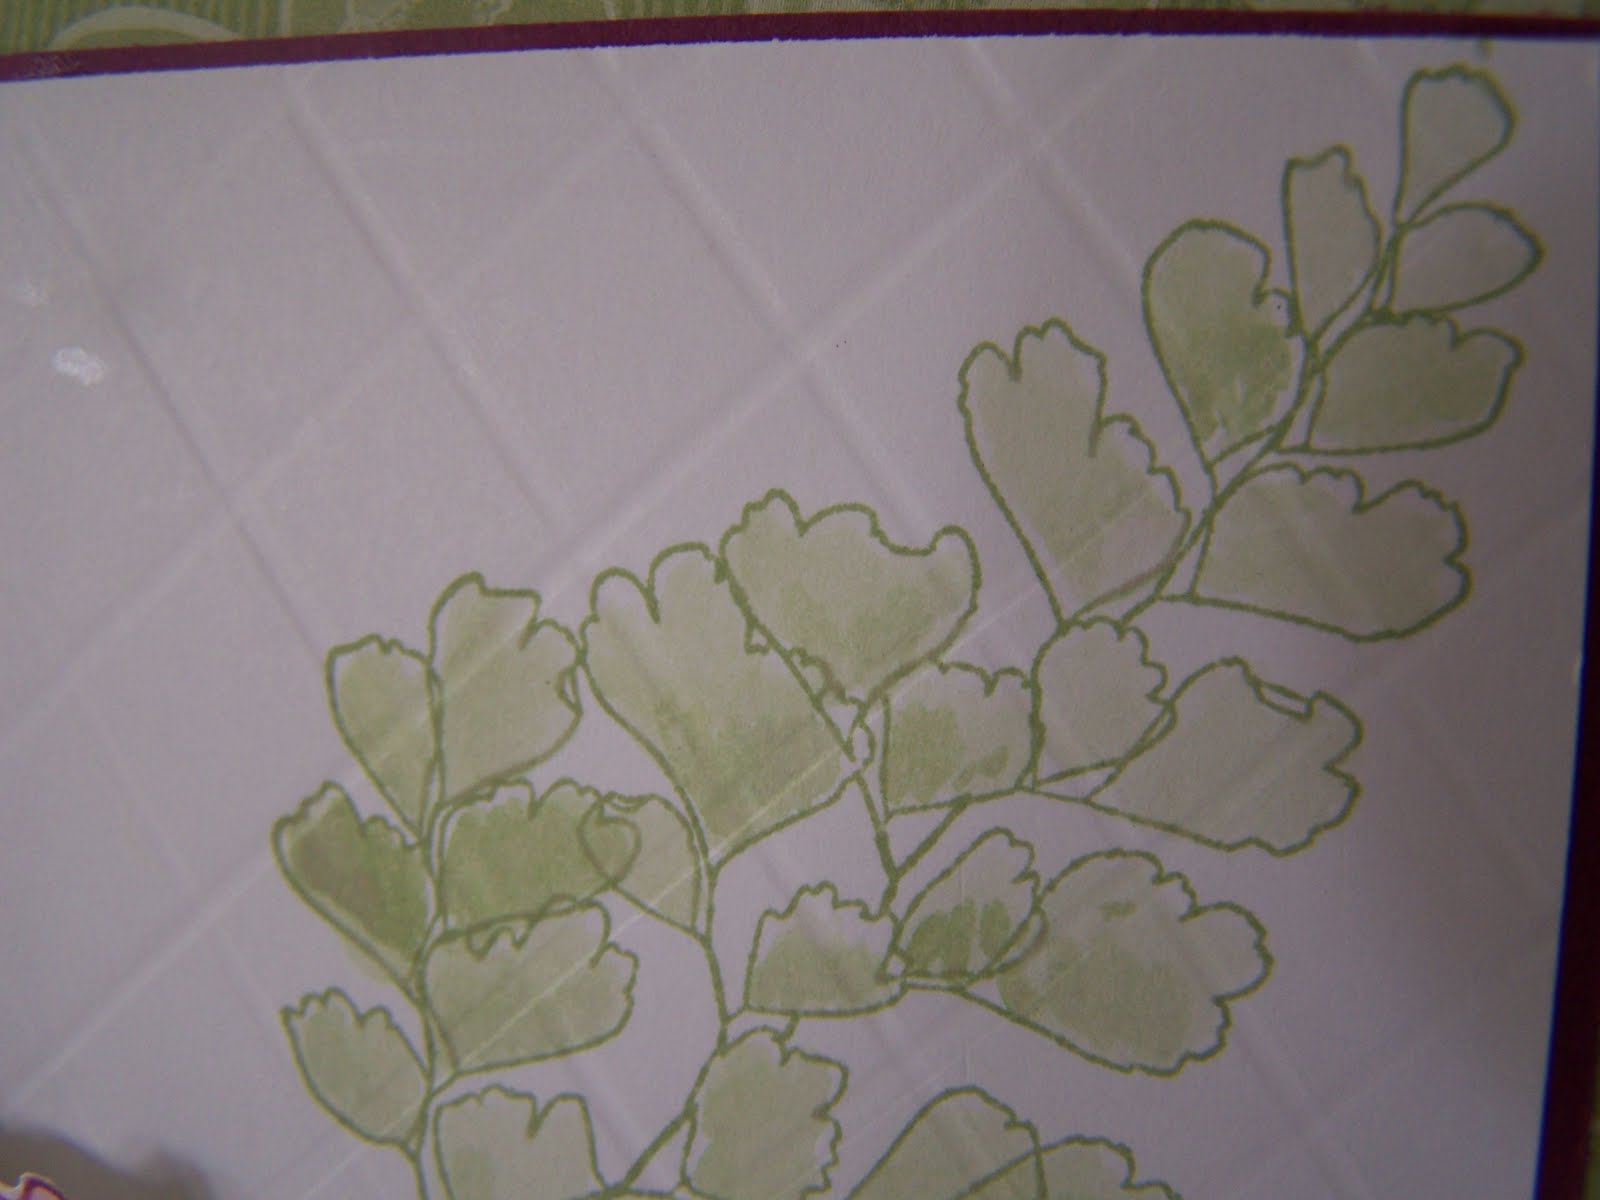
| Close up of Flowers |
?
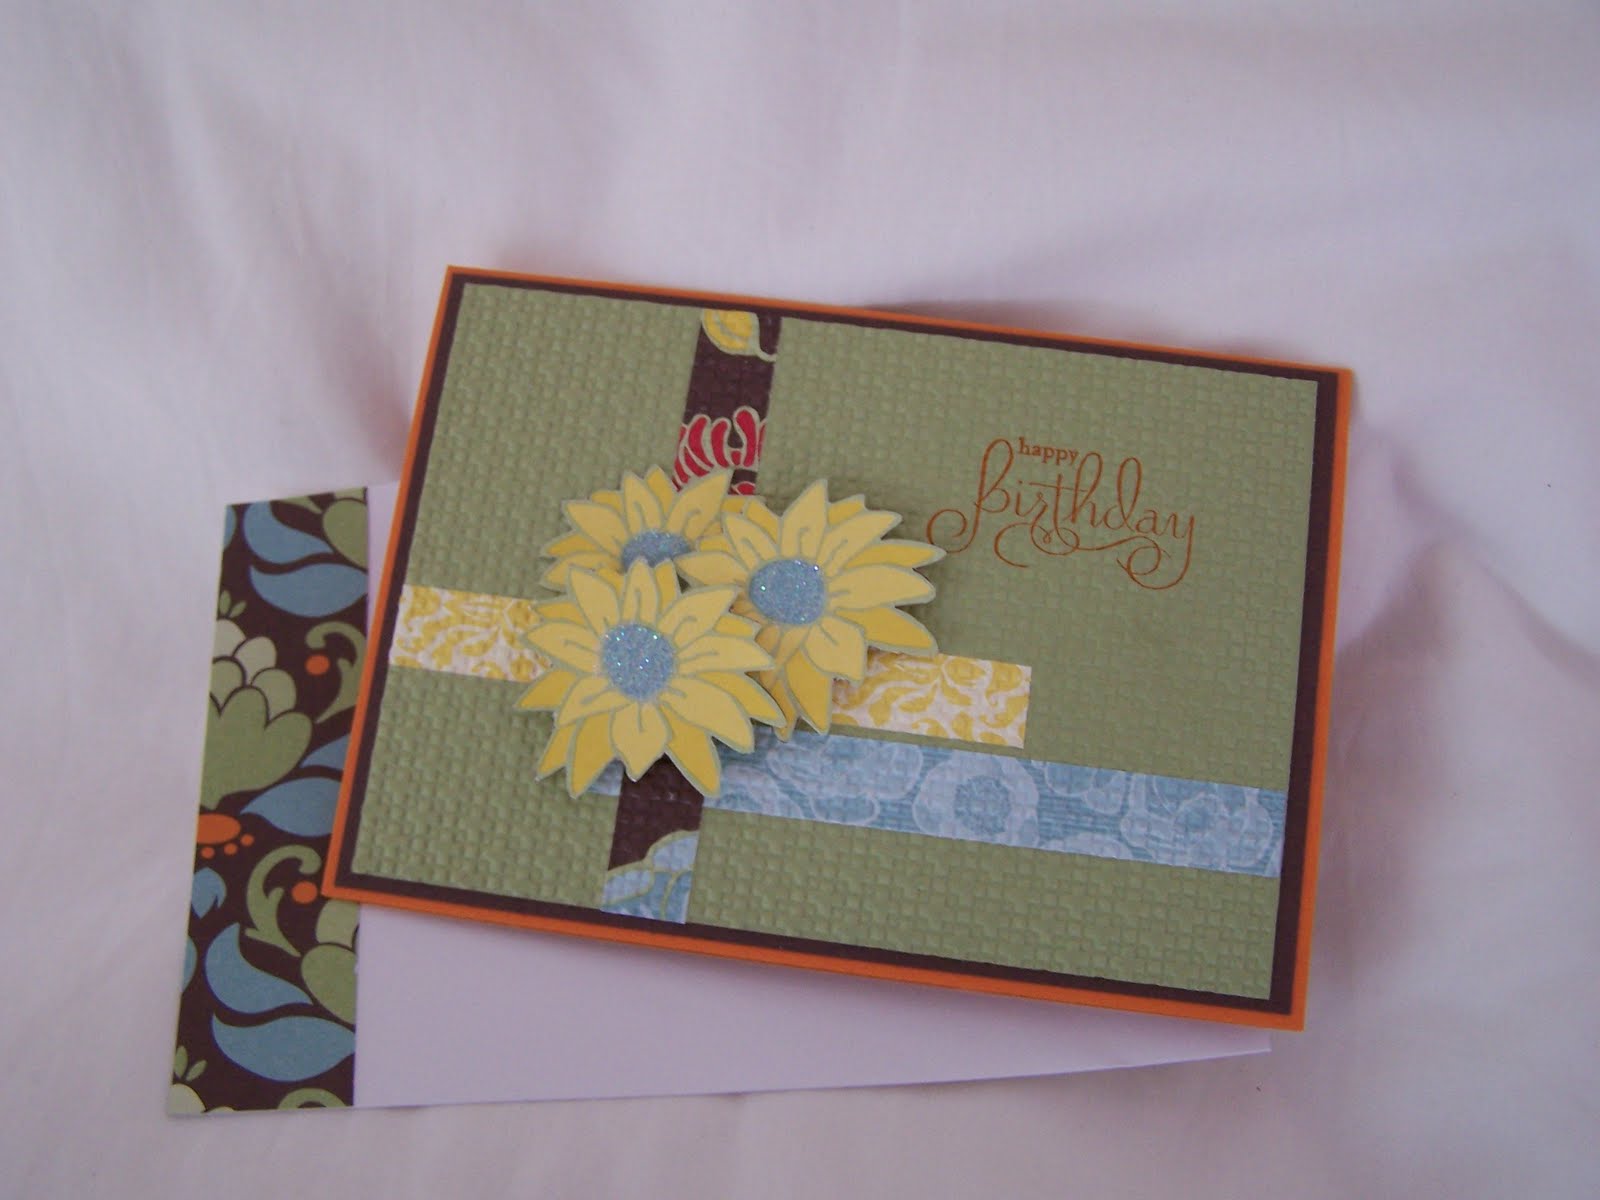
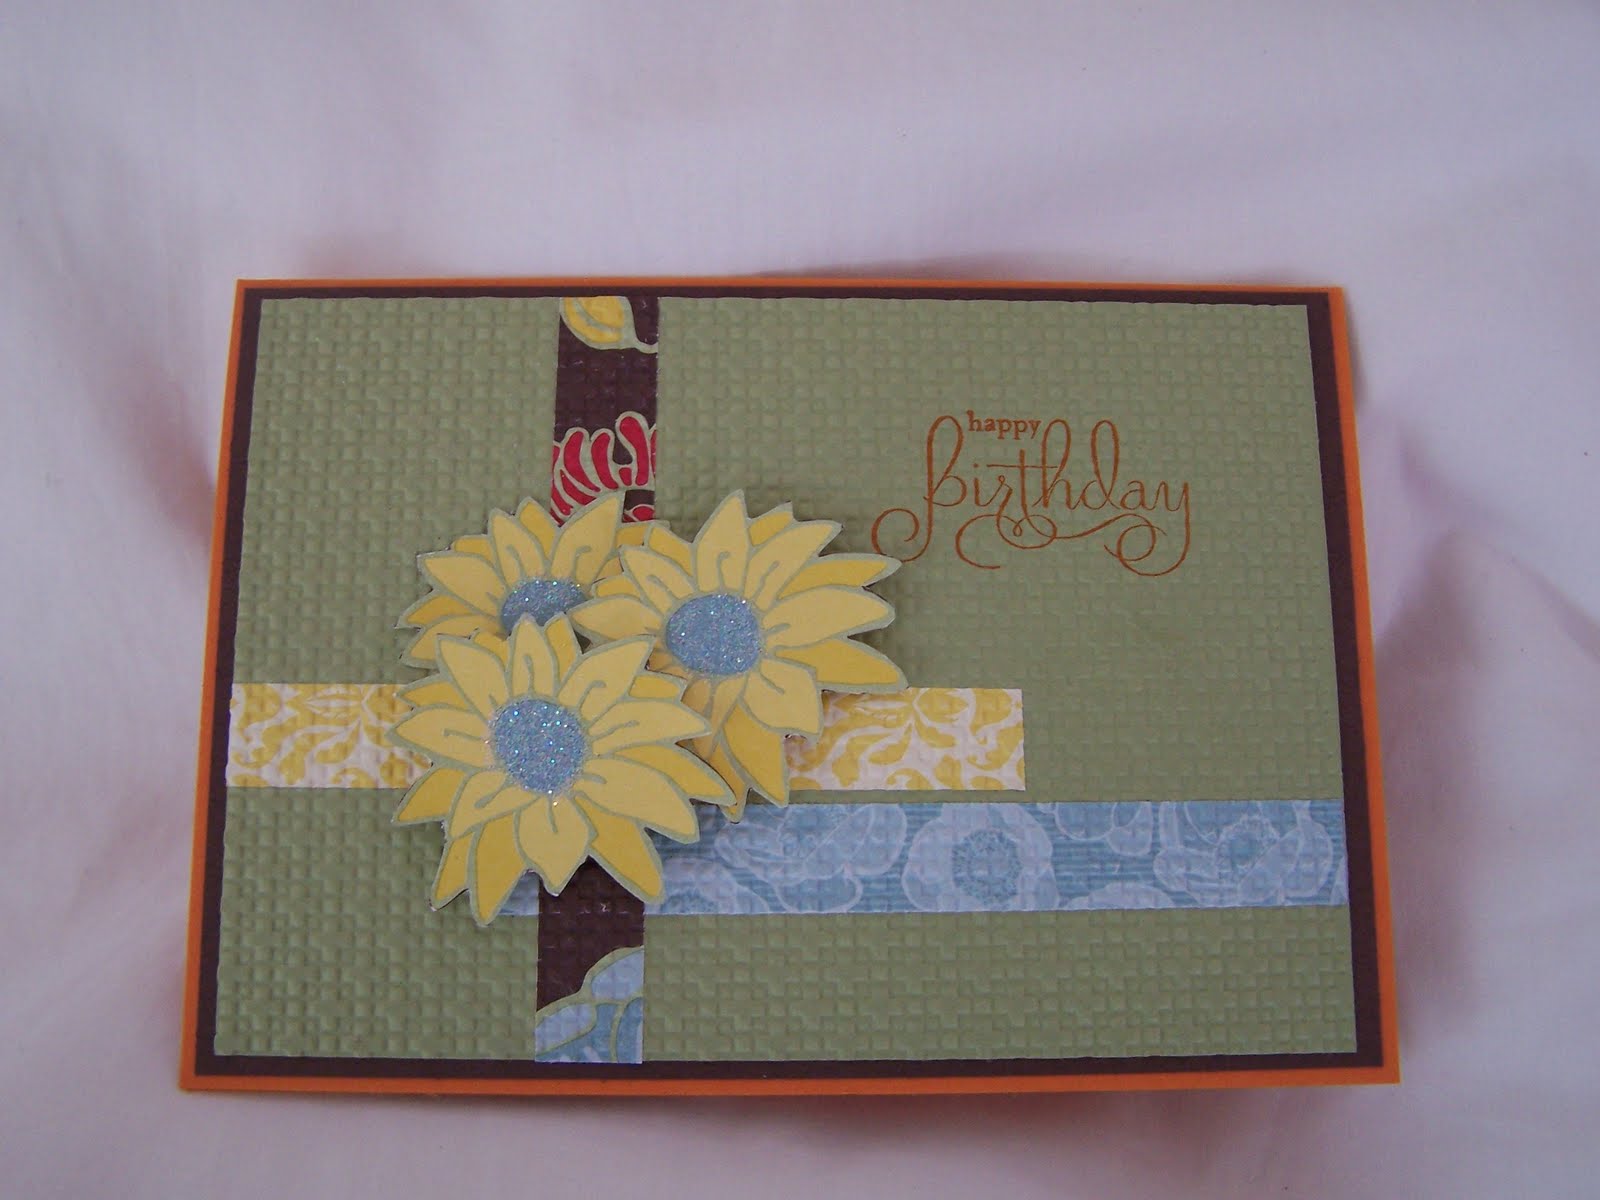
Card –
I cut my 3 strips using DSP & adhered them to Pear Pizzaz Cardstock as per the sketch. Prior to this piece being run through the Bigshot using Embossing Folder Square Lattice, I stamped my sentiment direct onto the Pear Pizzazz using Pumpkin Pie Ink. Again, with the Square Lattice. Sorry folks, I can’t seem to get enough of this folder. It just seems to finish your cards off & gives them that little extra omph!
Pear Pizzazz was ahered to a piece of Chocolatecar Chip & then to the Base Card – Pumpkin Pie. I took the liberty & added an extra layer to my card.
?
 |
| Envelope |
? For my shape, I cut 3 flowers from the DSP & adhered them to the card, using SU Dimensionals on the front 2, while adhering the background one direct to the card. It sort of gave it a better look & more depth doing it this way. Again, I strayed from the “master plan” a little in that I added 3 shapes, instead of the 1.
I applied a little glue to the middle of each flower with my glue pen & poured Dazzling Diamonds on top. It immediately lifted the whole card. Gotta love the Dazzling Diamonds.
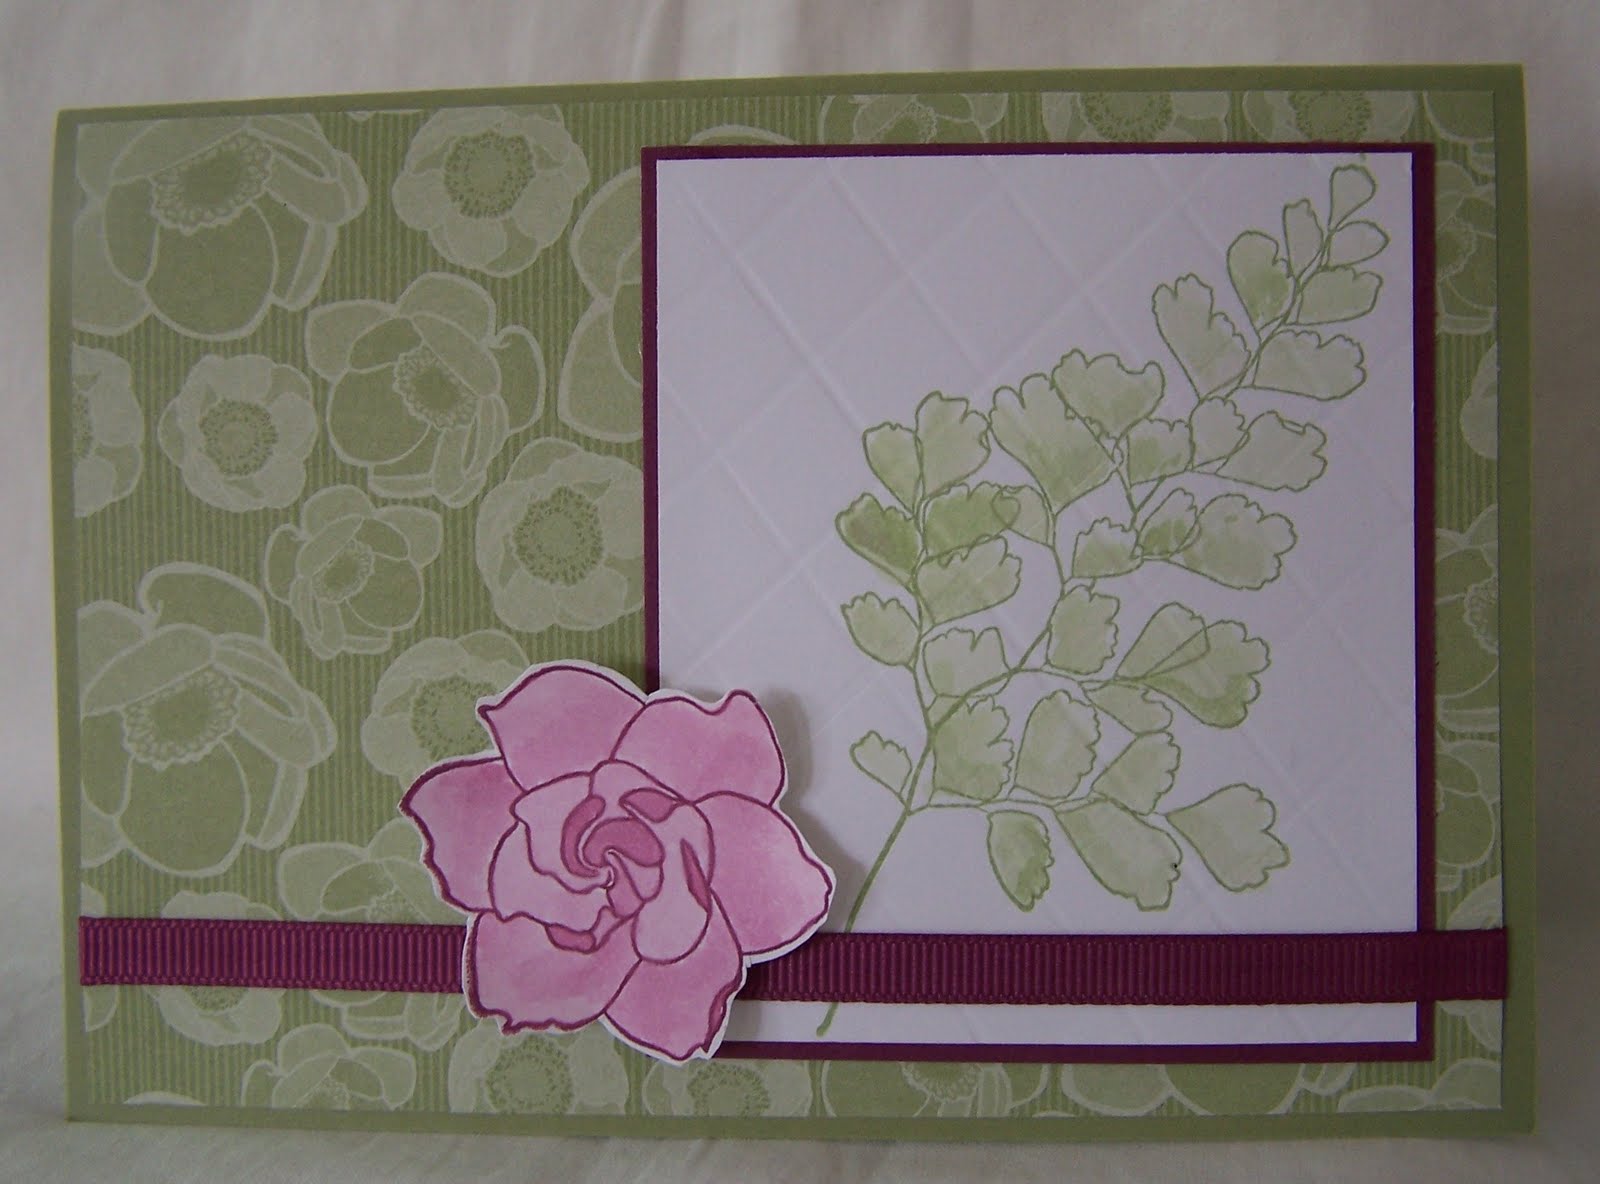
Envelope –
I just cut a piece of DSP & adhered to the LHS side of the card. Again, no stamps!
As I was taking the photo, I suddenly realised I hadn’t used any stamps on this card, except for the greeting. Just goes to show that you don’t have a lot of products to create a really effective card!
Something else which crossed my mind – what a great way to use up the little bits of DSP that we can’t bare to toss out!
Supplies –
Stamp Set – Well Scripted
Ink – Pumpkin Pie
Cardstock – Whisper White, Pumpkin Pie, Chocolate Chip, Pear Pizzazz
DSP – Greenhouse Gala
Embossing Folder – Square Lattice
Accessories – 2-Way Glue Stick, Snail Adhesive, Bigshot, SU Dimensionals, Dazzling Diamonds
Until tmw, when I will post the “something“. Enjoy!
Like this:
Like Loading...