The Scrap Room | Violet Dreams Collection

G’Day Crafty Friends,

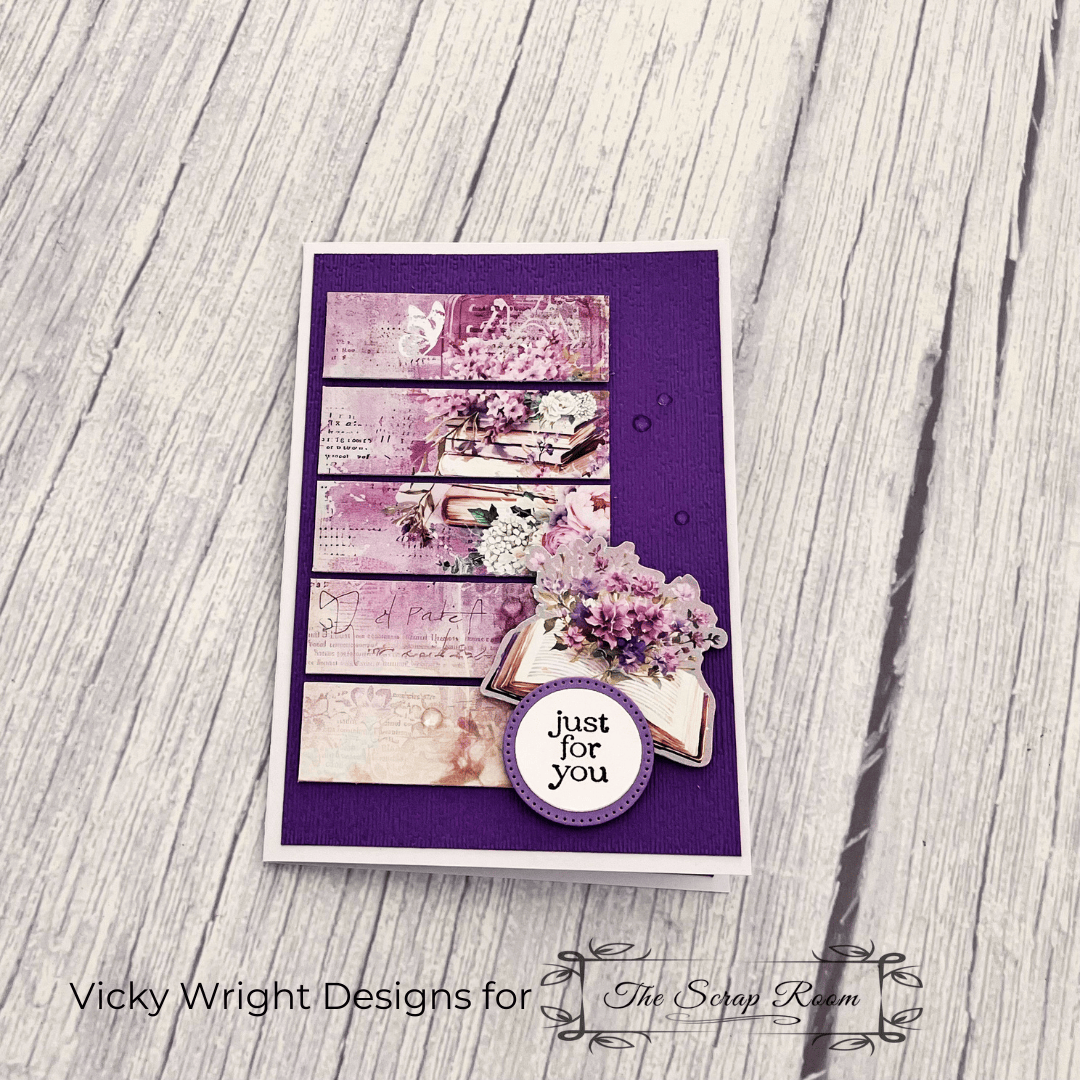
I’m taking a bit of a break from the album I’ve been creating, to share a card with you which has been created with the Violet Dreams 6 x 4 Card Collection by 3Quarter Designs & available from The scrap Room.

Now, I will admit I am not a purple girl but there are lots that love this colour.  In saying that, once I started creating with this collection, I found myself not wanting to stop.  The colours & designs in this collection are simply beautiful.

I started out by embossing a piece of Purple Cardstock prior to adhering to one of the White Base Cards that are included in the pack.  Don’t you just love that Base Cards are included in the pack?

I then grabbed a piece of the lovely paper prior to randomly chopping it into 5 pieces – you kow me with my chopping pattern paper – & keeping the pattern in order, the pieces were adhered to the left side of the embossed cardstock with Foam Tape leaving narrow borders of colour showing around all pieces & ensuring they were straight down the left side.
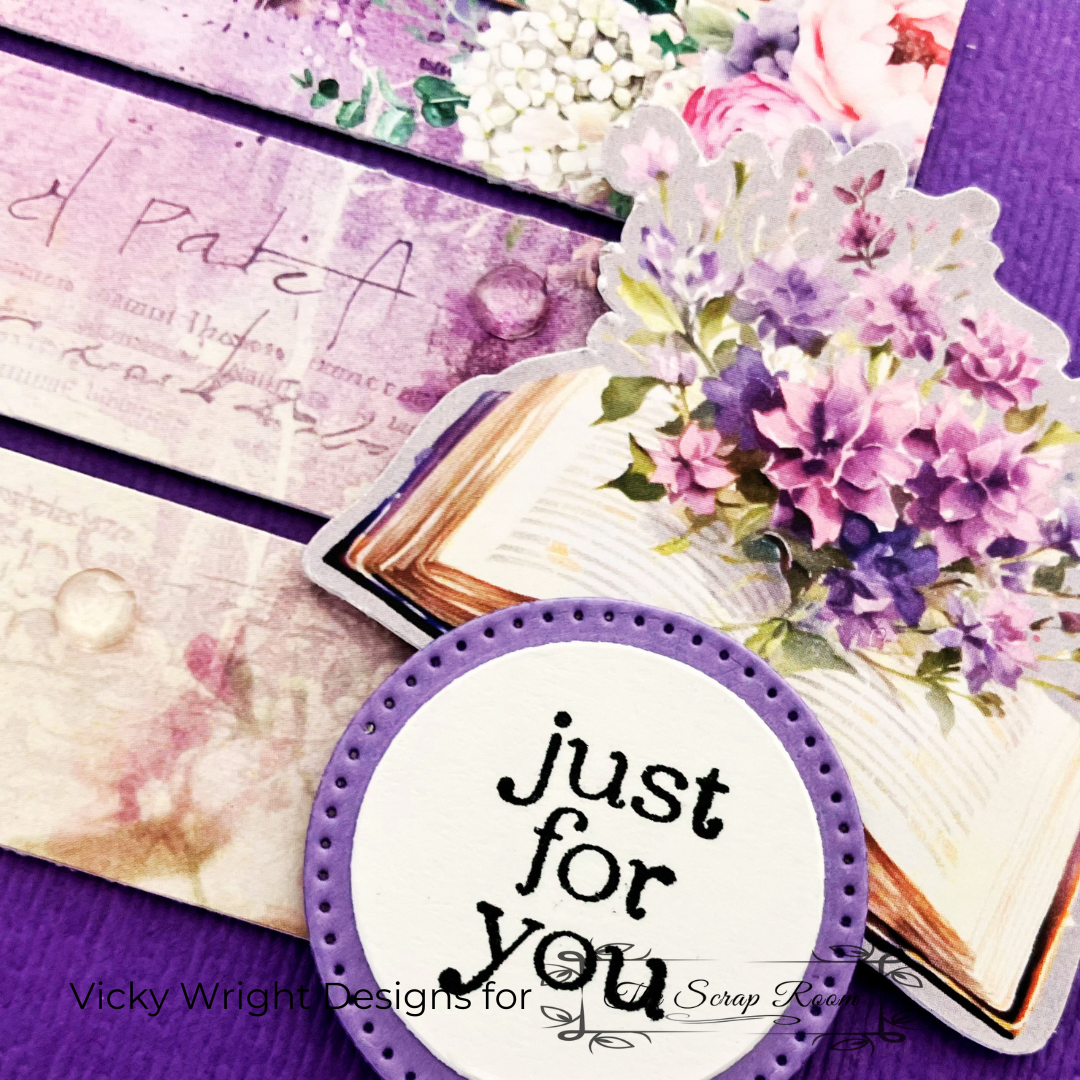
The sentiment was stamped onto a piece of White Cardstock, punched with a Circle Punch prior to adhering to a lighter Purple Crardstock which has been die cut with a Stitched Circle Die.

One of the die cuts from the collection was then adhered towards the bottom of the card front with Foam Tape & then the sentiment circle adhered towards the bottom with Adhesive along the top & Foam Tape along the bottom.

The card was compete by randomly adhering Clear Embellishment to the card front.

Supplies – The Scrap Room

Shop the collection and all your scrapbook essentials at The Scrap Room Shop.

Until next time – stay inspired & keep creating!

Vicky
Inspiring Heartfelt Creations, One Beautiful Layer at a Time
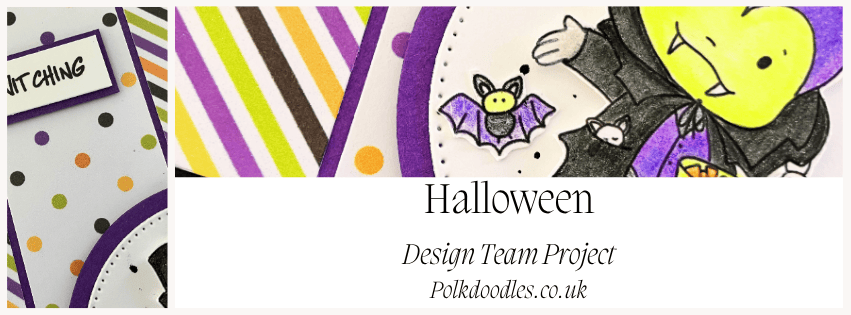
Digi Choosday | Polkadoodles Crafts | Halloween

G’Day Friends,

It’s time to get spooky with a little Halloween fun for Digi Choosday !

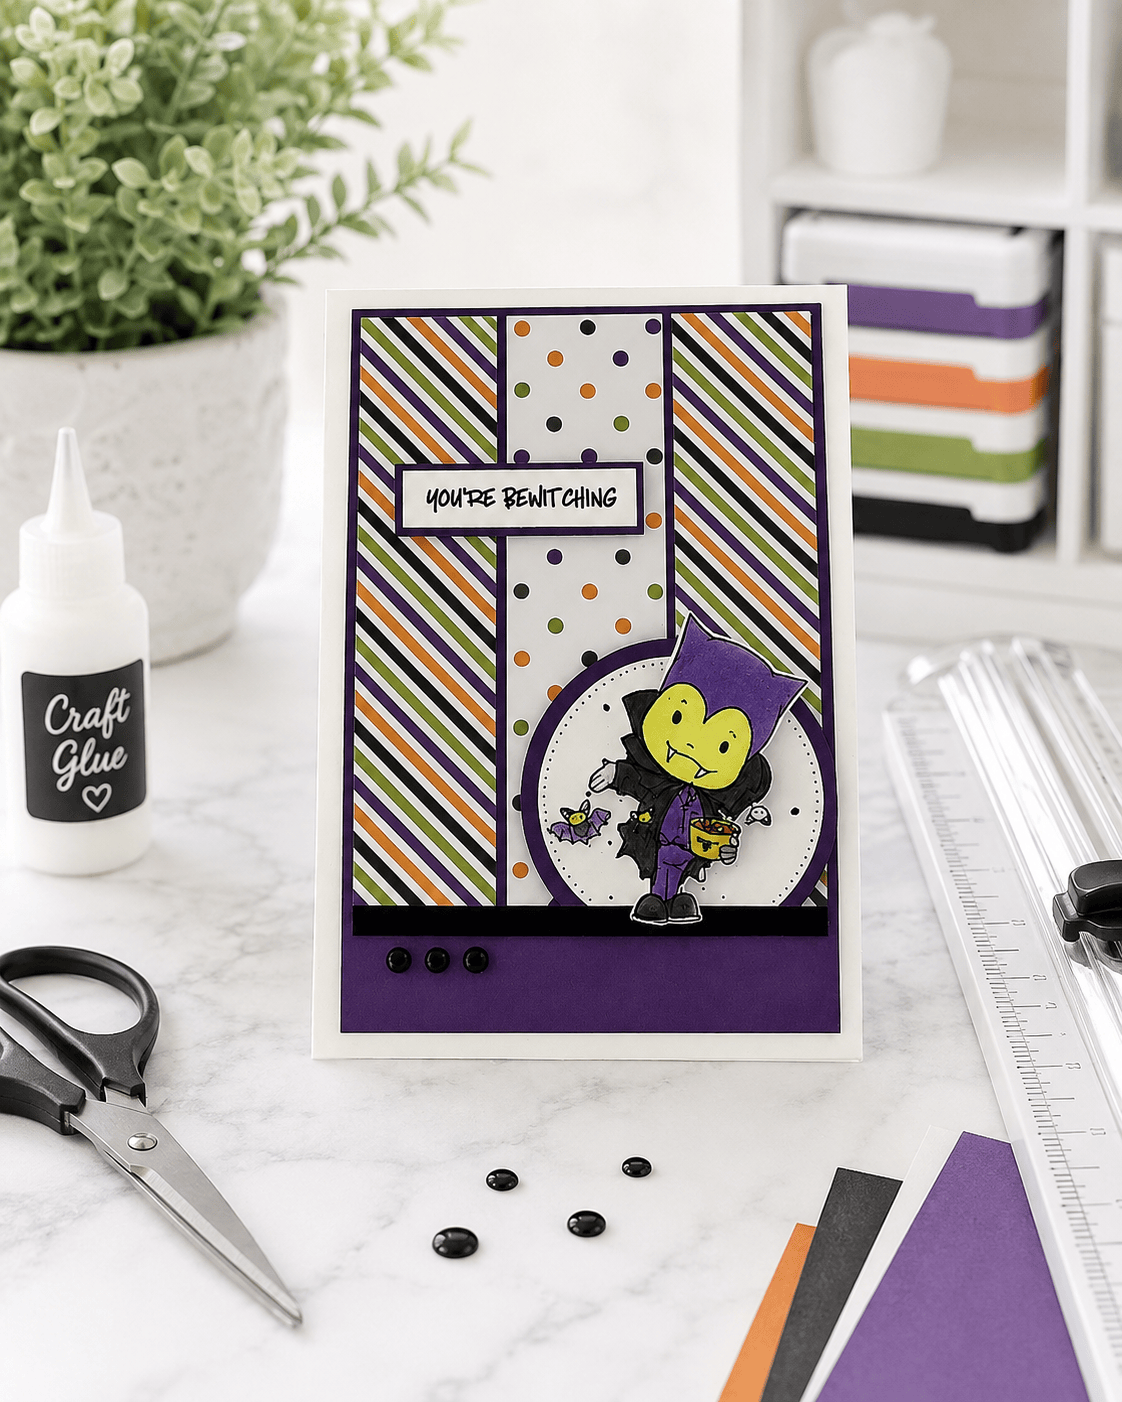
Our theme this week is all about Halloween.  Now, I don’t do or create anything Halloweeny – is that a word? – but I will say I really enjoyed colouring this little “fella” & creating my card.  The colours & patterns in the papers are so bright & happy!

I coloured Dracula Boo Digi Stamp using Prismacolor Pencils, adding depth and shading to bring this cheeky little vampire to life.  Don’t you just that little green face?

For the background, I wanted to showcase the Halloween Trick or Treat Printable Papers Bundle 2 so I randomly chopped 2 of the pieces before adhering them to a bright purple layer.

I then die cut a white circle and layered it onto a punched coordinating circle.  To add a little extra Halloween messiness, I used a Black Posca Pen to create splatters across the circle.   I love how this simple detail adds a fun, slightly spooky finish!

Of course it had to have a sentiment which is from the Halloween Treat or Treat Digi Sentiments & a couple of Embellishment along the bottom to complete the card.

A fun combination of spooky, cute and a little bit messy — just right for Halloween!

Products Used

Ready to get crafty?  Head over to the shop to grab today’s featured products and have a peek at all the other lovely digi stamps, printable papers, sentiments and crafty goodies available — there’s plenty to inspire your next creative project!

Don’t forget to stop by the blog for more inspiration.  We’d love to see what you create, so if you make something using any of Nikki’s product, be sure to share it with us.

Thanks so much for stopping by today.  I hope today’s project inspires you to dig through your stash to create a card of your own.

Until next time – stay inspired & keep creating!

Vicky
Inspiring Heartfelt Creations, One Beautiful Layer at a Time

FREE One 6 x 6 Sheet Wonder Tutorial | Two Cards

G’Day Crafty Friends,

Not sure about you, but I love finding ways to get more from the supplies already in my stash, and today’s project is a perfect example!

In this free One Sheet Wonder tutorial, I’m showing you how to take one 6 x 6 sheet of patterned paper and cut it to create two cards!

I’ll be sharing one of the cards today, using an easy layout and a simple card-making template that you can recreate with supplies you already have.

The cutting template makes it easy to get the most from your patterned paper, with pieces left over to create a second card.

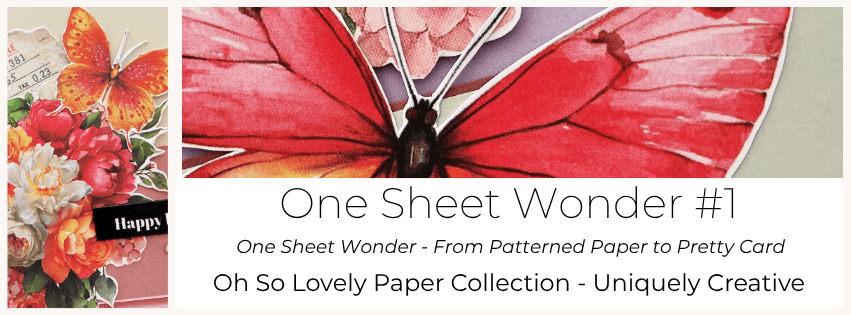
For today’s card, I’ve added some coordinating images cut from the Oh So Lovely Paper Collection to match the colours and patterns in the paper.  But you definitely don’t need to have the exact same products to make this card!

Use what you have in your stash and make it your own.

Choose a favourite patterned paper, find some coordinating cardstock, then add die cuts, stamped images, embellishments or a sentiment you already have.

The layout is simple enough that you can easily adapt it to suit whatever supplies you have on hand.

Grab the Free Tutorial

The free tutorial and cutting template will show you exactly how to cut your 6 x 6 patterned paper so you can create both cards.

It’s a quick and easy project that’s perfect for using up those smaller sheets of patterned paper — and a great way to make two cards from just one piece!

I hope you’ll give this One Sheet Wonder a try.  Pull out some patterned paper from your stash, follow the template and see what you can create!

And don’t forget to come back to see the second card made from the same 6 x 6 sheet.

Oh So Lovely – OSW #1

Until next time – stay inspired & keep creating!

Vicky
Inspiring Heartfelt Creations, One Beautiful Layer at a Time
CardMaker’s Kit #5 | Wings & Wheels

G’Day Crafty Friends,

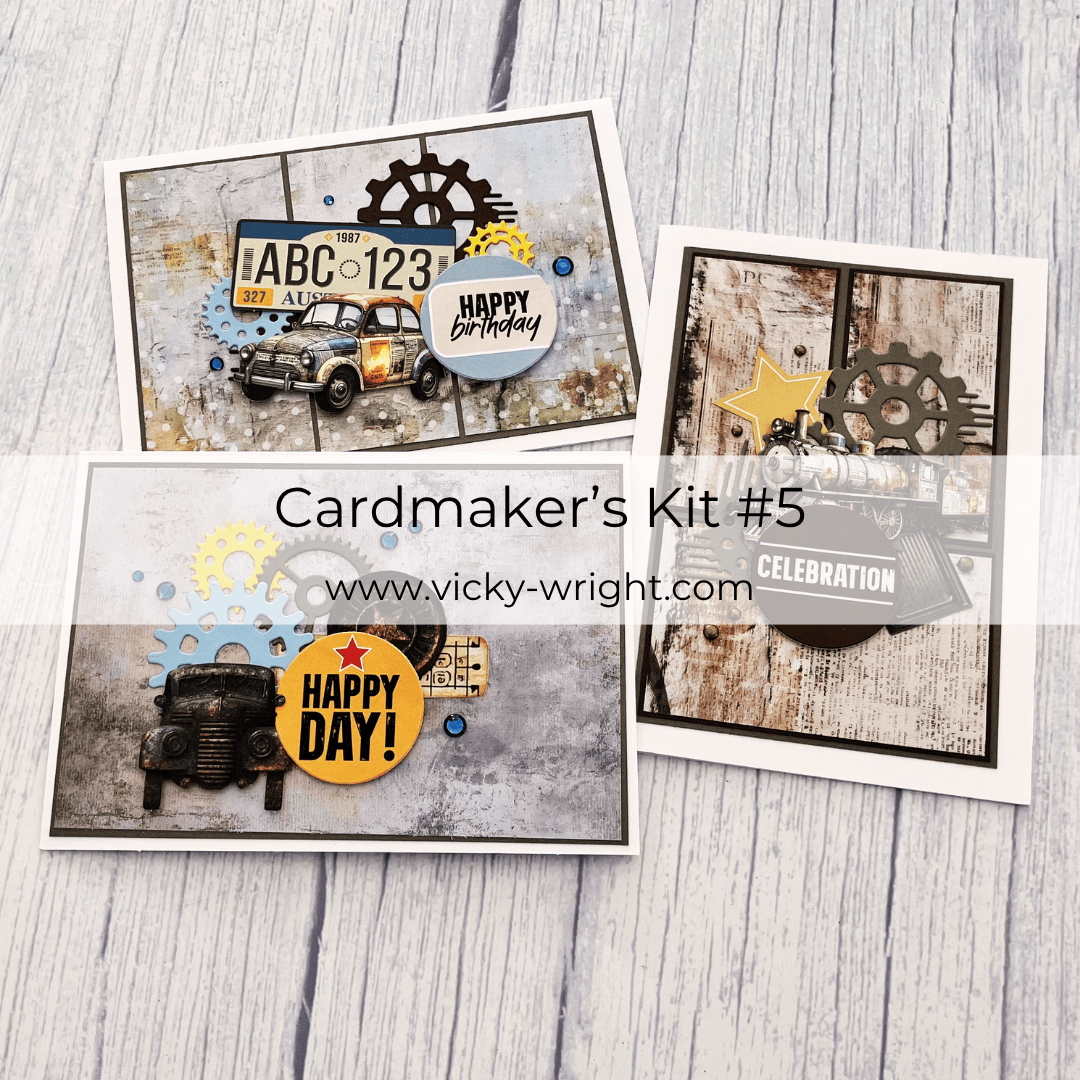
Get creative with Cardmaker’s Kit #5, featuring the fabulous Wings & Wheels Collection!

This kit includes everything you need to make 3 handmade cards – one each of 3 different designs:

  • 3 card bases & envelopes
  • Coordinating coloured cardstock
  • Patterned paper from the Wings & Wheels Collection
  • Coordinataing die cuts
  • Sentiment Sheet – all cut for you & includes 6 sentiments – Happy Day, Happy Birthday x 2, Celebration, Birthday Wishes & Happy Father’s Day
  • An easy PDF tutorial with step-by-step instructions
  • Postage

Everything you need to make stunning vintage-inspired cards in one convenient pack.

These designs are perfect for the men in your life, whether you’re creating cards for birthdays, Father’s Day or just to let someone know you’re thinking of them.

With the papers and supplies already coordinated for you, this is a fun and easy way to create three fabulous cards without having to gather all the materials yourself.

Limited kits available — once they’re gone, they’re gone!

Purchase this kit TODAY for $40!

Until next time – stay inspired & keep creating!

Vicky
Inspiring Heartfelt Creations, One Beautiful Layer at a Time
Christmas Wishes 6 x 6 Collection | Paper Rose Studio | Fun Fold

G’Day Crafty Friends,

If you love fun folds, then today’s project is definitely for you!

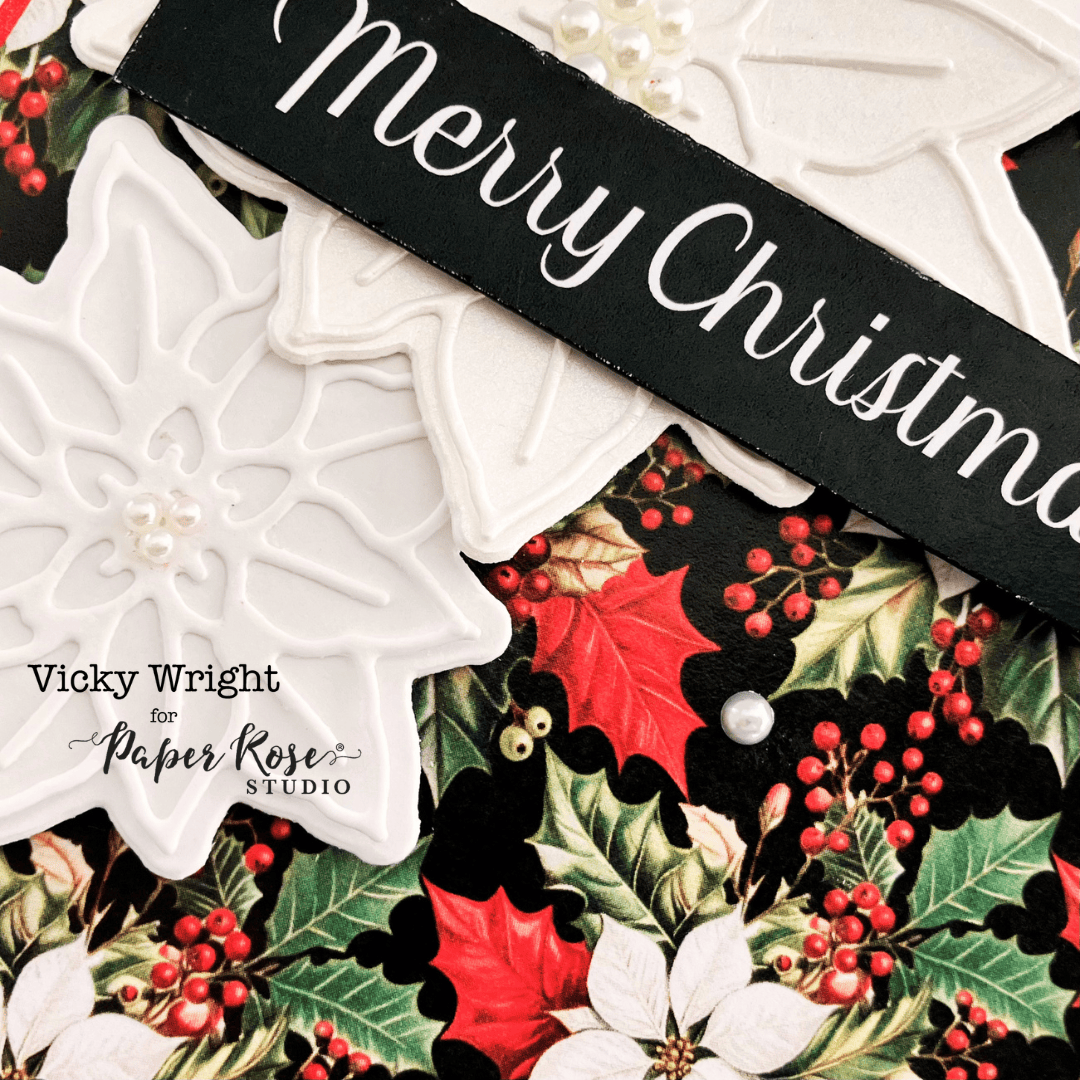
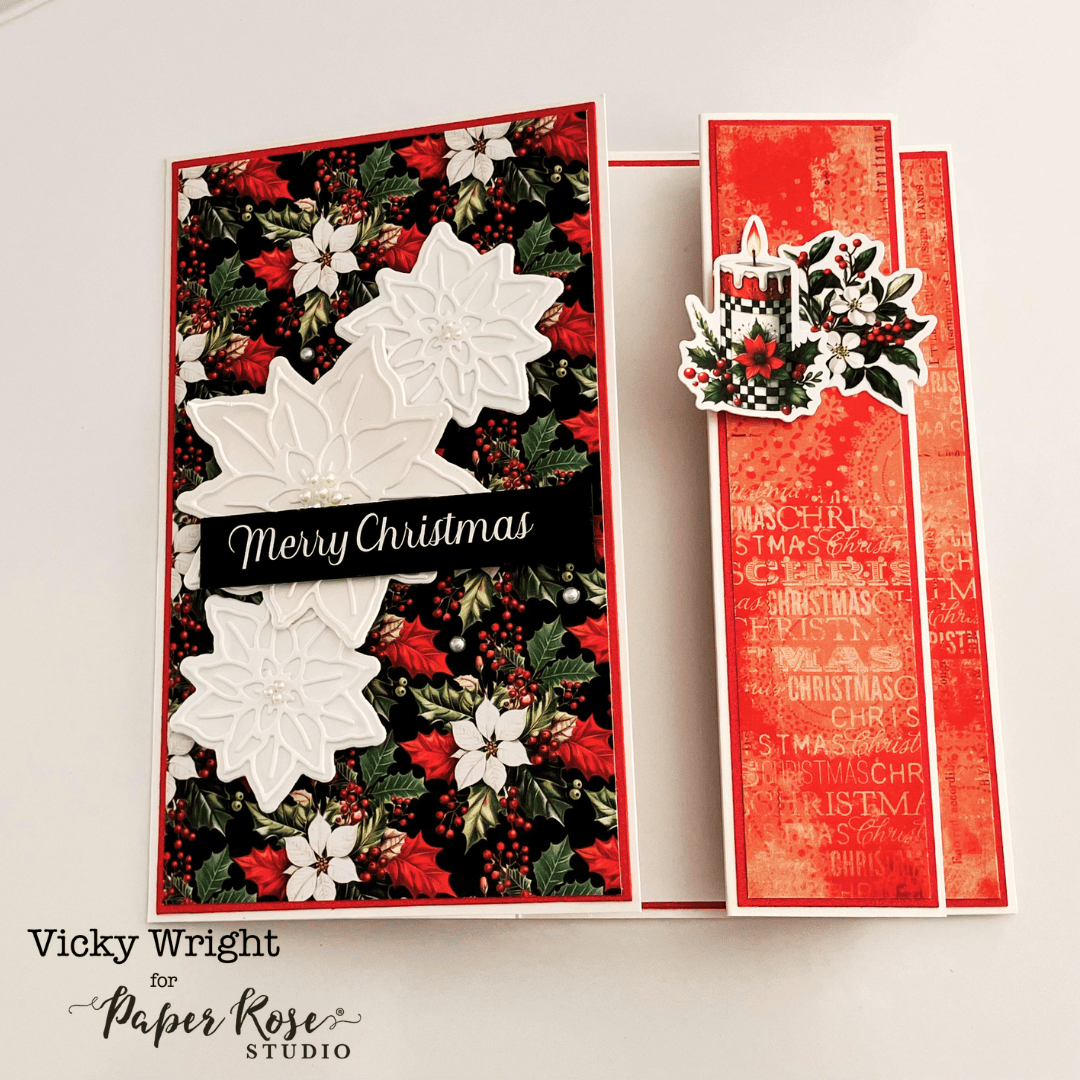
I’m excited to share a Christmas card featuring the beautiful Christmas Wishes Collection by Paper Rose Studio and a fun fold that adds an extra little surprise when the card is opened.

Fun-fold cards are always a favourite AND they don’t have to be difficult to make.  Once you’ve got the measurements and a few simple score lines sorted, this card comes together beautifully.

A Festive Christmas Favourite

For this project, I’ve used the Christmas Wishes Collection to create a traditional Christmas feel with plenty of festive details.  The patterned papers, coordinating colours and Christmas-themed elements make decorating the card so easy.

Of course, there’s plenty of room to add your own personal message inside — perfect for sending a special Christmas wish to someone you love.

Let’s Shop –

Ready to create?  Shop the Christmas Wishes Collection and start making your own festive fun-fold cards today!

Having the instructions in a PDF makes it easy to save the tutorial to your computer or device and refer to it while you’re crafting.

Download the Christmas Wishes Fun Fold PDF Tutorial

I hope this fun-fold Christmas card inspires you to pull out your Christmas papers and get creative.

Until next time – stay inspired & keep creating!

Vicky
Inspiring Heartfelt Creations, One Beautiful Layer at a Time