Paper Rose Studio | Seaside Memories Collection

G’Day Crafty Friends,

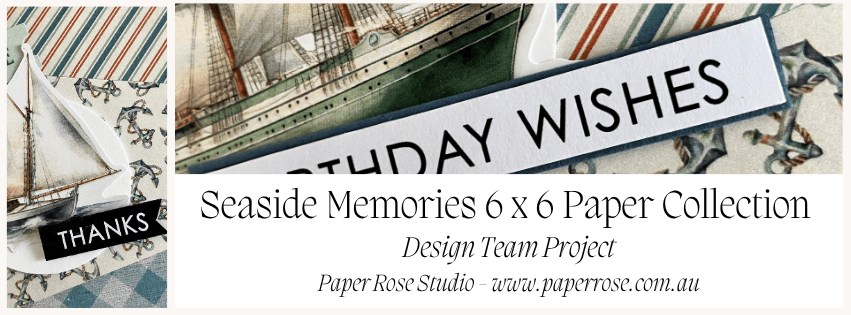
2 Cuts – 3 Cards with the Seaside Memories Paper Collection by Paper Rose Stuido.

If you know me, I like to try & strech my papers a little further to create different looks with my papers.  It’s fun & very satisfying seeing just how much you can create from a few simple pieces.  Today I’m sharing three square cards made using the beautiful Seaside Memories Paper Collection – with just 3 pieces of paper AND two cuts of patterned paper!

The focus of these cards is all about letting the gorgeous seaside-inspired designs shine.  By keeping the layouts clean and balanced, the patterned papers become the stars while still leaving room for lovely embellishments.

To add texture and dimension, I incorporated coordinating Seaside Memories Embossed Die Cuts and Seaside Memories Tags & Tickets Embossed Die Cuts throughout each design.  The raised details catch the light beautifully and add an elegant finishing touch without overwhelming the patterned papers.

This project is a great reminder that you don’t need to use lots of supplies to create a coordinated set of cards.  With thoughtful paper placement and a few dimensional accents, you can make multiple cards from just a couple of paper cuts while showcasing the beauty of the collection.

Let’s Shop –

Shop Paper Rose Studio & check out all their lovely product while there.

Download the Tutorial

I’ve created a step-by-step PDF tutorial so you can recreate these projects at your own pace. The tutorial includes measurements, scoring instructions and & list of supplies.

Click below to download the PDF tutorial and start creating your cards today!

2 CUTS – 3 CARDS – SEASIDE MEMORIES

I hope this inspires you to get even more from your favourite paper collections and discover how far a little creativity can go.

Until next time – stay inspired & keep creating!

Vicky
Inspiring Heartfelt Creations, One Beautiful Layer at a Time
Christmas in July | Sweet Christmas Treats Collection

G’Day Friends,

Who says you have to wait until December to enjoy a little Christmas magic?

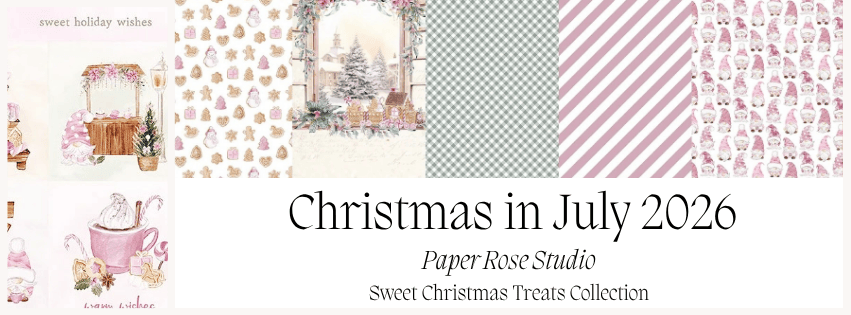
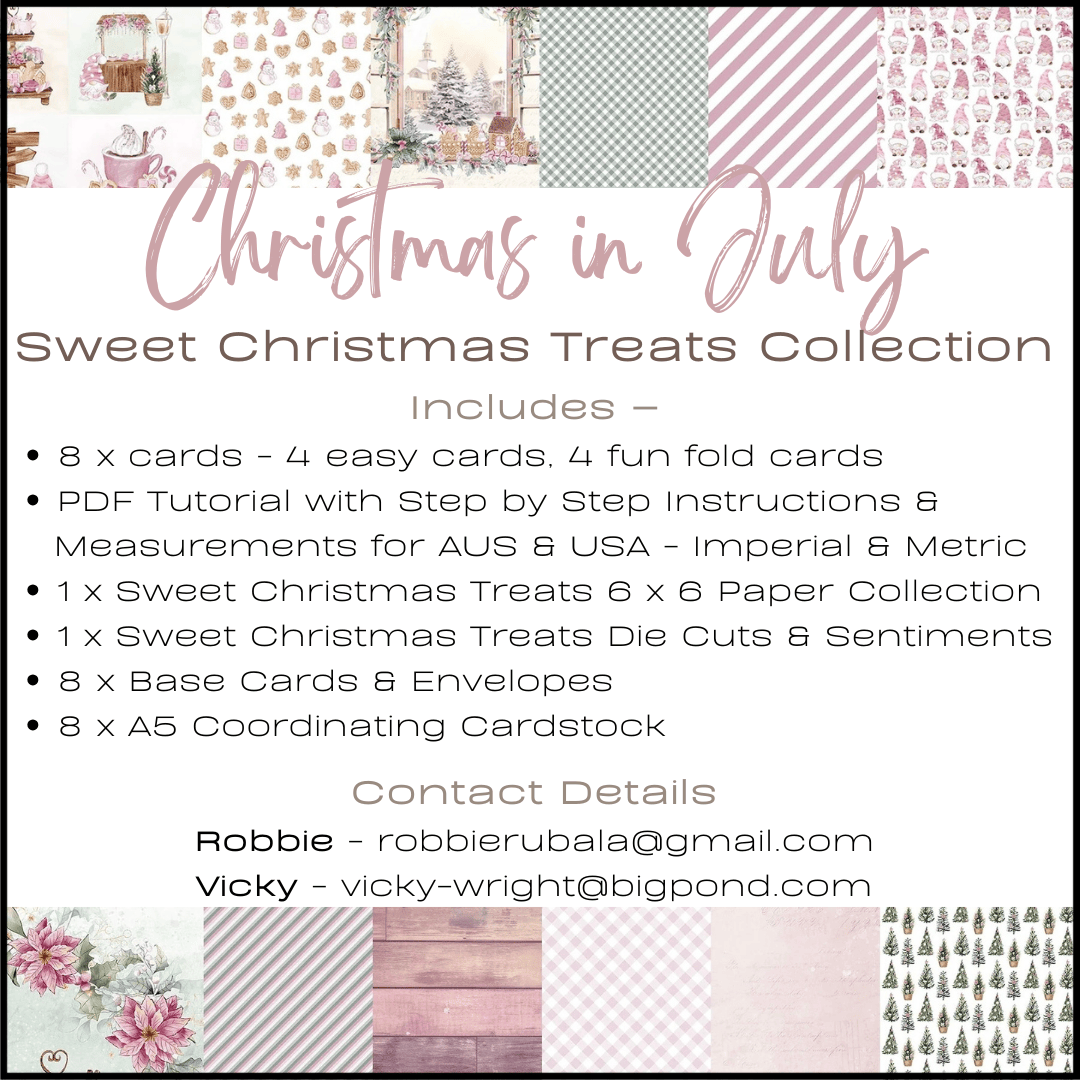
Once again, Robbie & myself have teamed up to bring you our Christmas in July celebration and it’s the perfect excuse to get creative with the beautiful Sweet Christmas Treats Collection by Paper Rose Studio!

These Kits are designed to make creating easy and enjoyable.  Each kit includes everything you need to make a gorgeous handmade project, so you can craft whenever it suits you – whether it’s with a cup of hot chocolate, surrounded by friends or during a quiet afternoon at home.  You will need your Paper Trimmer, Scissors, Adhesive, Foam Tape & Bling!

The Sweet Christmas Treats Collection is full of festive charm, featuring delightful designs that capture the joy and warmth of the Christmas season.  It’s a wonderful way to get a head start on your Christmas crafting or simply enjoy some festive fun in the middle of the year.

Kits are limited, so don’t miss your chance to join in the Christmas in July celebrations.

Send me an email today to reserve your Kit before they’re all gone!

I can’t wait to see the beautiful projects you create and celebrate Christmas in July together!

Cost of Kit is $60 – includes postage if you live in Australia

If you live in the USA, contact Robbie to reserve your kit.

Until next time – stay inspired & keep creating!

Vicky
Inspiring Heartfelt Creations, One Beautiful Layer at a Time
Paper Rose Studio | Heart & Home 6 x 6 Paper Collection

G’Day Friends,

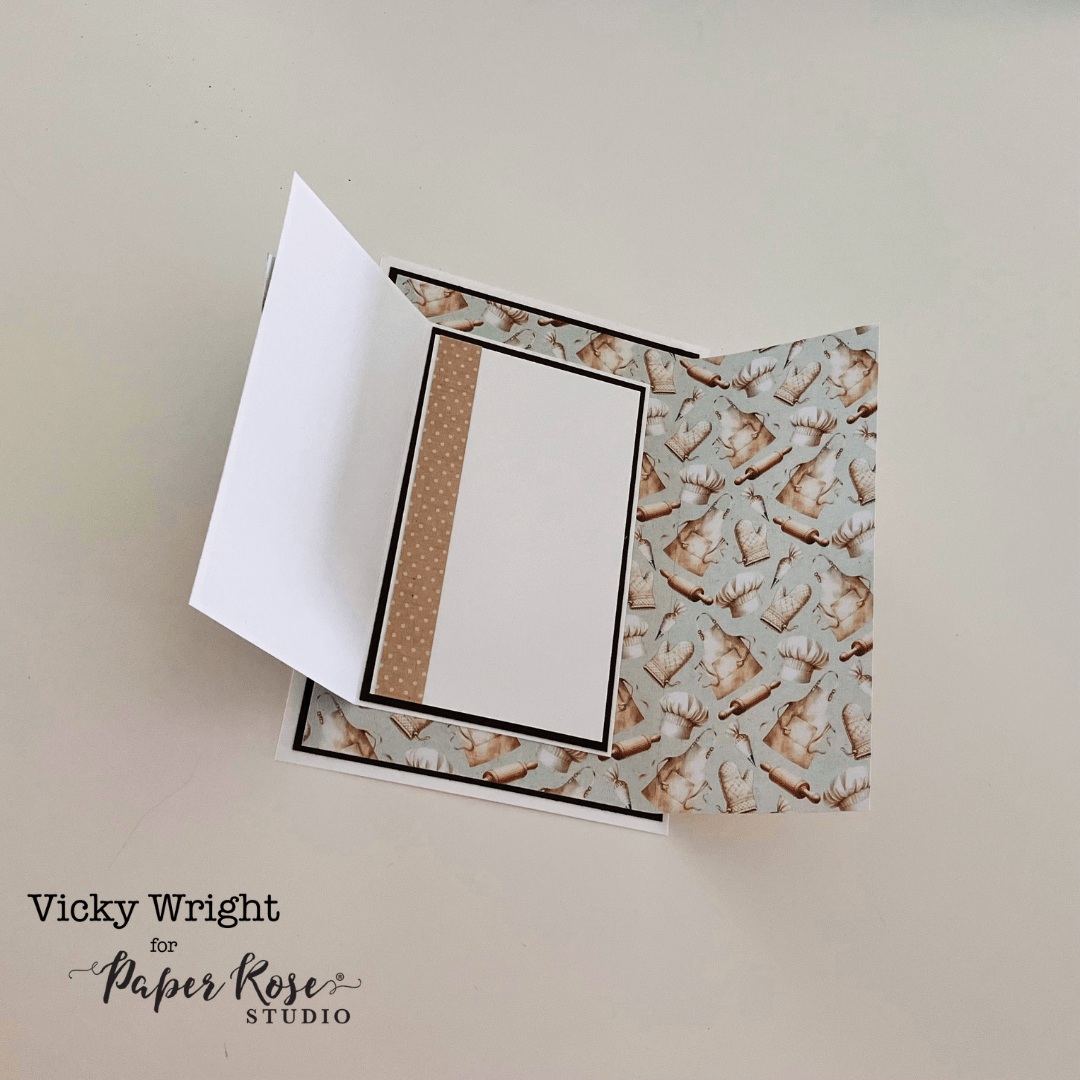
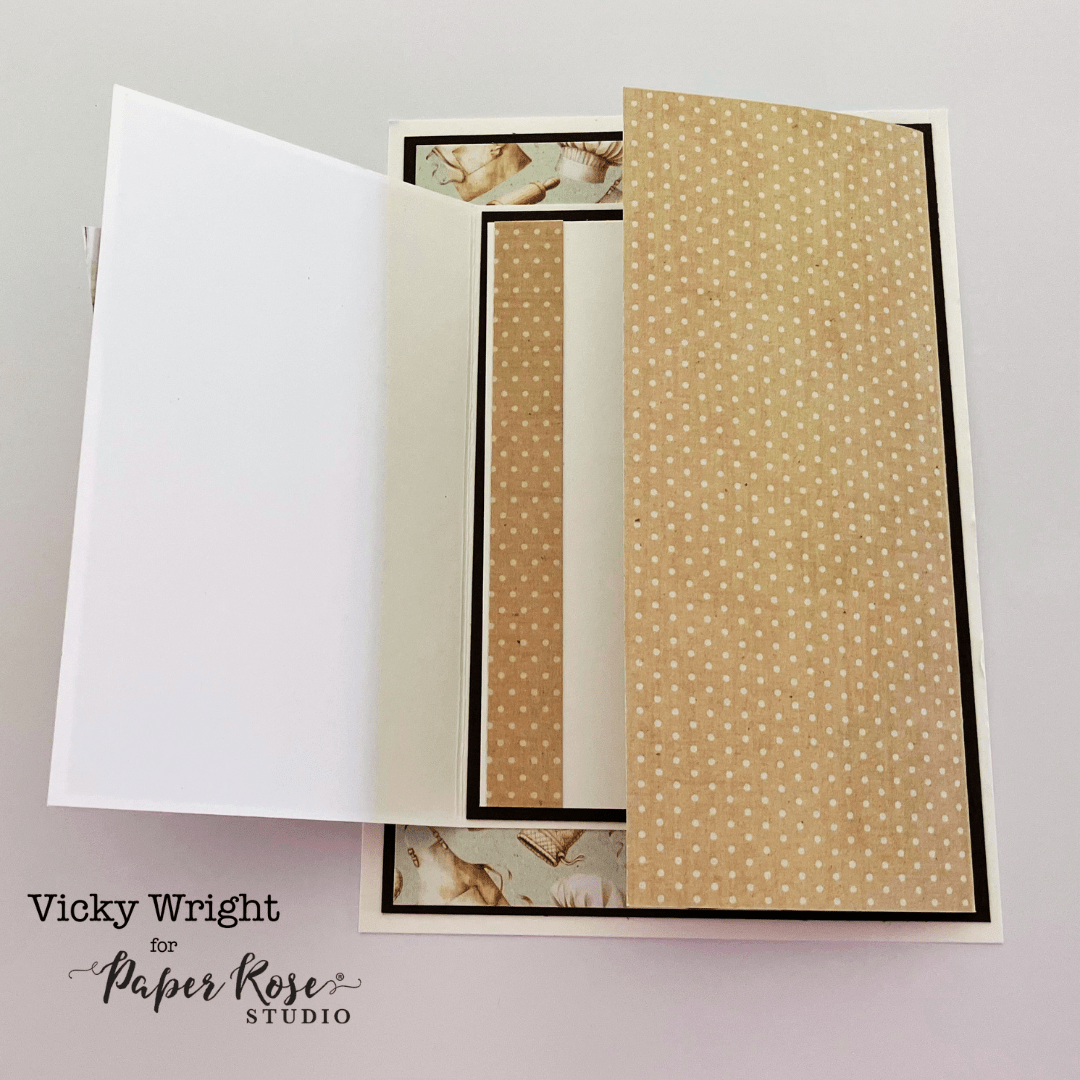
If you’re looking for a quick and creative card design, then this card is for you as it comes together in minutes!  This fun fold has been created with the Heart & Home 6 x 6 Paper Collection along with the coordinating Embossed Die Cuts  by Paper Rose Studio.

One of the best things about this design is how little paper is required.  The fun fold mechanism uses just one piece of 6″ x 6″ patterned paper, making it a great way to use up your favourite paper stash while showcasing both sides of the design.

The matching embossed die cuts add lovely texture and dimension, creating a finished project that feels extra special without adding complexity.  Whether you’re making cards for birthdays, thank-you notes or just because, this versatile fold works beautifully for any occasion.

Supplies by Paper Rose Studio

Shop Paper Rose Studio & check out all their lovely product while there.

Download the Tutorial

I’ve also created a step-by-step PDF tutorial so you can recreate this project at your own pace. The tutorial includes measurements, scoring instructions and & list of supplies.

Click below to download the PDF tutorial and start creating your own fun fold cards today!

Happy Birthday Fun Fold

Until next time – stay inspired & keep creating!

Vicky
Inspiring Heartfelt Creations, One Beautiful Layer at a Time

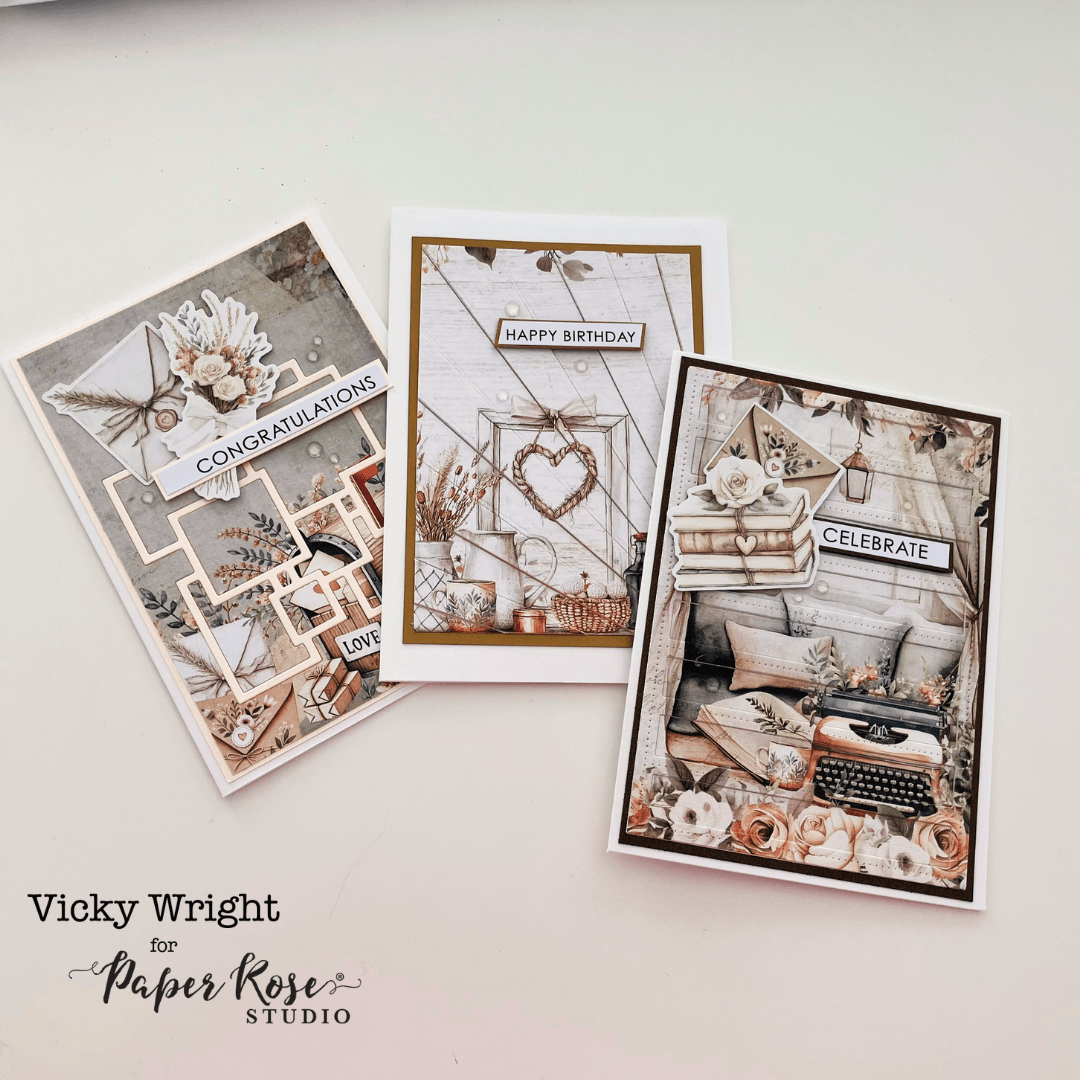
Heart & Home Basics Collection | Paper Rose Studio | Inlay Die-Cutting Technique

G’Day Friends,

Today I’m sharing three different ways to use the gorgeous Heart & Home Basics 6 x 6 Paper Collection together with the coordinating Embossed Die Cuts  by Paper Rose Studio to create elegant handmade cards using the Inlay Die-Cutting Technique.  This technique adds a polished, professional look to your projects by fitting die-cut pieces back into their original openings, creating a smooth, mosaic-like design.

Whether you prefer clean and simple cards or more detailed designs, hopefully these ideas will help you get even more from your dies and patterned papers.

What is the Inlay Die-Cutting Technique?

Inlay die cutting involves cutting a design from cardstock or patterned paper and then placing the die-cut pieces back into the negative space.  Unlike layering die cuts on top of a background, the pieces sit flush with the card front, creating a seamless finish with beautiful dimension and detail.

Card 1 – Classic Pattern Inlay

For the first card, I kept the design simple and elegant.

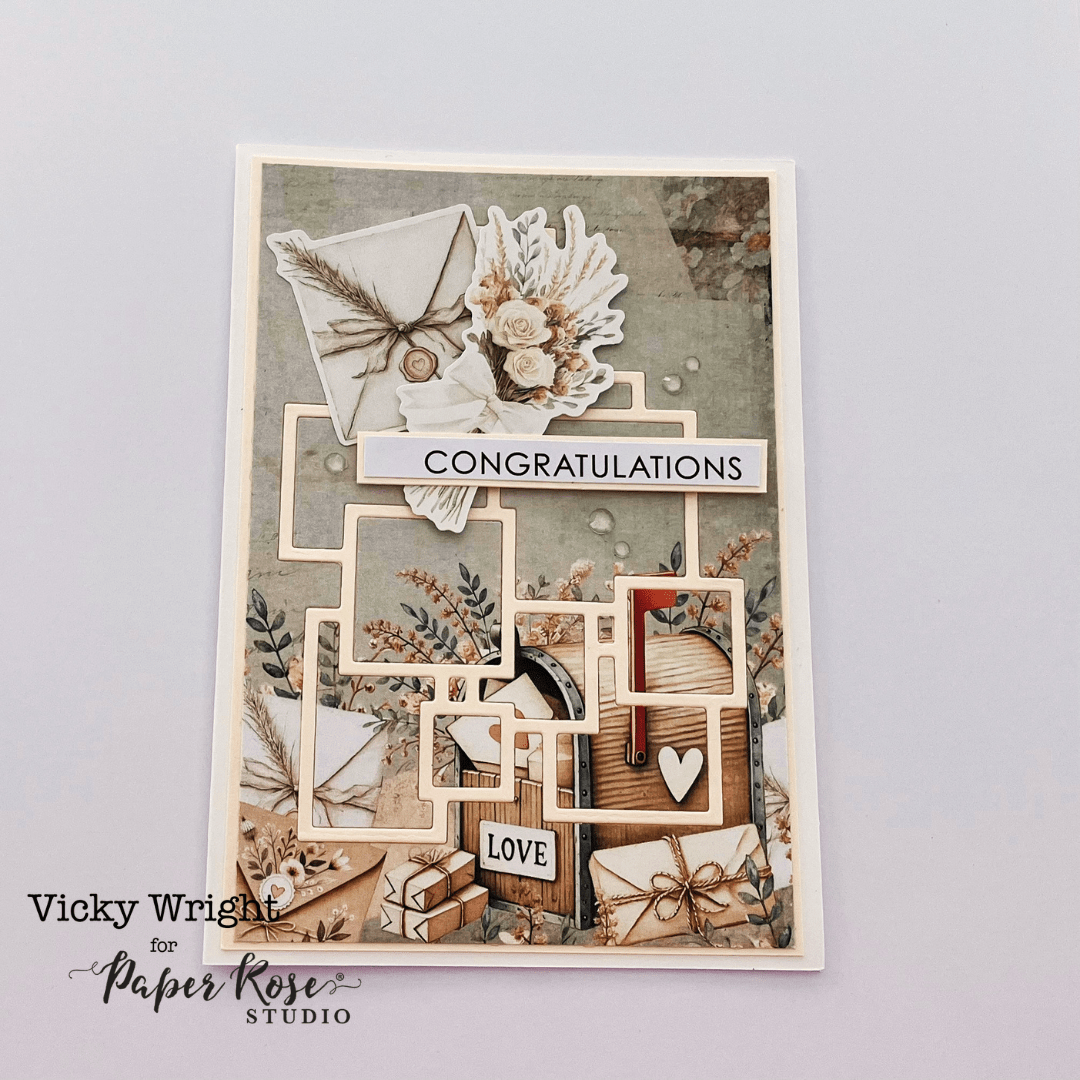
  1. Die cut the shape from a piece of the Heart & Home Basics 6 x 6 Pattern Paper with the Stacked Squares Metal Cutting Die – don’t loose any of those tiny squares!!!!
  2. Use coordinating Coloured Cardstock – Blush Pink –  to cut the same design
  3. Adhere the cut pattern paper to a blush pink panel prior to adhering to a White Base Card
  4. Adhere the blush pink die shape into the pattern paper shape ensuring it fits perfectly
  5. Inlay the pattern pieces back into the square openings with Foam Tape or Adhesive
  6. Finish with a sentiment from the All Occasions Sentiment Sheet, Embossed Die Cuts & Clear Crystal Mix

Card 2 – Multi-Layered Inlay

For a more 3D look, try mixing different levels of papers from the collection.

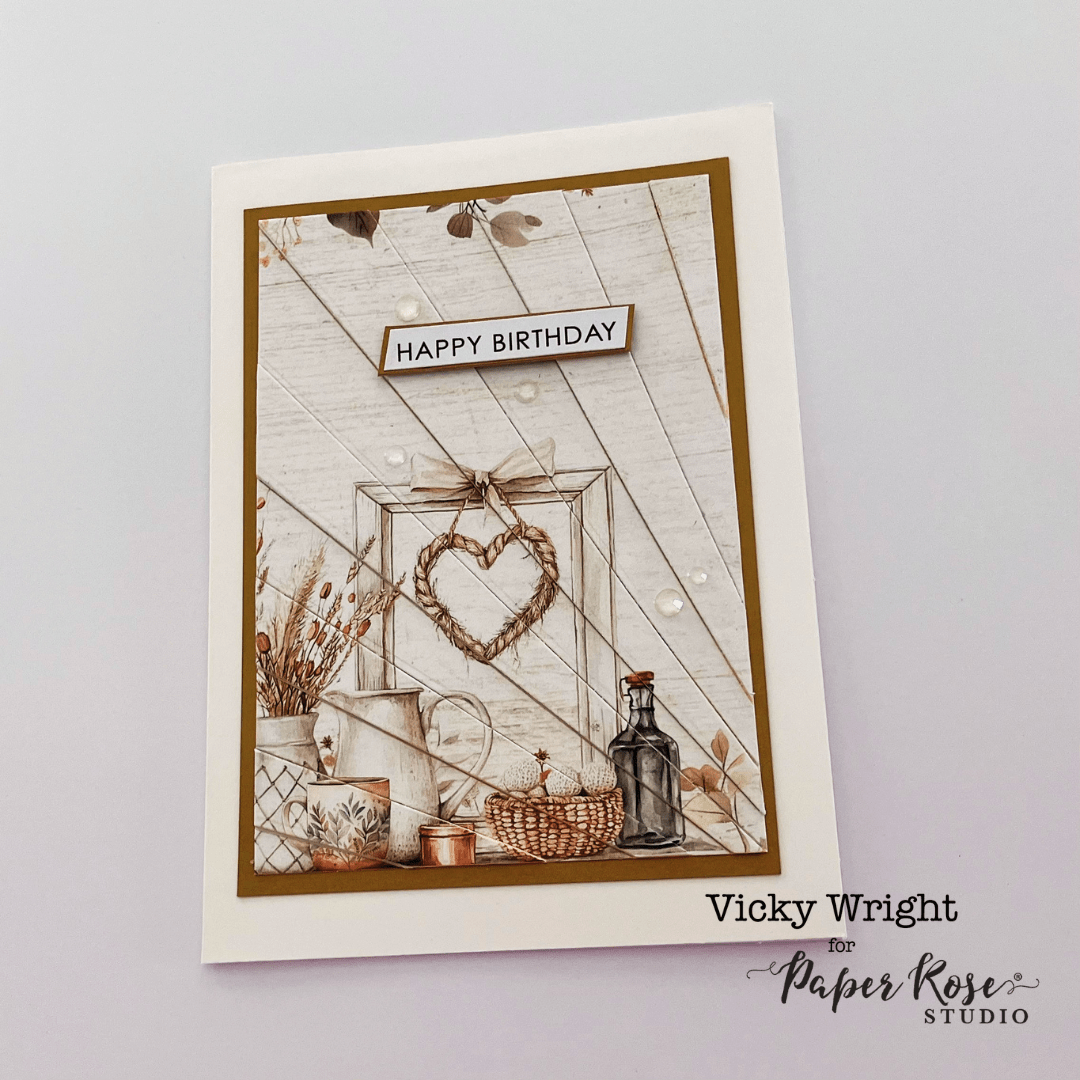
  1. Die cut the shape from a piece of the Heart & Home Basics 6 x 6 Pattern Paper with the Rectangle Ray Metal Cutting Die
  2. Cut another of the same shape from a panel of Basic White Smooth Cardstock – frame not required for today’s card
  3. Begin adhering the die cut pattern paper onto a panel of Basic White Smooth Cardstock ensuring the 1st piece is adhered flat & even along the bottom
  4. Adhere the 2nd piece of pattern paper to the strip of basic white smooth from Step 2 so that sides & along bottom are even
  5. Adhere to the basic white smooth panel so that it is butted up beside the 1st strip – this gives this strip a slightly raised look
  6. Continue with remaining strips of pattern paper & basic white cardstock until none remain – every 2nd piece of pattern paper should be raised
  7. You can raise the strips even further by die cutting another basic white smooth panel or using Foam Tape
  8. Once finished, your pattern paper should be in order with no spaces between each piece
  9. Trim back to desired size or cut excess off if any is overlapping
  10. Adhere to a panel of Coloured Cardstock – Antique Gold – prior to adhering to White Base Card
  11. Complete card by adding sentiment from All Occasions Sentiment Sheet & Clear Crystal Mix

Card 3 – Simple Framed Design

For the final card, I added extra dimension.

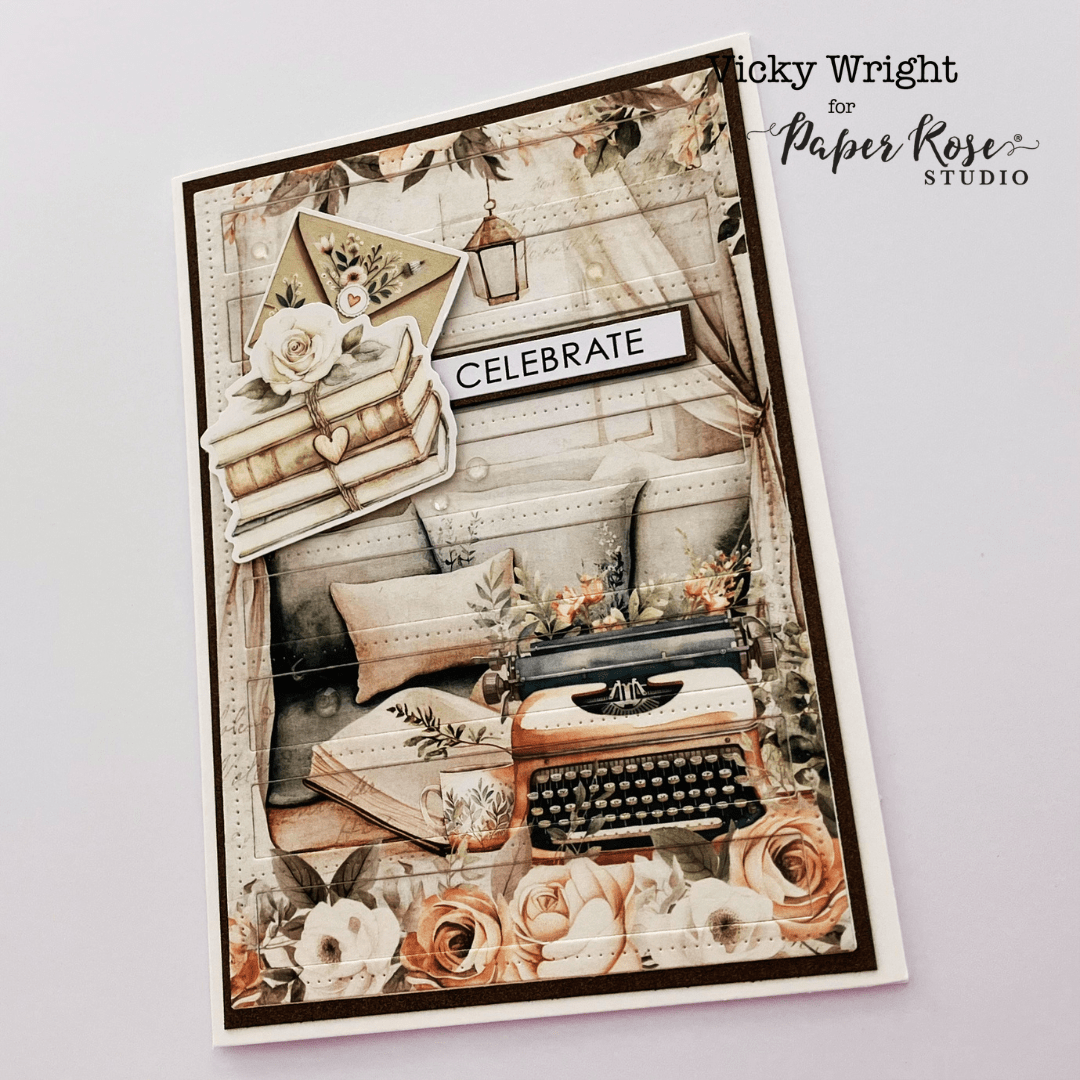
  1. Die cut the frame from a piece of the Heart & Home Basics 6 x 6 Pattern Paper with the Striped Coverplate Pierced Metal Cutting Die
  2. Cut another of the same shape with a panel of Basic White Smooth Cardstock
  3. Adhere the 2 frames onto each other with the pattern frame on top
  4. Adhere to a panel of Coloured Cardstock – Antique Bronze – prior to adhering to a White Base Card
  5. Ensuring pattern of paper is in order, adhere the strips back into place inside the frame with Adhesive, matching all pieces
  6. Once finished, your pattern paper should be in order with no spaces between each piece
  7. Complete card by adding sentiment from All Occasions Sentiment Sheet, Embossed Die Cuts  & Clear Crystal Mix

Supplies by Paper Rose Studio

Shop Paper Rose Studio & check out all their lovely product while there.

The supplies coordinate so well, crafters can relax and enjoy creating without worrying about matching colours and patterns.

Final Thoughts

The inlay die-cutting technique is such a wonderful way to showcase beautiful patterned papers while achieving a clean, professional finish.  By changing the papers, colours and layouts, you can create endless card designs from a single die set.

I hope these three card ideas inspire you to pull out your papers & dies and give the inlay technique a try.  Which design is your favourite?  I’d love to hear how you use this technique in your own cardmaking projects!

Until next time – stay inspired & keep creating!

Vicky
Inspiring Heartfelt Creations, One Beautiful Layer at a Time
Paper Rose Studio | Bees & Butterflies Cardmaking Kit | Easy Stencilled Cards

G’Day Crafty Friends,

The Bees & Butterflies Cardmaking Kit is perfect for creating easy and simple handmade cards filled with beautiful texture and thoughtful details.  Featuring embossed die cuts, coordinating cut aparts, card bases and heartfelt sentiments, this kit makes crafting both relaxing and inspiring.

Beautiful Layers Made Easy

One of the highlights of this kit is the embossed die cuts that add dimension and elegance without extra work.  Butterflies, Florals, Bees and delicate accents create layered cards that look detailed while still being beginner friendly.

Soft Stenciling for Extra Charm

Stenciling is an easy way to add soft background color and texture to your cards.  Blend light inks behind the die cuts to create a gentle, artistic look that pairs perfectly with the bees and butterflies theme.

Even simple stenciling can make handmade cards feel extra special.  I’ve created 3 cards with a basic stencilled background in lemon – matches perfectly with this Cardmaking Kit.

I will admit I am a very light blender but you could go as dark as you want.  Just remember to start off light & work to the depth of colour you are happy with.  You can always add more colour but you can’t take it away!

Perfect Sentiments for Thoughtful Cards

This cardmaking kit includes versatile sentiments that work for many occasions –  Thinking of You, Best Wishes & Get Well Soon.

These meaningful greetings make it easy to create cards that brighten someone’s day and let them know they are loved and remembered.

Supplies by Paper Rose Studio

Shop Paper Rose Studio & check out all their lovely product while there.

The supplies coordinate so well, crafters can relax and enjoy creating without worrying about matching colours and patterns.

Until next time – stay inspired & keep creating!

Vicky
Inspiring Heartfelt Creations, One Beautiful Layer at a Time