LNS 159…

This card was created for my cousin who has requested a number of Misc Cards for her shop.  It is also the card we did this arvo at the Community Centre.  Mind you, I did have a number of boys cards for them to select from, as not all the ladies have granddaughters.  In fact, most of them have grandsons.
?

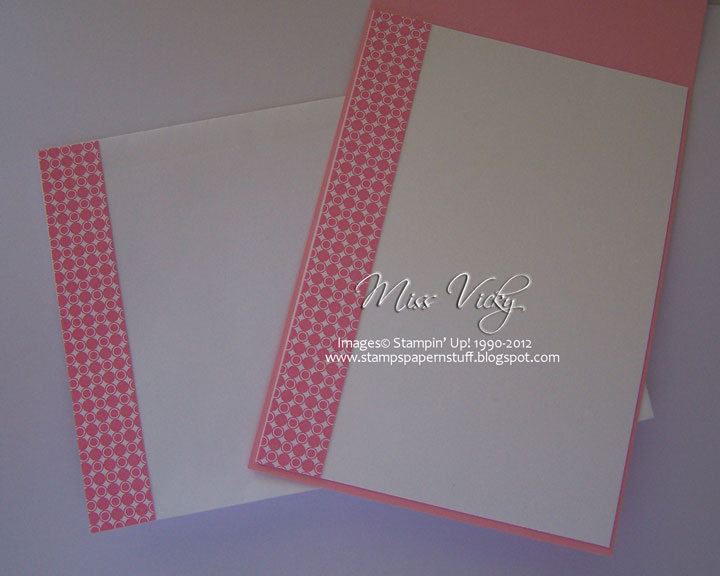
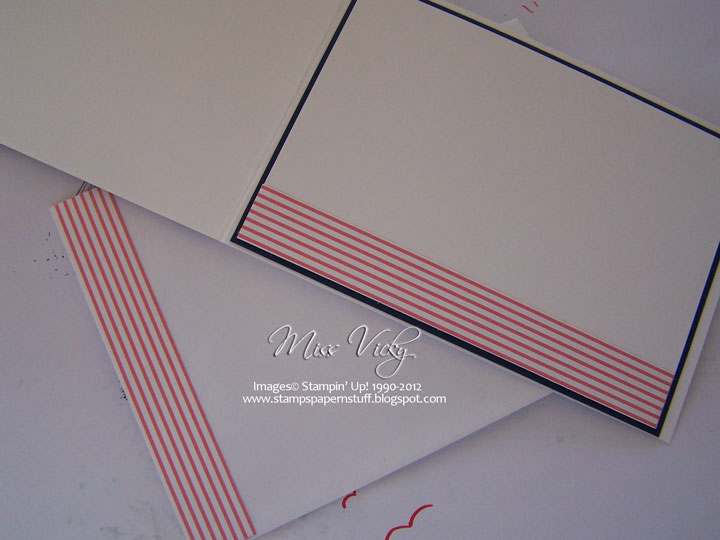
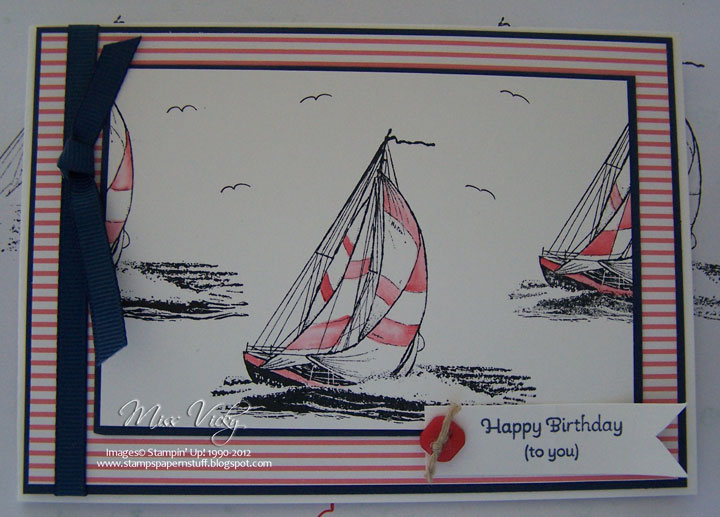
Envelope & Inside Card…

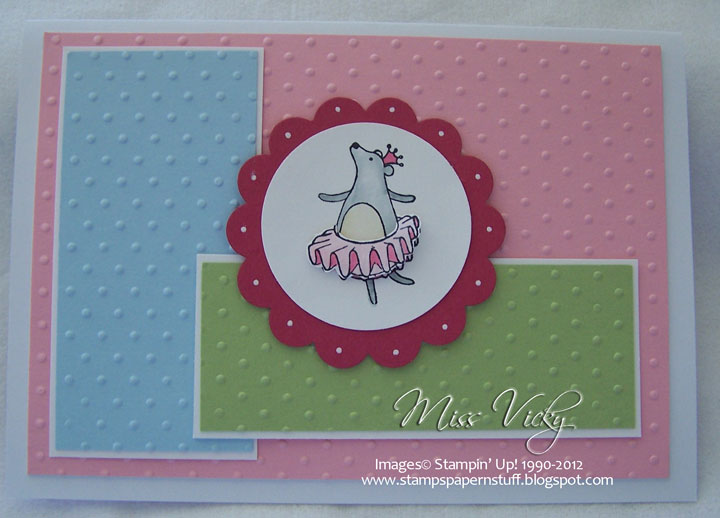
? After seeing this week’s challenge at Late Night Stampers, this is the perfect card for that too.  “It is to create a Girly Girl card,srapbook page, project, or 3D item.  Make your creation as feminine as you can.  Lots of frilly, ruffly, and anything else you can think of items on your card.  We want these creations to ooze Girly Girl!”

To me, this sort of card screams Pink, Pink, Pink & more Pink!  I kept to a very simple layout & a clean card on purpose!

Measurements –
Base Card – Pretty in Pink – 11 3/4″ x 4 1/8″ or 30cm x 10.5cm – Scored in the middle & folded in half
Layer 1 – Whisper White – 5 3/4″ x 4″ or 14.5cm x 10cm
Layer 2 – DSP – 5 5/8″ x 3 7/8″ or 14cm x 9.5cm
Layer 3 – Whisper White – 3″ x 2″ or 7.5cm x 5cm
Layer 4 – Pretty in Pink – 2 7/8″ x 2 7/8″ or 7cm x 4.5cm
Layer 5 – Whisper White – 2 3/4″ x 2 3/4″ or 6.5cm x 4cm

I layered the DSP onto the larger piece of Whisper White using Snail Adhesive, adhered a piece of Ribbon across the middle, tucked the ends under & tied a knot to the left hand side.  The whole piece was then adhered to the Base Card – Whisper White using Snail Adhesive.
 ?

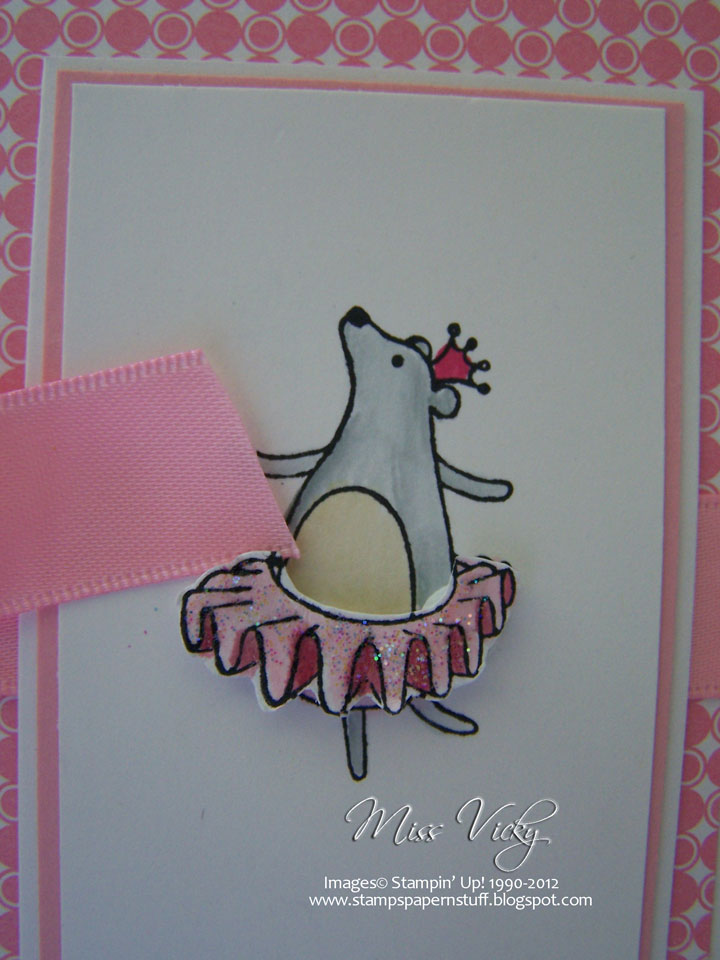
Close up of Ballerina….

?
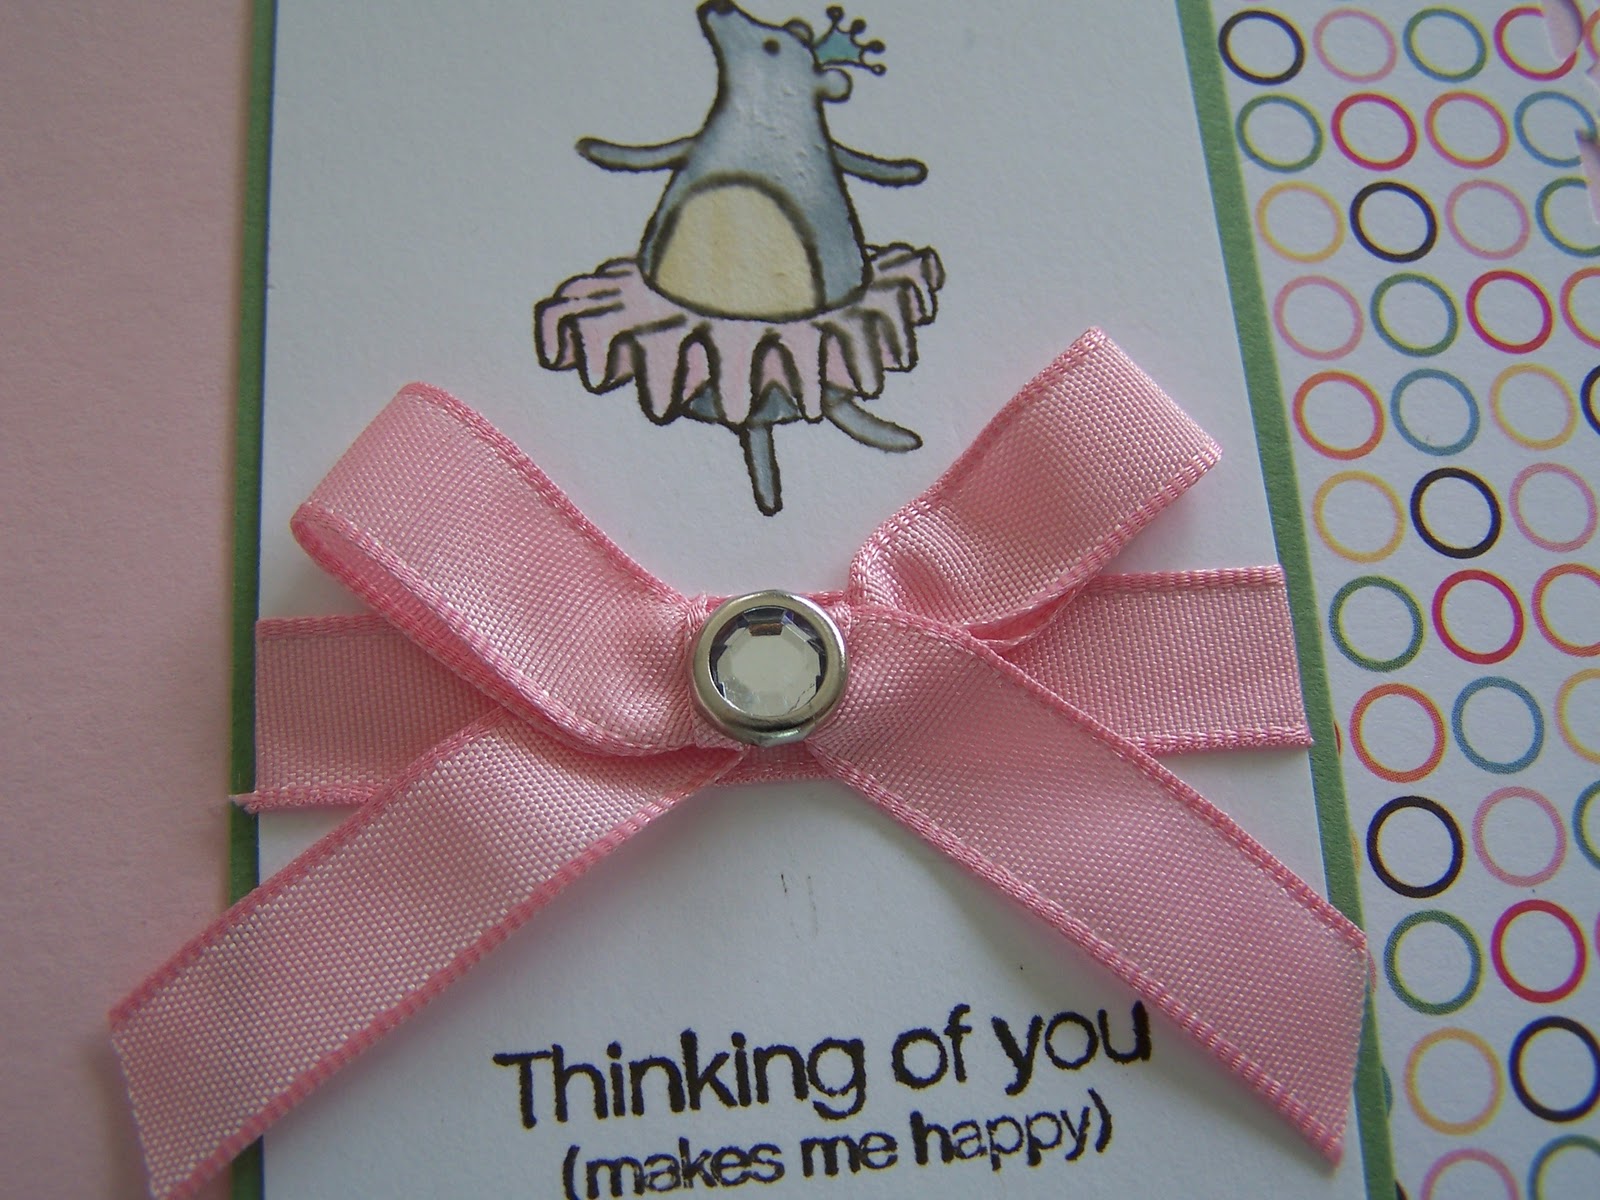
I stamped my image onto the smallest piece of Whisper White using Staz-On Ink & again onto a scrap of Whisper White Cardstock.  I coloured the image using my Blender Pen, SU! Markers – Basic Grey, Pretty in Pink, Melon Mambo & So Saffron.  I repeated the same for the 2nd image, except just colouring the little skirt.  I cut around this skirt, added Dazzling Diamonds with a 2-Way Glue Pen & adhered to the main image with Stampin’ Dimensionals.

This whole piece was then adhered to the piece of Pretty in Pink, then to the larger piece of Whisper White & finally to the Base Card using Snail Adhesive.

I stamped the sentiment onto another piece of scrap Whisper White Cardstock with Staz-On, punched with the Modern Label & adhered to a piece of Pretty in Pink, which I had punched using the Modern Label, cut down the middle & adhered to the Whisper White, so that I had a little piece of Pretty in Pink showing at both ends.

I adhered 2 Rhinestones to either end.  These were coloured with a permanent marker.

Supplies –
Stamp Set – Under the Big Top, Happy Moments (Retired)
Ink – Staz-On
Cardstock – Whisper White, Pretty in Pink
DSP – Pretty in Pink – 2009-2010
Punches – Modern Label
Ribbon – 1/2″ Satin – Pretty in Pink
Accessories – Snail Adhesive, 2-Way Glue Pen, Rhinestones, Stampin’ Dimensionals, Blender Pen,
SU! Markers – Basic Grey, Melon Mambo, Pretty in Pink, So Saffron
Until next time, Enjoy!

MC 94…

I am in the middle of creating a couple of cards for my cousin, but as usual got a bit side tracked.  Sometimes it is good to be do this, or so I tell myself, as it refreshes your mind.

??
I went in search of a challenge & thought I would have a go at the one over at A La Carte Monkey, one which I’ve never done before.  Anyhow, this week it is all about Birthdays.  We can never have enough Birthday Cards in our stash!
Measurements –
Base Card – Whisper White – 11 3/4″ x 4 1/4″ or 30cm x 10.5cn – Scored in the middle & folded in half
Layer 1 – Night of Navy – 5 3/4″ x 4″ or 14.5cm x 10cm
Layer 2 – DSP – 5 5/8″ x 3 7/8″ or 14cm x 9.5cm
Layer 3 – Night of Navy – 4 1/2″ x 3 1/2″ or 11.5cm x 9cm
Layer 4 – Whisper White – 4 3/8″ x 3 3/8″ or 11cm x 8.5cm
?
Envelope & Inside…

?Using Staz-On Ink, I stamped my image 3 times onto the piece of Whisper White Cardstock.  I wanted to fill the white space while at the same time, keep the white space, if that makes any sense.

??
Grabbing my Blender Pen & SU! Marker – Poppy Parade, I coloured parts of the sails, along with a small part of the boat.  I drew a couple of birds with my Stampin’ Write Journal?er.
I adhered this piece to the smaller piece of Night of Navy, then to the DSP & finally to the larger piece of Night of Navy with Snail Adhesive.  I adhered a piece of Ribbon down the Left Hand Side of the card, tied a knot & adhered the whole lot to the Base Card, again with Snail Adhesive.
My greeting was stamped onto a scrap of Whisper White using the Night of Navy SU! Marker and cut into the shape of a flag.  I threaded a piece of Linen Thread through a button prior to adhering to the banner & finally to the card.
Supplies –
Stamp Set – Seaworthy, Under the Big Top
Ink – Staz-On
Cardstock – Whisper White, Night of Navy
DSP – Poppy Parade
Ribbon – 1/4″ Grosgrain – Night of Navy, Linen Thread
Accessories – Snail Adhesive, Blender Pen, Stampin’ Write Journaler
Non-SU – Button 
Until next time, Happy Stampin’

SC 024/12…

What a great challenge Kris has provided us with this week.  Along with the sketch, we had to use the stamp set “Under the Big Top“.  For those of us that attended Regionals, this is the set we received FREE!!!!!

I decided to make the card for my little cousin, Kate, who is in hospital having her tonsils out & is very angry at the Doctors for what they did to her.  All she wanted was her “Mummy” & poor ol’ “Pappy” was so upset that Kate didn’t want anything to do with him!!!!  Isn’t that always the way????

I used a lot of pretty colours which I thought a 4 year old would like, including colours that I have not used for so long.

Measurements –
Base Card – Whisper White – 8 1/4″ x 4 1/8″ or 21cm x 10.5cm – Scored in the middled & folded in half
Layer 1 – Pretty in Pink – 5 3/8″ x 3 1/2″ or 13.5cm x 9cm
Layer 2 – Whisper White – 3 1/2″ x 1 1/2″ or 9cm x 4cm
Layer 3 – Bashful Blue – 3 3/8″ x 1 3/8″ or 8.5cm x 3.5cm
Layer 4 – Whisper White – 3 3/4″ x 1 1/2″ or 9.5cm x 4cm
Layer 5 – Certainly Celery – 3 5/8″ x 1 3/8″ or 9cm x 3.5cm

I run Pretty in Pink, Bashful Blue & Certainly Celery pieces of Cardstock through the Bigshot using the Embossing Folder – Perfect Polka DotsPretty in Pink was adhered to the Base Card – Whisper White, Bashful Blue & Certainly Celery were both adhered to the corresponding pieces of Whisper White & adhered to Pretty in Pink using Multipurpose Glue.

I stamped the image with Staz-On onto a piece of Whisper White Cardstock twice, allowed to dry, before colouring using my Stampin’ Up! Markers & Blender Pen.  I repeated again for the second image except colouring the skirt only, cut out & put aside.

I punched the image using the 1 3/4″ Circle Punch, adhered to a piece of Melon Mambo Cardstock which had been punched with the 2 3/8″ Scallop Circle Punch & adhered to the Base Card.

I adhered the second skirt to the top of the image with Stampin’ Dimensionals & added little dots to the scallops of the Scallop Punch with my White Gel Pen.  Since the photo was taken, I also added Dazzling Diamonds to the top of the sirt with 2-Way Glue Pen.  What little girl doesn’t love a bit of glitter?  What big girl doesn’t????

Supplies –
Stamp Set – Under the Big Top, So Happy for You
Ink – Staz-On, Certainly Celery
Cardstock – Whisper White, Certainly Celery, Melon Mambo, Pretty in Pink, Bashful Blue
Punches – 1 3/8″ Circle, 2 3/8″ Scallop Circle
Embossing Folder – Perfect Polka Dots
Accessories – Dazzling Diamonds – Stampin’ Markers – Pretty in Pink, Melon Mambo, Basic Gray,
So Saffron, Stampin’ Dimensionals, Multipurpose Glue, 2-Way Glue, Blender Pen, White Gel Pen

Pop on over to Sunny Challenges & Creations to check out what Kris & Shirley have created.  Why not play along, you could be the next Ray of Sunshine

Until next time, have fun Stampin’ 

Sc 021/11…

Merry Christmas Eveyone!!!!!  Have a great day with your family & friends!

This week’s challenge over at Sunny Challenges & Creations is one which I am sure will appeal to everyone.  Anything BUT Christmas.  Yep, you have a free reign!  Be sure to check out what Gwen & Kris have created.

For my sample, I decided to create a Free Standing Double Photo Frame  as a small Chrissie Pressie for my Aunt.

With having Christmas at my cousins, I thought it be a great idea to create this so that she could put a couple of photos of her great-granddaughter in it.  Ally is only 2 years of age & it is her grandparents we are having lunch with.

This idea has been forming in my mind for a couple of weeks now, & to see it come to life is something else.  I am really happy with the final result.  Mind you, so many ideas have popped into my head about what I will do for my next one.
Once I had assembled the inside of the frame, I then decided to make the front into a card – Jill won’t be expecting the inside!  She will only think it is just another card!

For the card front, I wanted to make it all “girly girly” while not being too bright!  I think I have pulled it off!

Mind you, it is still sitting on the kitchen cupboard waiting to be wrapped.  I also created a matching envelope & matching Tissue Paper to wrap the envelope – sorry no photos as I did that last night after I had taken all the photos.

Supplies –
Stamp Set –  Under the Big Top
Ink – Early Expresso
Cardstock – Early Expresso, Wild Wasabi, Whisper White, Pink Pirouette, Window Sheet
DSP – Just Add Cake
Dies – Top Note
Ribbon – 3/8″ Taffeta – Pretty in Pink
Punches – Scallop Trim Border
SU Markers – Early Expresso, Basic Gray, So Saffron, Baja Breeze, Pretty in Pink, Pink Pirouette
Accessories – Rhinestones, Crystal Brad, Sticky Strip, Snail Adhesive, Multipurpose Glue, SU Sponge Dauber, 2-Way Glue Pen, Dazzling Diamonds, Stampin’ Dimensionals, Blender Pen, Big Shot
Non-SU – 3mm Cardboard
Now head over to Sunny Challenges & Creations & add your creation to Mr Linky.
Merry Christmas!

Make & Take – Scrap…

One of our Make & Take Projects from Regionals was this 6″ x 6″ scrap page featuring “Under the Big Top” stamp set.  I have had my eye on this set since the new catalogue come out as it is perfect for colouring in.  Oh, how I LOVE to colour!  Luckily, I never got round to purchasing it, as this was given to us at Regionals – how great is that?????

The colours for this page are so bright & cherry!  I knew immediatley the photo I wanted to use, as the little clown in this set reminds me of “Ronald MacDonald“.  It was when Julie & I went to Bali for a much deserved break from Timor – the first stop on our venture being MacDonalds.  Julie had been craving it for 6 months, so there was no stopping her!!!!!
Don’t you think this is the perfect photo?????
It was a fairly easy & fun page to put together & didn’t take long to complete at all.  I only wish the pages I am working on at the moment would be so co-operative!!!!!!
Great page for a workshop!!!!

Until next time, Enjoy!!!!