SC 011/11…

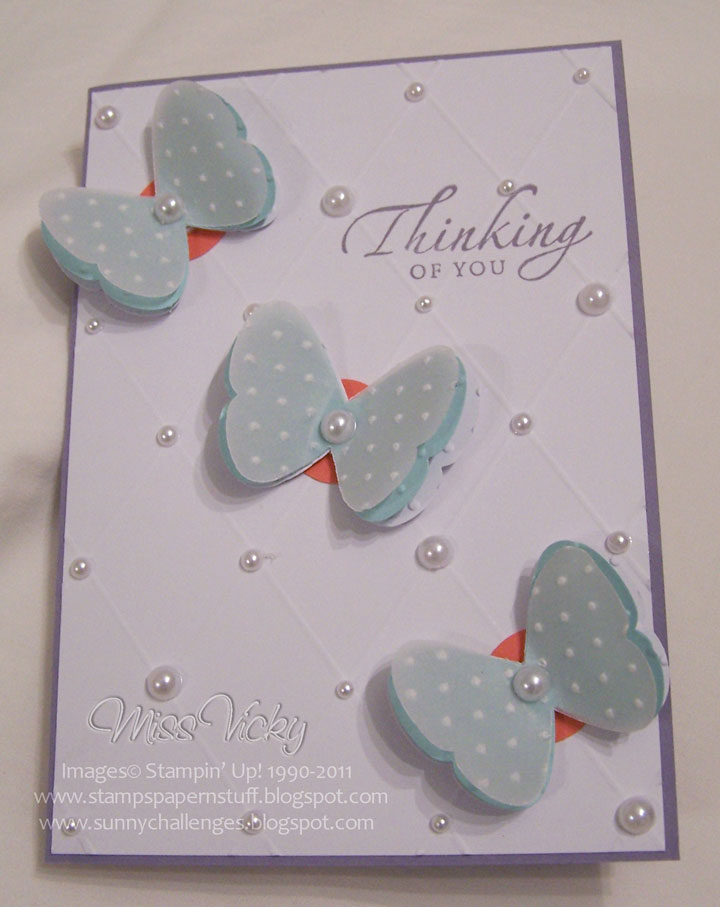
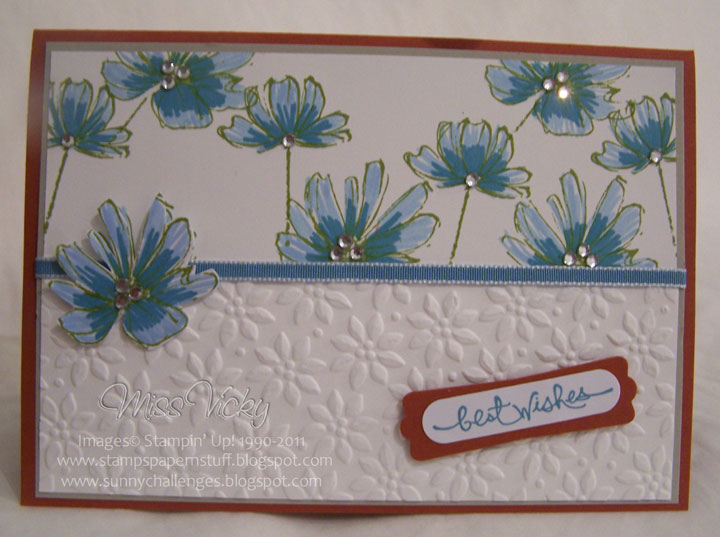
This is my card for the challenge over at Sunny Challenges & Creations  I am a little late in posting mine & have taken a couple of days off, & now that I have sort of finished all the stuff I had to do, decided to make a sample.
The challenge was set by Kris & not only did we have to go by the sketch but also use the stamp set “Season of Joy”. 
Base Card – Riding Hood Red – 8 1/4″ x 5 7/8″ or 21cm x 15cm – score @ 4 1/8″ or 10.47cm & fold in half
Layer 1 – Early Expresso – 5 3/4″ x 4 1/4″ or 14.5cm x 10.5cm
Layer 2 – Riding Hood Red – 4″ x 3 3/4″ or 10cm x 9.5cm
Layer 3 – DSP – 3 7/8″ x 3 5/8″ or 9.5cm x 9cm
Layer 4 – Riding Hood Red – 3 3/4″ x 3 1/4″ or 9.5cm x 8cm
Layer 5 – Whisper White – 3 5/8″ x 3 1/8″ or 9cm x 7.5cm
Layer 6 – Early Expresso – 2 7/8″ x 2 3/8″ or 7cm x 6cm
Layer 7 – Whisper White – 2 3/4″ x 2 1/4″ or 6.5cm x 5.5cm
I sort of made up by card as I went along.  In fact I started from the inside & worked my way out!  It happens this way a lot for me!
Using Riding Hood Red Ink, I stamped my image direct onto Whisper White Cardstock & adhered to a piece of Early Expresso Cardstock with my Snail Adhesive.
I run the piece of Whisper White Cardstock through the Bigspot & Embossing Folder – Petals a Plenty, coloured the middle of the flowers with my SU Marker – Riding Hood Red & adhered to a piece of Riding Hood Red Cardstock.  I thought this EF matched the stamp set perfectly.  This piece was adhered to a piece of Riding Hood Red Cardstock.
The DSP piece was adhered to a piece of Riding Hood Red & then adhered to the main piece of Early Expresso Cardstock.  I adhered all my separate pieces to this main piece, as per the sketch.  I wanted to tuck my ribbon ends under the main piece of Early Expresso Cardstock prior to adhering to the Base Card – Riding Hood Red.
To break the colours up a bit, I adhered Marina Mist Ribbon across the top of the card & tied a double bow-tie to the centre.  I applied small Basic Rhinestones to the flowers & snowflake in the stamped image.
Supplies –
Stamp Set – Sean of Joy
Ink – Riding Hood Red
Cardstock – Whisper White, Early Expresso, Riding Hood Red
DSP – Letters to Santa
Embossing Folder – Petals a Plenty
Ribbon – 1/8″ Taffeta – Marina Mist
Accessories – Snail Adhesive, Bigshot, Basic Rhinestones
Why not hop over to Sunny Challenges & Creations & see what both Kris & Gwen have created, make your own creation, link back to the blog using Mr Linky.  He would dearly love to walk you through the process of posting your creation.
Until next time, Enjoy!

SSC 222…

It is so long since I’ve done a challenge from Stamping 411 that I saw this & was determined to get it finished on time.  I usually start & then don’t have them completed in time.
Now, I must warn you, my card is a little different to what I usually make.  So, please don’t say you haven’t been warned!
As with the challenge, measurements are supplied –
Base 11 x 4 1/4″, scored and folded in half at 5 1/2″ – Early Expresso

Layer 2: 5 x 3 3/4″ – Very Vanilla
Layer 3: 4 7/8″ x 3 5/8″ – Early Expresso
For layer 4, how about a ribbon or a piece of cardstock cut to 4 1/4″ long – Ribbon
For the focal point you can use any shape that fits your stamps. Try cutting your cardstock the same size as your wood or clear mount block.
?
Close Up…

?
My oval was cut by running the Ovals Die through the Bigshot, stamped my image with Early Expresso Ink, applied Early Expresso Ink around the edge with my SU Sponge Dauber & adhered theborder by cutting a piece of  Very Vanilla Cardstock, punching along one edge of the cardstock with my Eyelet Border Punch, cutting & adhering to the back of the oval.

With the piece of Early Expresso Cardstock, I run this through the Bigshot with the Embossing Folder – Square Lattice, adhered a piece of Crocheted Trim along the LHS of the piece & adhered to Very Vanilla Cardstock.  This piece was adhered to the Base Card – Early Expresso.

?

Inside…

?

I tied a bow with the Crocheted Trim, placed a Vintage Brad to the middle & adhered to the card using a Mini Glue Dot.  I adhered the oval to the card with SU Dimensionals.

?? Tip – Adhering bows to cards is a lot easier using Mini Glue Dots – they will stick heaps better

I must say these Vintage Brads are to die for & now keep asking myself why I had never used them previously?????  You get 4 each of 5 designs & all are to die for.
 

I love a lot of Vintage Cards that I see around the blog world, but am not really confident on making them myself, but I am quiet happy with the way this one turned out!  I hope you do too.
Supplies –
Stamp Set – Forever Young
Ink – Early Expresso
Cardstock – Very Vanilla, Early Expresso
Ribbon – Crochet Trim – Victoria
Embossing Folder – Square Lattice
Brads – Antique Brads
Punches – Eyelet Border
Dies – Ovals
Accessories – Snail Adhesive, SU Dimensionals, Mini Glue Dots,
SU Sponge Dauber, Bigshot
 
Until next time, Enjoy!

‘Tis the Season…

I wanted to create another card for the current challenge over at Sunny Challenges & Creations and with Christmas fast approaching, thought it best to try & start on my Christmas Cards.  In fact, I was going to use this set on my first card, but changed my mind as I went to select my stamp set!

It is not too late to link your creation with Mr Linky.  We would love to see what you create!

All measurements may be found in this posting.  All I’ve done is changed my colours around.  In fact, they are completely different!

I stamped my image onto Very Vanilla Cardstock using Chocolate Chip Ink.  Grabbing my Aqua Painter, I coloured the image using Olive Olive, Chocolate Chip & a touch of Riding Hood Red Inks.  The bird I left except for his little beak & feet.

I coloured some Basic Rhinestones with a permanent red marker & applied them over the berries.  Am not sure if I like the final result, but they are there to stay.

I adhered this piece to a piece of Riding Hood Red Cardstock, then to DSP, Very Vanilla Cardstock, DSP & finally to the Base Card – Chocolate Chip using Snail Adhesive.

Supplies –
Stamp Set – Beautiful Season
Ink – Old Olive, Chocolate Chip, Riding Hood Red
Cardstock – Chocolate Chip, Very Vanilla, Riding Hood Red
DSP – Letters to Santa
Accessories – Snail Adhesive, Basic Rhinestones, Aqua Painter
Non-SU – Permanent Marker – Red

Until next time, Enjoy!

SC 007/11…

Sunny Challenges & Creations new sketch for this week is up & running!

For some reason I had a really hard time creating a card for the sketch set by Gwen It looked easy enough, but boy, was I dead wrong!  Thanks Gwen!  This sketch is just perfect for Punch Art!

Anyhow, this week we have to go by the sketch, along with NO STAMPS!!!!!  The only stamp we can use is for the sentiment.

Prior to SU, I hated stamps – didn’t know how to use them & couldn’t understand why everyone raved about them – this would have been dead easy, but since SU – they make everything so easy – it turned into a nightmare.  I changed my mind about 3 times & that was in the middle of all cards. 

I am not exactly happy with what I have done & the photos are not the best, but it is sort of growing on me.  If I get time during the week, I am going to have another go at exactly the same card, except change a couple of small things.

Anyhow, enough of my whinging & on with the card –

Base Card – Wisteria Wonder – 5 7/8″ x 4 1/4″ or 15cm x 10.5cm – once scored & folded in half
Layer 1 – Whisper White – 5 3/4″ x 4″ or 14.5cm x 10cm
???

Card Inside…

???

I stamped my sentiment direct onto Whisper White Cardstock using Wisteria Wonder Ink.  I have to get used to the new “IN Colours“, which are absolutely gorgeous by the way.
Using my Bone Scorer & Ruler, I scored the card diagonally at 1″ intervals, turned the card & repeated in the opposite direction.
?
Close-Up…

?

I punched 3 circles in Calypso Coral using my 3/4″ Circle Punch & adhered to the Whisper White Cardstock as per the sketch. I punched 9 butterflies using the Butterfly Punch, 3 in Whisper White, 3 in Pool Party – a colour to die for & 3 in Vellum.  I love love playing with Vellum & using them on cards, but it seems forever since I last used any.  All 9 butterflies were put through the Bigshot using the Perfect Polka Dots Embossing Folder.
????????
I layered all butterflies together, ie Whisper White, Pool Party & then the Vellum on top of each other & applied a large Basic Pearl to the centre.  They were attached over the top of the Calypso Coral circles using SU Dimensionals.
To finish my card, I randomly applied different size Pearls to the centre of the score lines.
Supplies –
Stamp Set – Sincere Salutations
Ink – Wistera Wonder
Cardstock – Whisper White, Wistera Wonder, Calypso Coral, Pool Party, Vellum
Punches – 3/4″ Circle, Butterfly
Embossing Folder – Perfect Polka Dots
Accessories – SU Dimensionals, Basic Jewels – Pearls, Bone Scorer, Snail Adhesive, Bigshot

Now why not have a bit of fun yourself & have a go at the challenge.  Hop on over to Sunny Challenges & Creations, make your card & link it back with Mr Linky.  While there, have a look at what Gwen & Kris have created this week

Until next time, Enjoy!

SC 005/11..

Kris has set the challenge for this week over at Sunny Challenges & Creations with the only stipulation we use Marina Mist.  Now, this is a beautiful colour, one that I do not use very often, and one I find it very hard to work with!  I don’t know why, but all the creations I’ve seen that have Marina Mist in them are just lovely.
To help me with my sample, I went straight to my Colour Coach – fantastic SU Tool & one I would not be able to survive without!
Base Card – Crajun Craze – 5 7/8″ x 4 1/8″ or 15cm x 10.5cm – once scored in half
Layer 1 – Crumb Cake – 5 3/4″ x 4″ or 14.5cm x 10cm
Layer 2 – Whisper White – 5 5/8″ x 3 7/7″ or 14cm x 9.5cm
I run the Whisper White through the Bigshot using the Embossing Folder – Petals a Plenty ensuring that I only emboss half the card.  Using Old Olive Ink, I stamped my images over the top half of Whisper White – the part not embossed.  I then coloured the images using my SU Markers of Bashful Blue first & then Marina Mist.  I wan’t too worried about going out of the lines or how rough I coloured the images, as I think this set calls for colouring to be random.  I stamped a image onto a scrap of Whisper White, coloured it in & cut around the image to adhere to the card once completed.
The Whisper White piece was adhered to the piece of Crumb Cake.  A piece of Taffeta 1/8″ Ribbon was adhered across the centre & to the back of Crumb Cake.  This piece was then adhered to the Base Card – Cajun Craze.
I stamped the sentiment onto a piece of Whisper White using Marina Mist, punched it using the Window Word Punch & adhered to a piece of Cajun Craze which had been punched using the Modern Label Punch.  I adhered this to the bottom RHS of the card.  The cut out image was then adhered to the card & over another stamped image using SU Dimensionals.  To finidh the card & to give it a little bit of a lift, I applied Rhinestones to the centres of the flowers.
Supplies –
Stamp Set – Short & Sweet, Fast & Fabulous
Ink – Marina Mist, Old Olive
Cardstock – Whisper White, Crumb Cake, Cajun Craze, Marina Mist
Ribbon – 1/8″ Taffeta – Marina Mist
Embossing Folder – Petals a Plenty
Punches – Modern Label, Window Word
Accessories – SU Dimensionals, Basic Jewels, Bigshot, Snail Adhesive
Why not pop over to Sunny Challenges & Creations to see what Kris  & Gwen  have created & have a go at the challenge yourself.  We would love to see your creations.
Until next time, Enjoy!