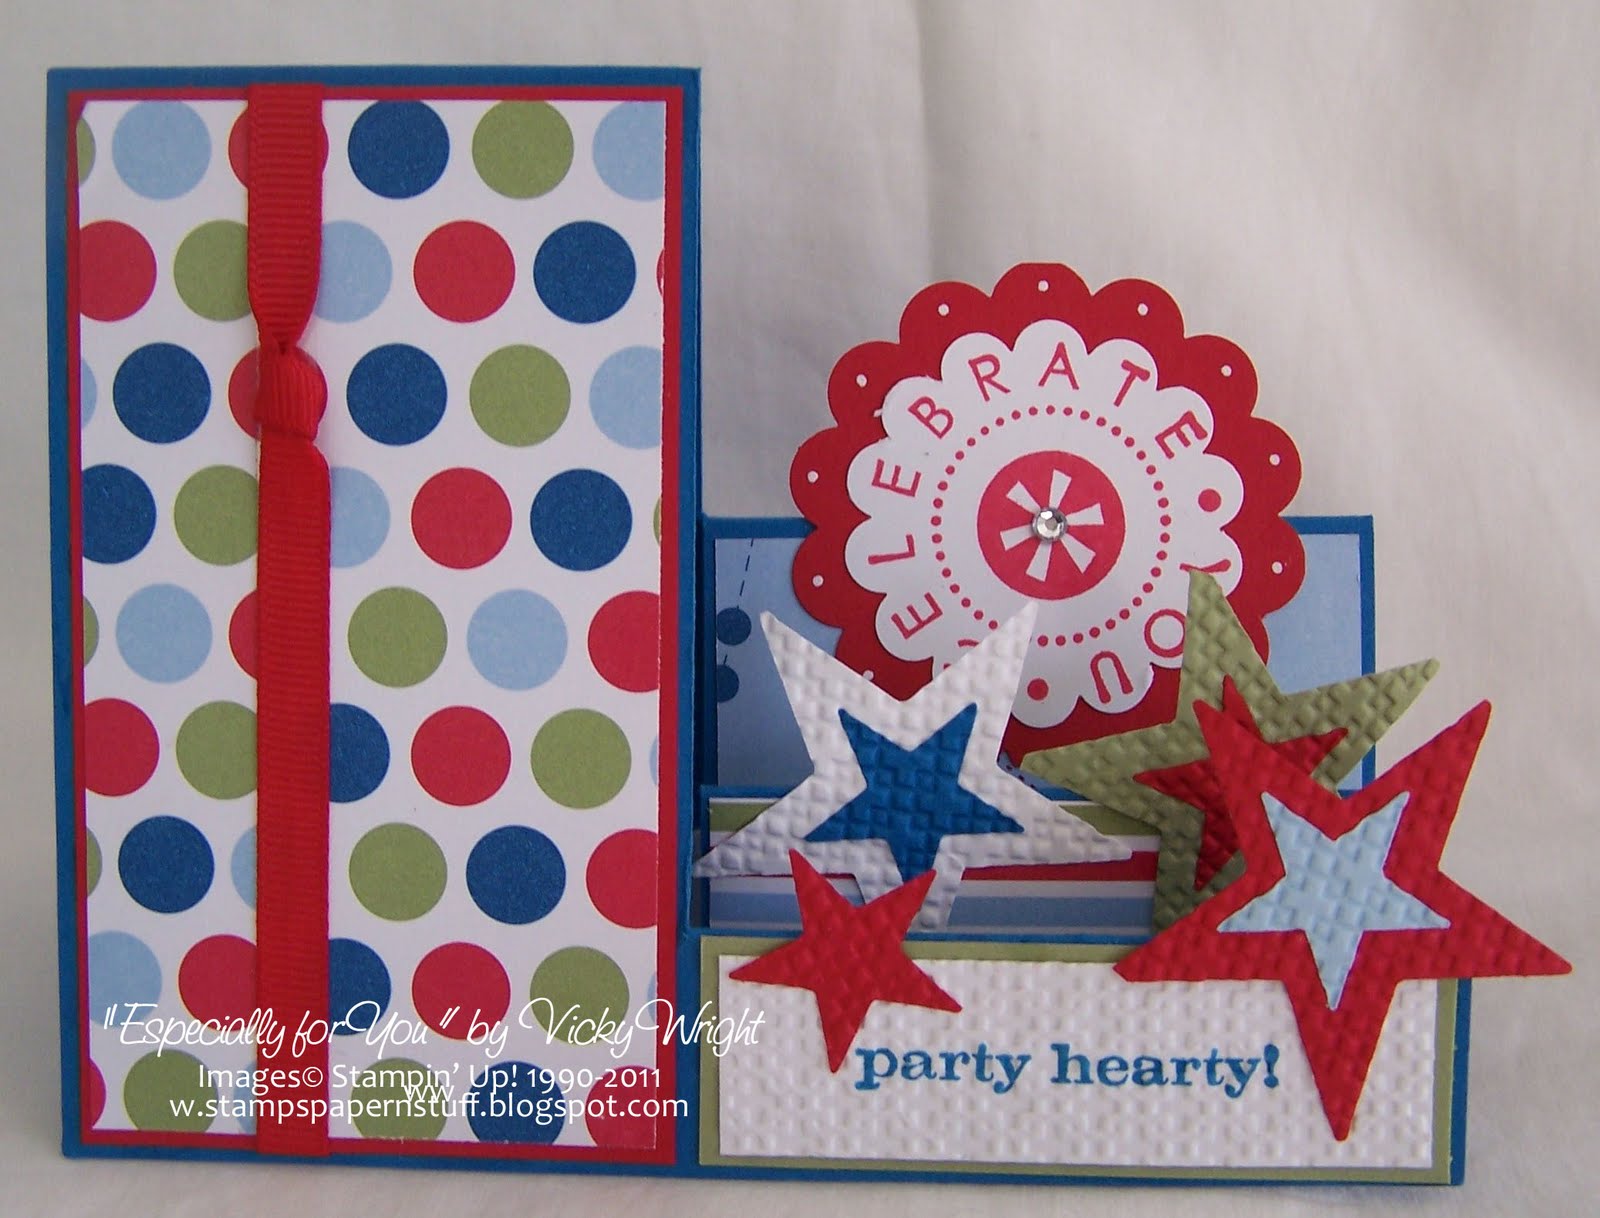
This is my 2nd card for the challenge over at Sunny Challenges & Creations Why not head over there & have a go, while at the same time, use that stamp set “Fox & Friends” which may not have seen ink for some time.
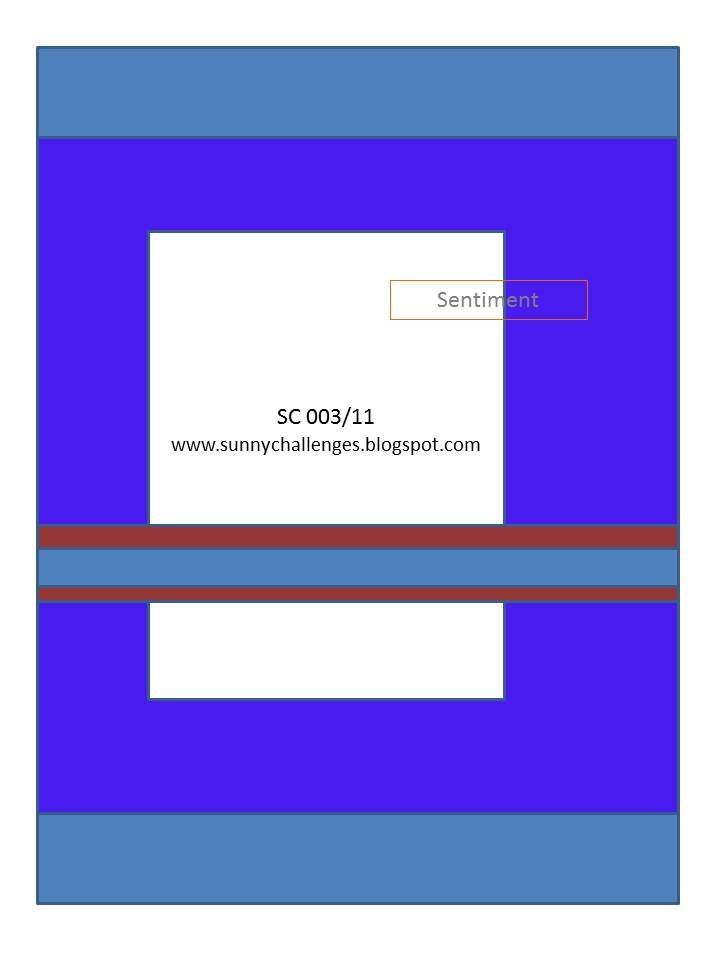
This is the great thing about the challenge or as someone described it “Double-Sword” where as you have a sketch to work by as well as a particular stamp set!
All my measurements may be found Here…
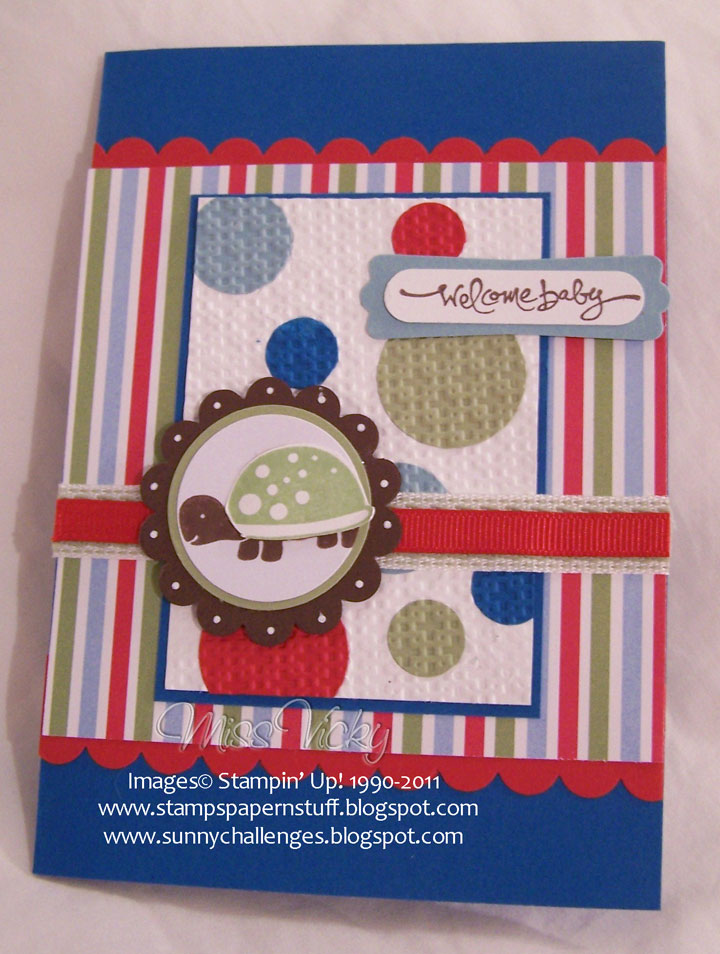
Using the Scallop Border Punch, I punched both pieces of Real Red Carstock & adhered them to both ends of the DSP. I punched a random number of colour circles in Baja Breeze, Pear Pizzazz, Real Red & Pacific Point Cardstocks using the different size Circle Punches & adhered them randomly to Whisper White. This piece was then embossed using the Square Lattice Embossing Folder & adhered to Pacific Point, then to the DSP & finally the base card. Are you stick of this folder yet? I’m sure not!
?
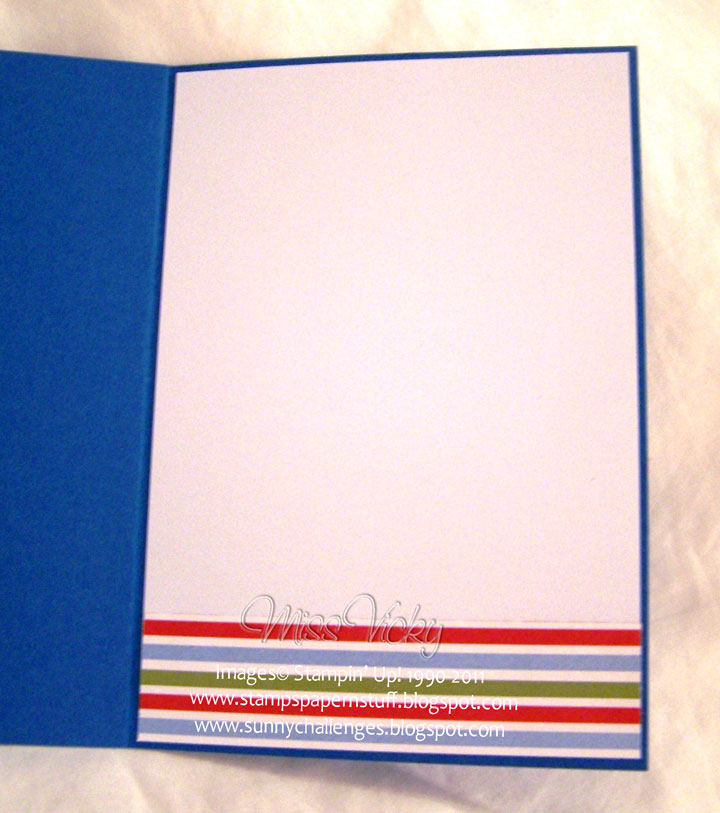 |
| Inside Card… |
?
I run a piece of Pear Pizzazz Ribbon across the card, followed by a piece of Real Red to the centre of the Pear Pizzazz. I stamped the turtle image onto a scrap piece of Whisper White Cardstock & punched using my Circle Punch, adhered to a punched piece of Baja Breeze, then to the Scalloped Circle of Chocolate Chip & finally over the top of the ribbons. I stamped another image using Pear Pizzaz, cut his shell out & applied to the brown image using SU Dimensionals.
?
I inked small white dots around the Scalloped Chocolate Chip Circle using my White Gel Pen.
For my greeting/sentiment, I stamped it onto a piece of Whisper White Cardstock using Chocolate Chip Ink punched using the Word Window Punch, adhered to a piece of Baja Breeze which had been punched using the Modern Label Punch & adhered to the card.
I’ve just realised that I used a hell of a lot of punches, but I think doing it this way can sometimes bring a whole new look to a card.
??
Supplies –
Stamp Set – Fox & Friends, Short & Sweet
??Ink – Chocolate Chip, Pear Pizzazz
Cardstock – Pacific Point, Pear Pizzazz, Baja Breeze, Whisper White, Real Red
DSP – Celebrations
Punches – Scallop Edge Border, Scallop Circle, 1/2″ Circle, 3/4″ Circle, 1 1/4″ Circle,
1 3/8″ Circle, 1 3/4″ Circle, Modern Label Extra-Large, Word Window
Embossing Folder – Square Lattice
Ribbon – 1/2″ Stitched-Poly – Pear Pizzazz, 1/4″ Grosgrain – Real Red
Accessories – SU Dimensionals, Snail Adhesive
Until next time, Enjoy!