Kinda Eclectic

At our Technique Class a couple of weeks ago, we did the great Technique – Faux Canvas.  What a fun & relaxing arvo we had creating our cards. 019a

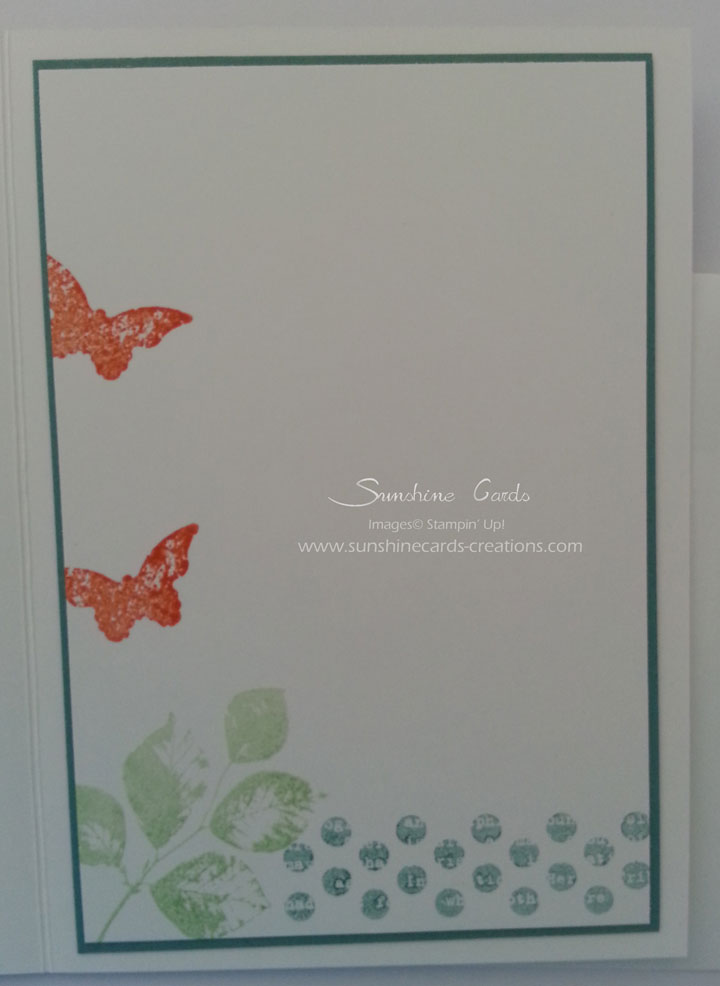
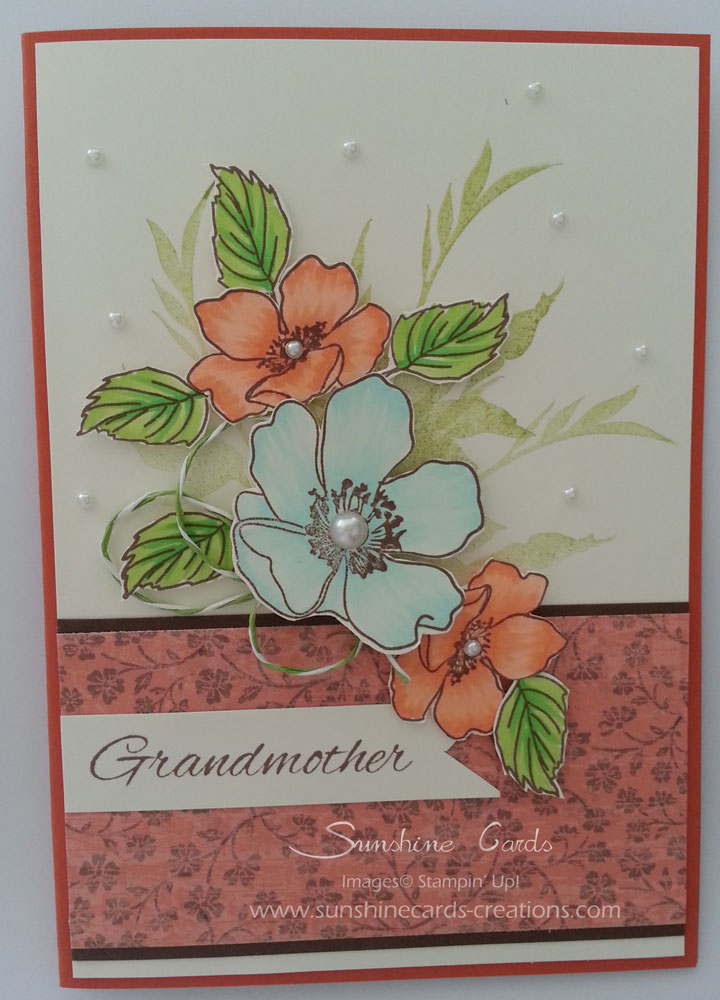
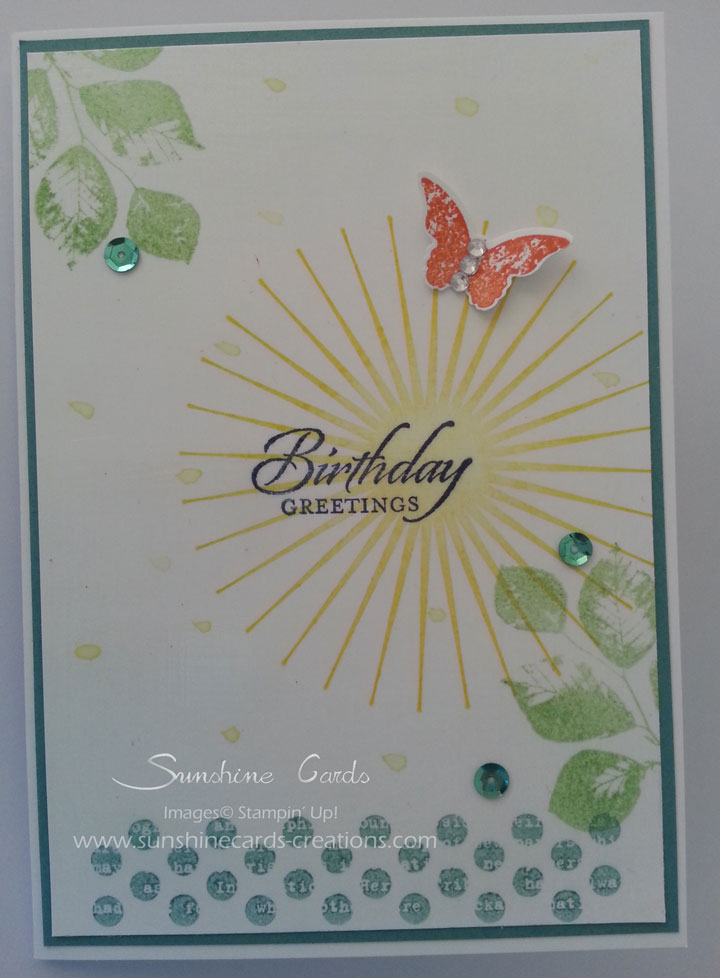
We used the great stamp set – Kind Eclectic. There are so many fantastic cards over the internet using this set that you can’t help but like it or in my case love it!  So many ideas, so little time!

To learn how to create a card or project with this technique, be sure to click on the page “Technique Tutorials“.  I will be adding more tutorials for techniques we have covered in our class as time goes.

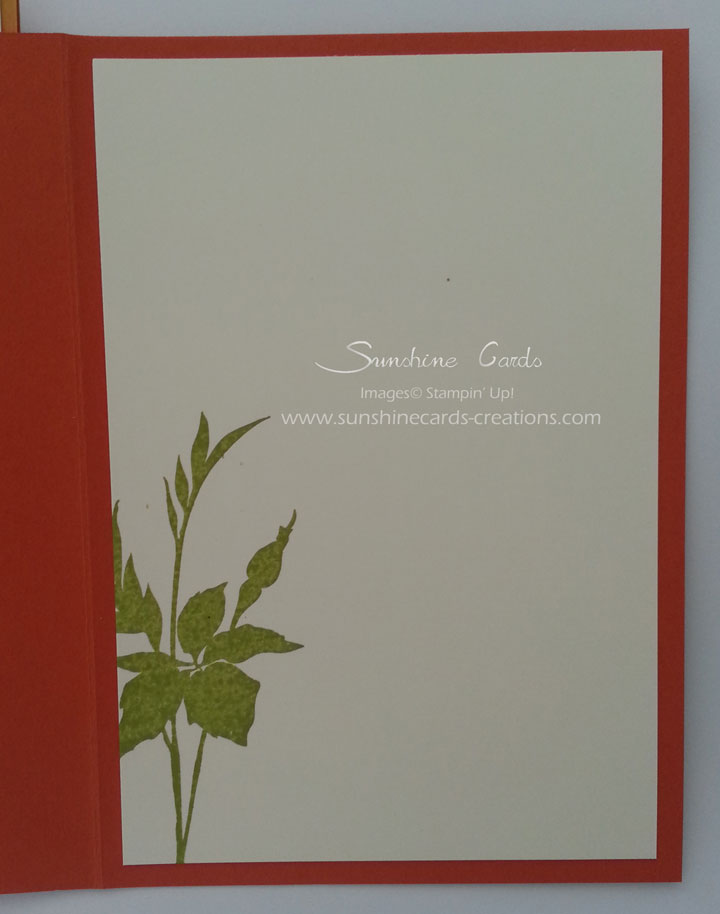
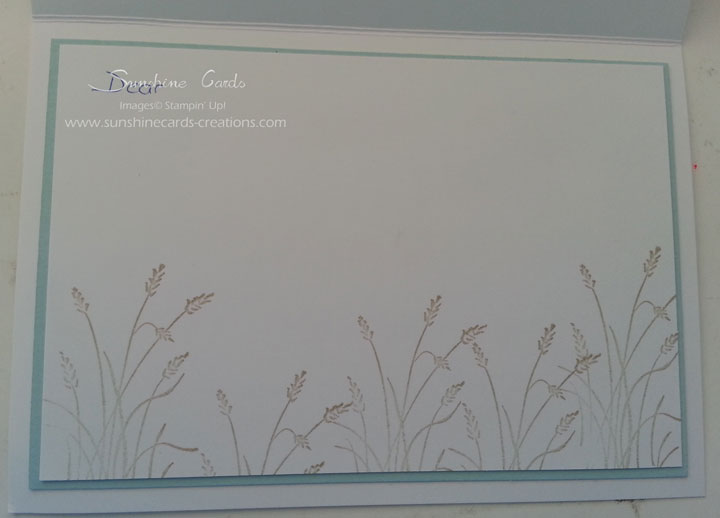
For the inside of my card, I stamped images using Lost Lagoon, Tangerine Tango & Wild Wasabi Inks direct onto Very Vanilla CS before adhering to inside of Base Card – Wild Wasabi.

016aUntil next time, Happy Stampin’

Vicky

Products used to create this card-

Fabulous Florets

Our card we created last week in Crafty Creations was one I found on Pinterest some time ago.   051

As you are probably aware, this is my volunteer class which meets every Friday at the Caloundra Community Centre.   It is also a great way for me to use some of my favourite retired stamp sets & DSP.  Love it when I get more use out of them.  Mind you, they are usually sold at the class which sometimes puts some of my future classes in a spin, but we get there in the end.  Selling them at the class just means they are going to homes that I know are going to use them as much as me.

For the inside, I stamped the large leaf image direct onto Very Vanilla Cardstock with Wild Wasabi Ink & adhered to the Base Card – Pumpkin Pie.

050To grab your own tutorial for the card, please click on the link to download & print.

Fabulous Florets – Grandmother

Until next time, have a great day!

Vicky


Thank You

G’day Stampers,

Today’s cards are the ones I created for my “Thank You” cards for my customers for July.  I love these simple, easy little cards.  All created in  the 005a2014-2015 In Colours of Baked Brown Sugar, Pistachio Pudding, Strawberry Slush, Coastal Cabana & Crisp Cantaloupe plus Whisper White.

I originally saw a card using the “Beautiful Wings” Embosslits on Pinterest & for some reason it stuff in my head.  I am not sure if I saved I to create at a later stage, but if you click on the link, it will take you to the one I got my inspiration from.  Thank you so much for sharing your lovely card.

With the Tutorial below, when creating your card, substitute the Pistachio Pudding for the other In Colours.  I have only listed Pistachio Pudding.

Supplies –

  • Stamp Set  –  Itty Bitty Banners
  • Cardstock  –  Whisper White
  • Ink  –  Pistachio Pudding
  • Embosslits  –  Beautiful Wings
  • Embossing Folder – Lovely Lace
  • Framelits  –  Bitty Banners
  • Accessories  –  Pearls, Snail

Measurements –

  • Base Card  –  Whisper White              7” x 5 ½’ or 18cm x 14cm
  • Layer 1  –  Pistachio Pudding              4 7/8” x 2 7/8” or 12.5cm x 7.5cm
  • Layer 2  –  Whisper White                   4 ¾” x 2 ¾” or 12cm x 7cm
  • Layer 3  –  Pistachio Pudding              2 ½” x 2 ½” or 6.5cm x 6.5cm
  • Scrap Whisper White                          Enough for Greeting

Tutorial –

  1. Emboss Layer 2 – Whisper White by running through BS using EF Lovely Lace
  2. Adhere to Layer 1 – Pistachio Pudding prior to adhering to Base Card – Whisper White
  3. Run Layer 3 – Pistachio Pudding through BS using Beautiful Wings Embosslits
  4. Adhere Butterflies to top of card with Multipurpose Glue
  5. Adhere Pearls to centre of each Butterfly
  6. Stamp “Thank You” onto scrap Whisper White in Pistachio Pudding Ink prior to running through BS with corresponding Framelit
  7. Adhere to Base Card with Multipurpose Glue

2 of each colour was created

006a

Products used –

By clicking on the photos below, you will be taken to my shop to purchase the product

Thinking of You

I had use for another “Thinking of You” card last week & decided to use the gorgeous Stamp Set – Wetlands. 20140631aI took my inspiration from a technique class we did a couple of weeks ago & played with colours until such time as I was happy with the result.

Mind you, half way through the card, I was not a happy person & chopped & changed it about 3 times  I nearly gave up about a number of times.   It is amazing once you add layering, a little twine, Shimmer & a Greeting how it starts to evolve & come together before your eyes.

It is a very simple card, but that is what I was aiming for.  I only hope it is well received.

20140630aFor the inside, I stamped the Reed image a couple of times direct onto Whisper White Cardstock in Crumb Cake Ink prior to layering onto Soft Sky & finally to the inside of the card.

Yep, you can see I started to write prior to taking a photo.

Please click onto the link below to download a copy of the tutorial

Wetlands – Thinking of You

Until next time, Happy Stampin’


Products used for this card –

By the Seashore

I found a lovely little card on Pinterest with the colours of Pistachio Pudding & Smokey Slate. I have spent a 20140715_143507acouple of hours trying to find it but do apologise for not being able to give you credit. I have put my own spin on it & well, looking at the card now, it doesn’t resemble the one I took my inspiration from.  Strange how that can happen hey.

I love this stamp set & am so very glad it didn’t retire. I ended up posting this to a good friend of mine the other day who is having a bit of a hard time. I just thought it would be very different to flowers, etc.  I only hope she likes it!

20140715_143545aIt would make for a very good male card too by just changing out the colours.

For the inside of the card, I stamped the images direct onto a piece of Very Vanilla CS using Crisp Cantaloupe, Pistachio Pudding & Smokey Slate Inks, prior to attaching with Multipurpose Glue.

By clicking on the link below, you are able to download & print your copy of the Tutorial.

“By the Seashore”

Until next time, Happy Stampin!

Vicky

Products used –