
 The challenge this week over at Sunny Challenges & Creations is all about colour & boy is it bright. Along with the sketch we had to use the colours of Tempting Turquoise, Melon Mambo, Soft Suede & a Neutral, ie Very Vanilla or Whisper White.
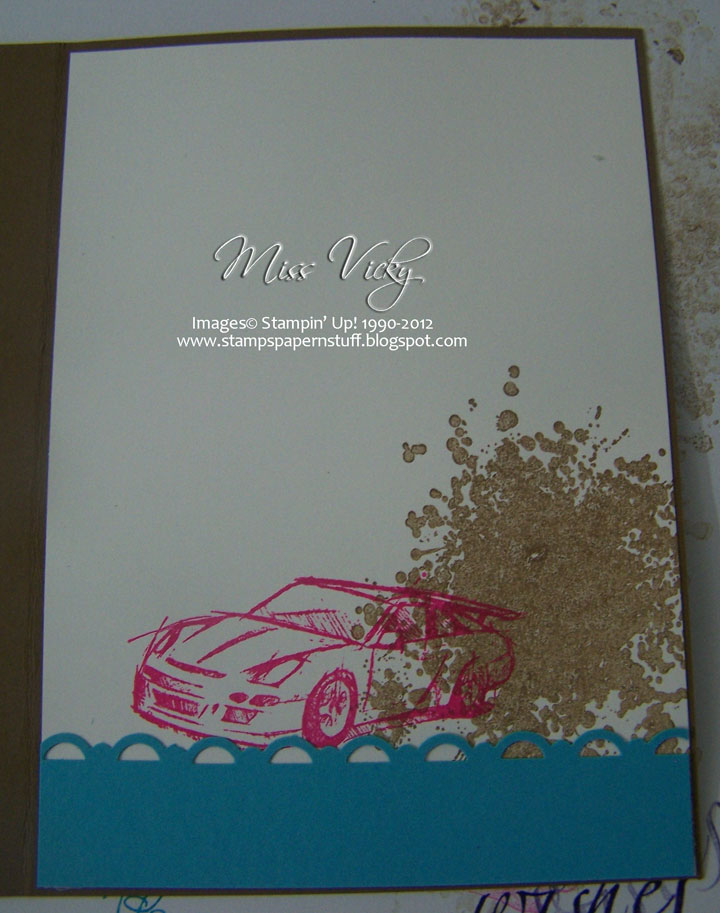
I had a hard time both with the colours & the sketch, until I was about to stamp my image & it dawned on me to rotate it. Problem solved. It come together really quickly then.
Measurements –
Base Card – Soft Suede Cardstock – 8 1/4″ x 4 1/8″ or 21cm x10.5cm
Layer 1 – Whisper White Cardstock – 4″ x 5 3/4″ or 10cm x 14.5cm
Layer 2 – Tempting Turquoise Cardstock – 4 1/2″ x 4″ or 10cm x 11.5cm
Layer 3 – Melon Mambo Cardstock – 3 1/2″ x 4″ 10cm x 9cm
Layer 4 – Whisper White Cardstock – 3″ x 4″ or 10cm x 7.5cm
 |
| Inside Card… |
Supplies –
Stamp Set – Need for Speed, A Word for You
Ink – Soft Suede, Melon Mambo
Cardstock – Whisper White, Melon Mambo, Soft Suede, Tempting Turquoise
Embossing Folder – Perfect Polka Dots
Punches – Eyelet Edge
Accessories – Bigshot, Tombow Multipurpose Glue, Snail Adhesive, Stampin’ Dimensionals, Dazzling Diamonds, SU! Marker – Tempting Turquoise, 2-Way Glue Pen
I punched the borders of both ends of Tempting Turquoise & Melon Mambo using the Eyelet Edge Border Punch & adhered the Melon Mambo to Tempting Turquoise with Snail Adhesive.
I stamped my image onto Whisper White Cardstock using Soft Suede Ink, stamped the car image to the same piece of Whisper White Cardstock and again onto a scrap piece of Whisper White Cardstock. This one I cut out & put aside.
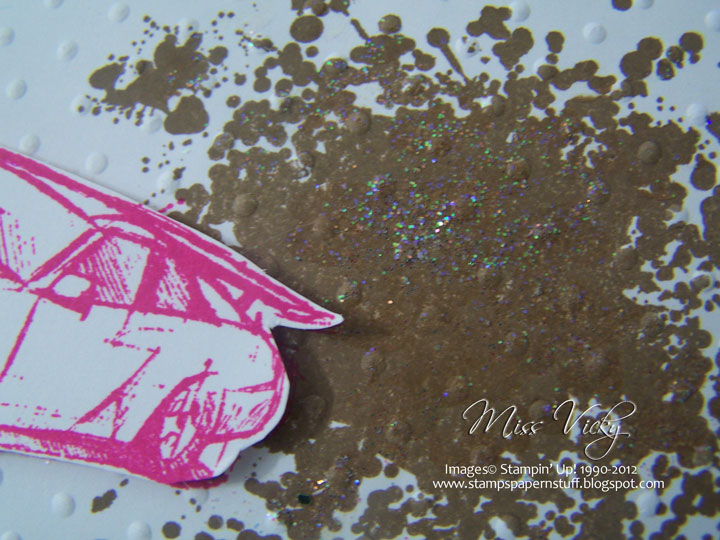 |
| Close Up… |
I inked my sentiment using the Happy Birthday part with my SU! Marker – Tempting Turquoise & stamped direct onto the same piece of Whisper White Cardstock which I had stamped the car. The piece was then adhered to the Melon Mambo piece using Snail Ahesive, before running the whole lot through the Bigshot using Embossing Folder – Perfect Polka Dots, adhering to the large piece of Whisper White Cardstock with Tombow Multipurpose Glue & finally to the Base Card – Soft Suede with Snail Adhesive.
I applied a little of Dazzling Diamonds over the Soft Suede Ink with my 2-Way Glue Pen. Lastly the cut out car was adhered to the card with Stampin’ Dimensionals.
It is a set probably aimed at boys rather than girls, but who says girls can’t like cars. In fact, I know quiet a few girls who would love this card!
Don’t forget to hop on over to Sunny Challenges & Creations to check out what Kris & Gwen have created. We have a new Guest Designer for the month as well as our weekly Guest Designers.

Until next time, Happy Stampin!


