Amber…

I hope you are not getting tired of my scrapbook pages, but I am really enjoying getting back into it again.  It certainly helps when you have been supplied with beautiful photos to work with.
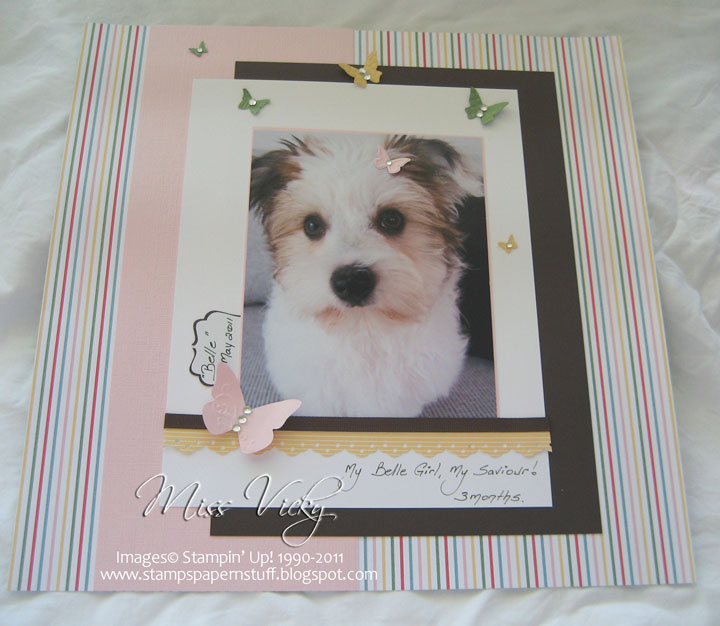
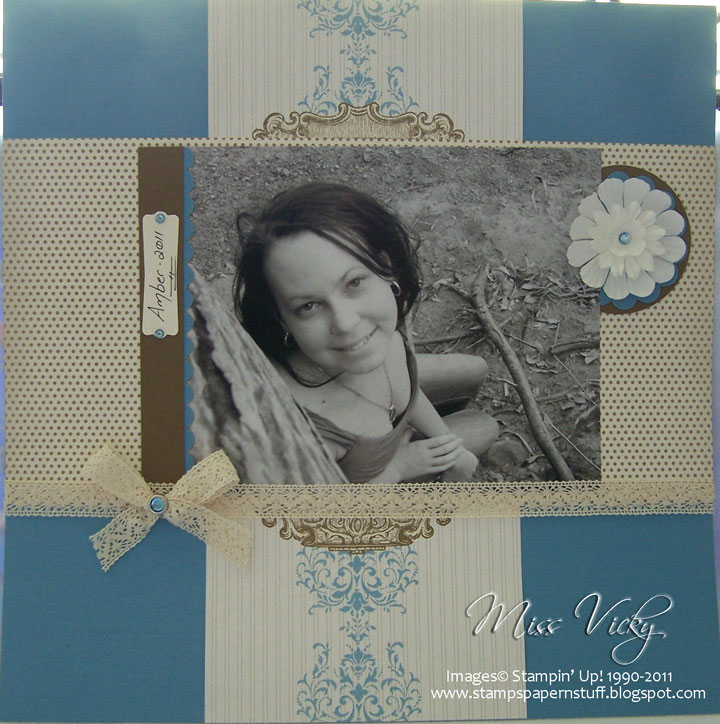
This photo was taken by my niece, Dannielle.  It is of her twin sister “Amber”.  It is such a beautiful photo which captures her to a “T“, that I had to put it to paper!
I don’t usually copy layouts, but liked this one so much that I did copy the majority of it, but then started doing my own thing to finish it off.  I’ve taken the layout from the current Catalogue 2011-2012, Page 102.  That is the great thing about Stampin’ Up! Catalogues.  Not only are they full of products, but brilliant ideas as well!  Stuck for ideas, head straight for any of the catalogues.
I cut the piece of DSP prior to layering it onto Marina Mist Textured Cardstock.  The larger piece of DSP was then adhered over the top.
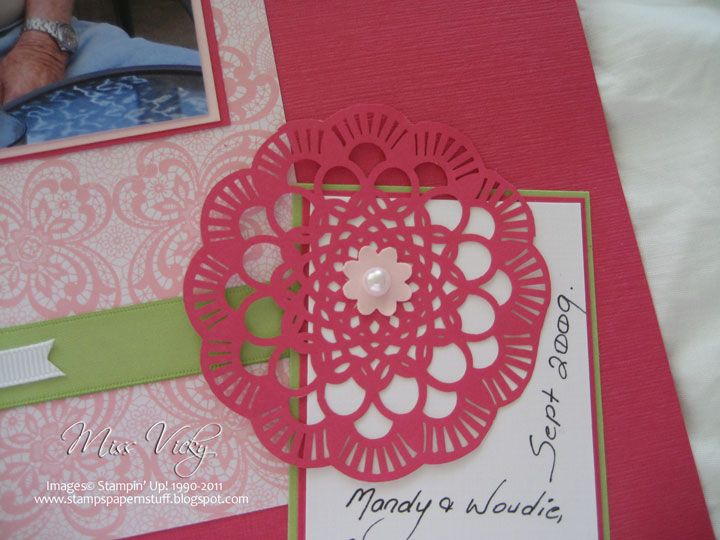
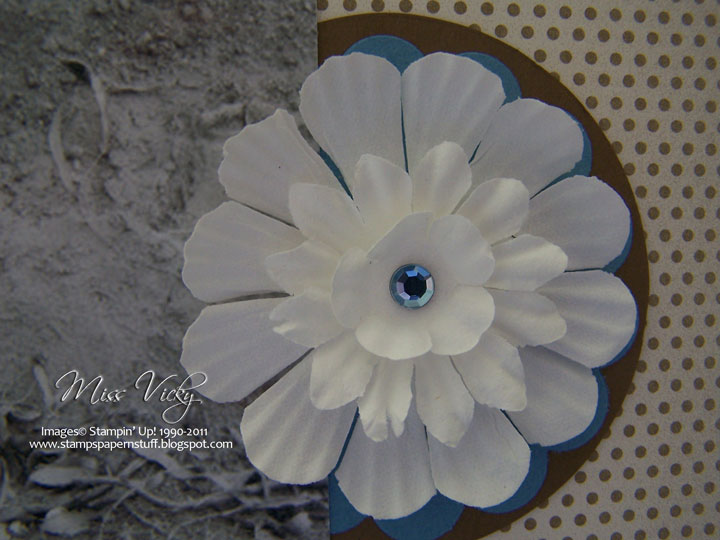
I punched a piece of Soft Suede Cardstock using my Bigshot & the Circles #2 Die.  I punched a piece of Marina Mist Cardstock using my 2 3/8″ Scallop Circle & adhered the 2 together prior to adhering onto the DSP.  I didn’t mat my photo this time & it is taking some time for me to get use to, as I always do this.  It gives a different look anyhow.
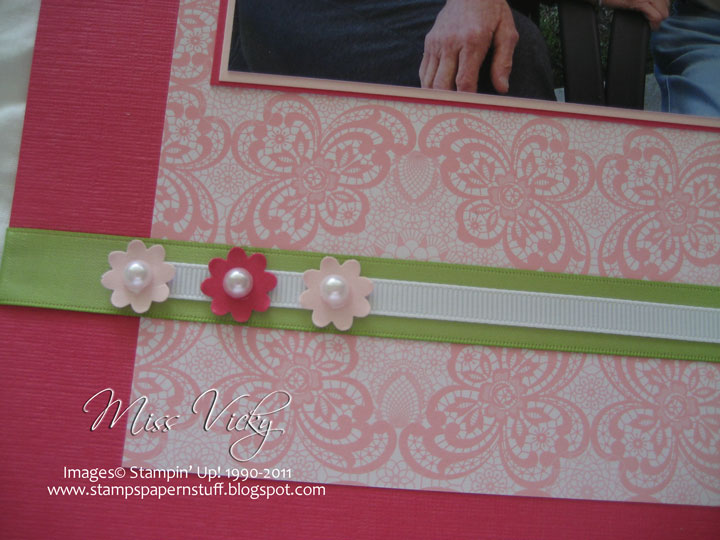
I grabbed 3 different size flowers – could be Stampin’ Up! but am not sure, adhered together prior to adhering to the top of the Scallop Circle.  The photo was then adhered to the page.  I found a couple of coloured Rhinestones laying around in a bottom drawer & stuck one to the middle of the top flower.  These things pop up everywhere!  I have even found a couple attached to the dog from time to time!
A piece of Marina Mist Cardstock was punched along one side with the Scallop Edge Border Punch, adhered to the edge of the photo before a piece of Soft Suede Cardstock was adhered over th etop.
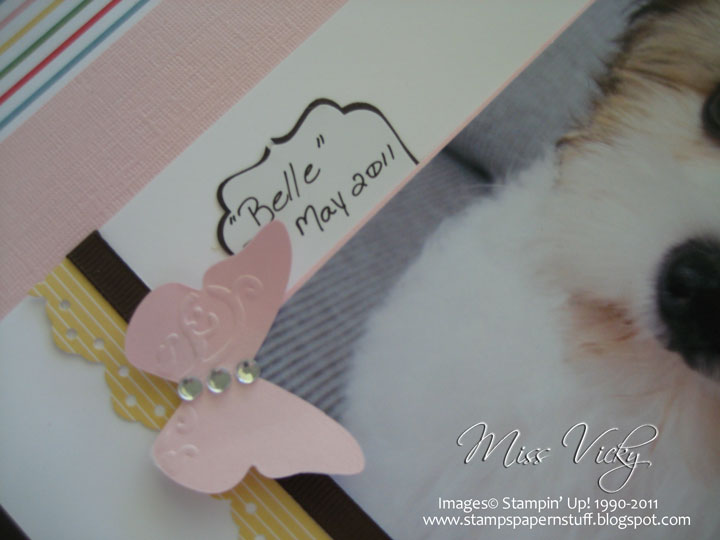
I punched a piece of Very Vanilla Cardstock using my Modern Label Punch, wrote Amber’s name & year with the Basic Black SU Marker & adhered to the piece of Soft Suede Cardstock.  I applied 2 of the Rhinestones to either side of the label.
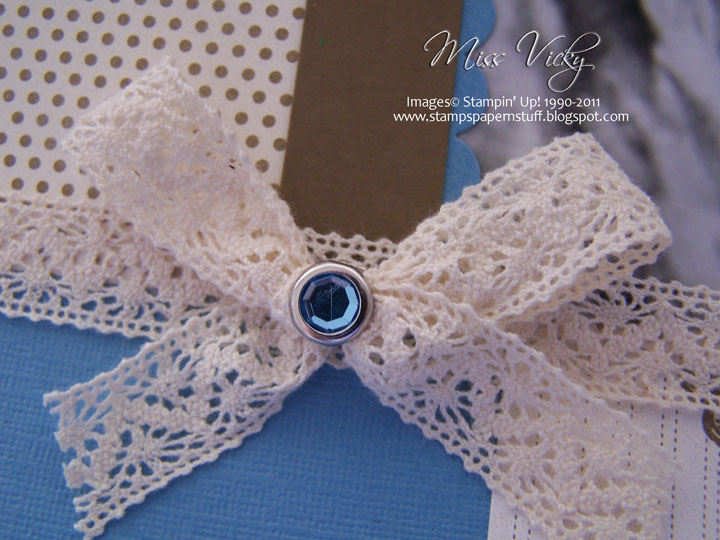
I then adhered a piece of Crocheted Trim across the bottom of the photo, tied a bow, attached a Rhinestone Brad to the centre & adhered using a Mini Glue Dot.
Tip – Don’t be afraid to adhere “stuff” to your photos.  You will be pleasantly surprised of the result!
Supplies –
Stamp Set – Nil
Ink – Nil
Cardstock – Textured Marina Mist, Very Vanilla, Soft Suede
DSP – Beau Chateau
Punches – 2 3/8: Scallop Circle, Modern Label
Dies – Circles # 2
Ribbon – Crochet Trim – Victoria
Accessories – Rhinestone Brad – Light Blue, Flowers, SU Marker – Basic Black,
 Snail Adhesive, Mini Glue Dots
Non-SU – Flowers, Blue Rhinestones
Until next time, Enjoy!

Xmas Scrapbook Page…

I wasn’t going to scrap the photos I took on Christmas Day this year, but looking at them, I suddenly realised I had a photo of 4 generations……  It doesn’t happen very often, although Jill has 6 great grand kids……  the oldest being 16! She is often babysitting 3 of them, 2 of whom are twins, so they keep her on her toes. 

Mind you, she will not & has never given up her social life to babysit.  She has always said to her grandkids, she would only look after them if she has nothing on.  Well, in Jill’s social calendar that is not very often.  I can’t wait to retire!!!!!!!!!!!

The photo was layered onto a piece of Riding Hood Cardstock, leaving 1/8″ border prior to adhering to the Whisper White Textured Cardstock.  For some reason I always like to use Textured Cardstock as my main page .

I incorporated the flower that I wore in my hair on Christmas Day – made from a couple of flowers I had lying around, added Rhinestones to the middle & bamo, you have an ornament for your hair!  I then hot-glued a clip on the back.  The clip was removed as I adhered a couple of Stampin’ Dimensionals to the back.  I also sponged a bit of Riding Hood Red Ink to the flower to make it pop a little.
I stamped the tree with Garden Green Ink onto Whisper White Cardstock before adhering to a layer of Basic Black Cardstock & then to the page. 
For the Scallop Circles, I used one of the images from Circle Circus – have been wanting to use this set for something Christmas for so long – with Garden Green Ink, while the wording is in Tempting Turquoise Ink….  They were both punched using the Scallop Circle Punch.
The journalling was typed & printed onto Whisper White Cardstock, before laying onto a piece of Basic Black Cardstock & then to the page.

I used a couple of pieces of  Basic Black Ribbon to look like the journalling & embellishments were hanging from the top.

I basically wanted to keep the page simple & clean – my style of scrapbooking, while just picking up the suttle colours in the photo – Riding Hood Red, Tempting Turquoise, Garden Green, Black & White.

Supplies –
Stamp Set – Circle Circus, Perfect Punches, Lovely as a Tree
Ink – Tempting Turquoise, Riding Hood Red, Garden Green
Cardstock – Whisper White Textured, Basic Black, Riding Hood Red
Ribbon – 3/8″ Taffeta – Basic Black
Punches – Scallop Circle
Accesories – Rhinestones, Stampin’ Dimensionals, Snail Adhesive, Sponge
 Until next time, when I will show you the 2nd page!
 

Scrapbooking….

Yes, I’ve been scrapbooking yet again…..  This is the page I had in mind when I created the card a couple of days ago using the same DSP.  This is of my aunt & uncle, who are brother & sister.

I selected my colours from the Azaleas in the background.  When I scrapbook, I tend to go with the colours that are not so predominant.  I think it makes for a better page, although everyone is different & scraps differently.

I used the Textured Melon Mambo Cardstock for my base & layered a piece of DSP over the top.  For my photo, I made a border from a piece of Pink Pirouette Cardstock, which was adhered to a piece of Melon Mambo Cardstock.  The whole lot was adhered to the DSP.

I cut a piece of Certainily Celery Satin Ribbon & adhered to the top of the DSP, added a piece of  Whisper White Grosgrain Ribbon over the top, punched 3 flowers with the Boho Blosso Punch, 2 in Pink Pirouette & 1 in Melon Mambo.  I adhered these to the top of the Whisper White Ribbon & added a Basic Pearl to the centre of each.

I handwrote my journalling onto a piece of Whisper White Cardstock using the Stampin’ Write Journaler, adhered to a piece of Melon Mambo Cardstock, then to a piece of Certainily Celerly Cardstock &  to the layout at an angle.

I cut a doiley from the DSP Pack, adhered to the journalling, punched a flower using the Boho Blossom Punch, adhered a Basic Pearl in the centre & lastly adhered to the page.

I’ve just realised, No Stampin’!!!!!  A very easy page, but one I am quiet happy with!

Supplies –
Stamp Set – Nil
Ink – Nil
Cardstock – Melon Mambo – Textured, Whisper White, Pink Piriouette
DSP – Flirtatious Speciality
Ribbon – 5/8″ Satin – Certainily Celery, 1/4″ grosgrain – Whisper White
Punches – Boho Blossom
Accessories – Basic Pearls, Stampin’ Write Journaler, Snail Adhesive
Until next time, Enjoy! 

TRRSS6…

I’m trying to slowly get back into my scrapbooking, BUT I will be the first to admit it is taking a bit to try & think along these lines.  To ease back into it slowly, I am only doing basic pages, although they sometimes turn out to be the best pages.

This page is for the challenge over at Holly’s blog – “Rubber Redneck STAMpede“.  I have been wanting to do one of her challenges for quiet sometime now, but just never seem to find the time.  I decided that I would have a break from doing my niece’s weding invitations & attempt the challenge.  After looking at the sketch for a couple of hours, I thought I would do a scrapbook page instead of a card. 

This page is of my little Maltese – “Belle“.  She is not 12 months yet, but has such a lovely little nature & personality.  Loves life, chewing on all my scrap paper, even sneaking bits from the bin in my office & hiding it all under my bed, cuddles, walks & play!  Not necessarily in that order!

Not wanting to use any doggie theme for the page, I tried to pick up the brown in her face & ears.  To add a little bit of embellishments, while sticking to the sketch, I thought the Embosslits Die – Beautiful Wings would suit the page.

Supplies –
Stamp Set – Nil
Ink – Nil
Cardstock – Textured – Blushing Bride, Early Expresso,
Whisper White, So Saffron, Wild Wasabi
DSP – Just Add Cake
Punches – Eyelet Edge, Decorative Label
Ribbon – 1/4″ Grosgrain – Early Expresso
Embosslits Die – Beautiful Wings
Accessories – Multipurpose Glue, Snail Adhesive,
SU Marker – Early Expresso, Basic Rhinestones
Until next time, Enjoy!

Scrapbooking…

After completing my page for the current challenge over at Sunny Challenges & Creations me being me, I had to complete a matching page. There is still time to play along.

Again, I’ve taken Dannielle & Chris as the focus & all I’ve done is flip the page 90 deg & added a bit of a heading.

It is merely the same as the posting here.

For my heading, I printed onto Whisper White Cardstock, punched with the Decorative Label Punch & then again in Night of Navy.  This piece I cut in half lengthways & adhered to the top & bottom prior to adhering to page.

Supplies –
Stamp Set – Elements of Style
Ink – Night of Navy
Cardstock – Soft Suede – Textured, Night of Navy, Whisper White
DSP – Beau Chateau
Punches – Decorative Label
Ribbon – 1/2″ Seam Binding – Baja Breeze, 3/8″ Raffeta – Night of Navy
Accessories – Flowers, Rhinestones, Snail Adhesive, SU Dimensionals

Until next time, Enjoy!