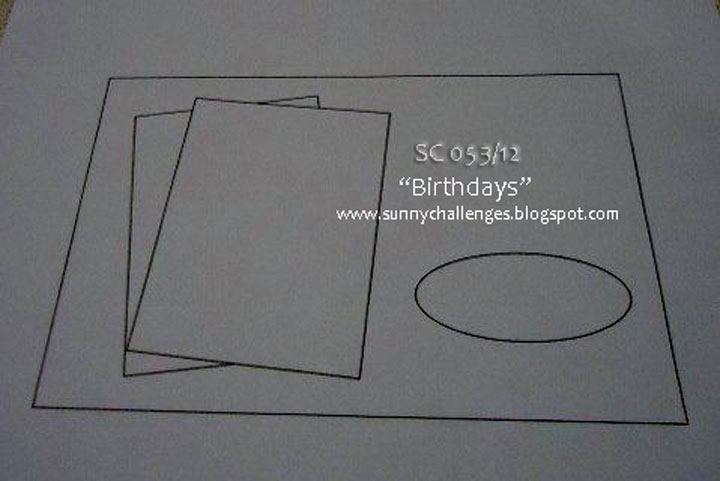
The new weekly challenge over at Sunny Challenges & Creations starts today. It is an easy one this week, although it did set my mind racing as there are sooooooooo many ways you could create your project by creating a Window in your card! Yep, Kris has set us a challenge by making a “window in our card“.
I will admit, I based my card around 2 pieces of paper – one being the DSP & the other Soft Suede Cardstock. I found these 2 pieces already adhered together in with the DSP pack. Obviously, I had used the remainder of the strip for something else & the piece left was just perfect for a card folded on it’s side. The piece of Soft Suede Cardstock had even been punched with the Scallop Edge Border Punch, so that was an added bonus as far as I was concerned.
 I even used a piece of Textured Cardstock for my Base Card which I found in my Textured Drawer of cardstock. I thought it would take away the blank look of the front of the card while at the same time, giving it a suttle soft feel to the card…….. I wanted the window to be my focus.
Then in the middle of creating my card, the “light bulb” went off & I created the window around a tiny stamp, but all will be revealed as we get further down…….. curious now!!!!!!!!!!!!
Supplies –
Stamp Set – Elementary Elegance, Elements of Style, Sincere Salutations, En Francais
Ink – Soft Suede, Pink Pirouette
Cardstock – Pink Pirouette Textured, Very Vanilla, Soft Suede
DSP – Beau Chateau
Punches – Scallop Edge Border, 1 3/4″ Circle, 2 3/8 Scallop Circle
Ribbon – 1/2 Seam Binding – Very Vanilla
Accessories – Tombow Multipurpose Glue, Dotto, Pearls, Snail Adhesive
Measurements –
Base Card – Pink Pirouette Textured Cardstock – 12″ x 4 1/8″ or 30cm x 10.5cm – Scored in the middle longways & folded in half
Layer 1 – DSP – 1″ x 4 1/8″ or 2.5cm x 10.5cm
Layer 2 – Soft Suede – 1″ x 4 1/8″ or 1.5cm
Once the card had been scored & folded in half, I cut about 1 1/4″ of Cardstock from the front right hand side of the card – the top layer ONLY!!!!!!
Prior to adding my bits down the Right Hand Side of my card, I punched a circle from the front top layer of my card using the 1 3/4″ Circle Punch. I adhered the piece of DSP & Soft Suede Cardstock down the RHS with Snail Adhesive. I allowed about 1/8″ from the edge of the card showing on the RHS.
 |
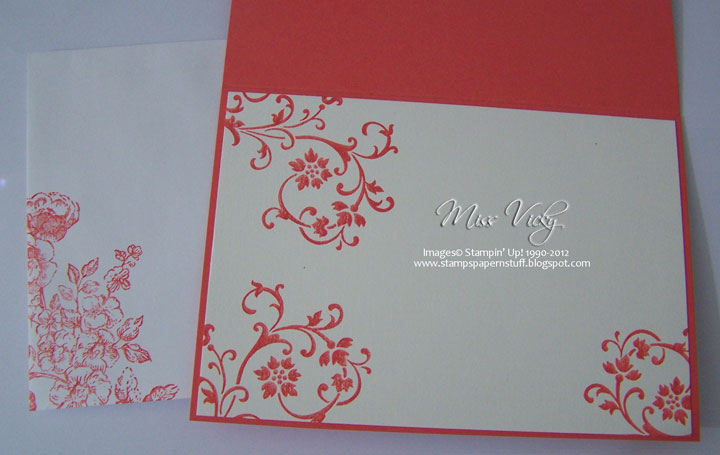
| My little WOW factor with the little stamped bird inside the card |
I punched a circle out of the DSP using the 1 3/4″ Circle Punch, positioned the 2 3/8″ Scallop Circle Punch over the top, ensuring that the DSP was even on all side prior to punching. Don’t you just love how all SU! punches gel together?????? You should have a scalloped circle ready to be placed over the the window in your card.
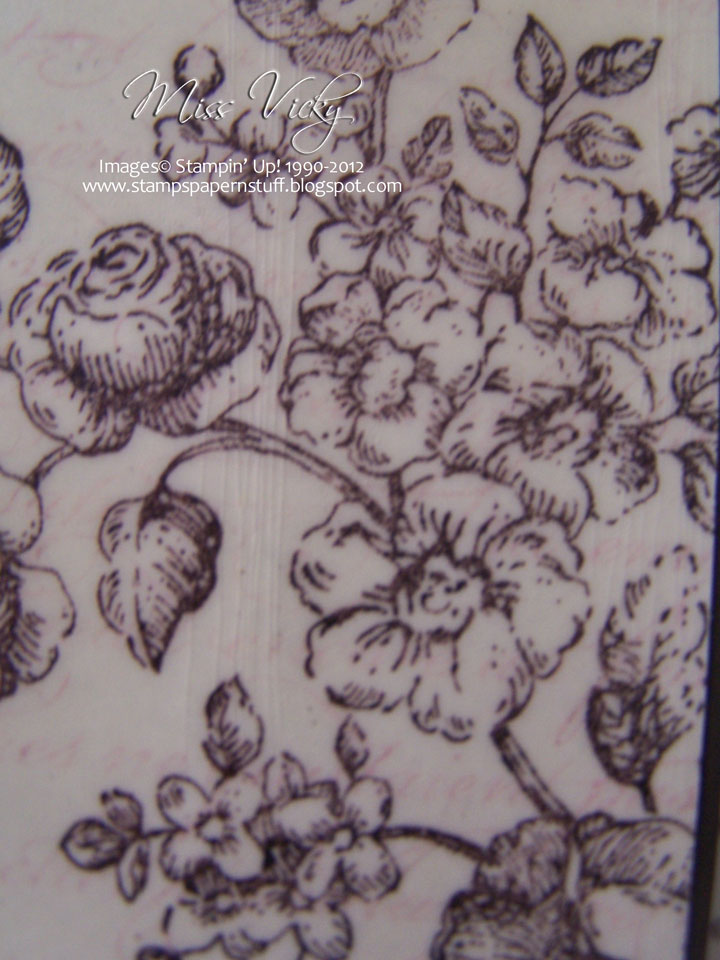
?I cut a piece of Very Vanilla Cardstock for the inside of my card – 4″ x 5 5/8″ & adhered with Snail Adhesive. A circle was punched from a scrap piece of paper with my 1 3/4″ Circle Punch & placed over the top of the inside layer ensuring that the whole of the Very Vanilla was covered with the scrap paper. I placed a temporary adhesive to the back of the paper with Dotto so that the paper wouldn’t move around when I stamped.
I inked my script image with Pink Pirouette Ink, stamped over the paper & onto the Very Vanilla Cardstock. The excess ink went straight onto the scrap paper. When I removed the scrap paper, I had a round circle of script on the Very Vanilla Cardstock inside. This script image appeared through the window when the card was closed.
TIP – To remove any little bits of Dotto on your card, rub gently with Adhesive Remover
??
 |
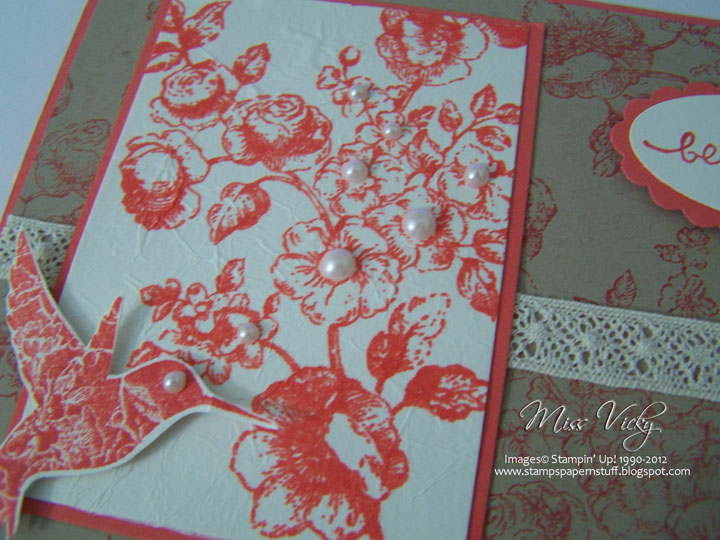
| See the little wings behind the big bird….. |
I adhered my scalloped DSP circle over the top of the window with Tombow, stamped my bird image onto a scrap of Very Vanilla using Soft Suede Ink, cut out & WHAM – the “light bulb” switched on!!!!!! I adhered the cut out bird to the top of the DSP scallop circle by his little wing tip with Tombow. The bird was covering the little bird on the inside & cannot be seen until you open the card…..
??As the card was still missing something I tied a knot with Very Vanilla Seam Binding & adhered to the DSP with a Mini Glue Dot.
I decided to stop there, but after putting all my “stuff” away, I eyed my Pearls & thought “why not” – so on with the Pearls down the Scallop Edge Border & of course, 1 for his little eye.
I grabbed a greeting & stamped direct onto the Textured Cardstock with Soft Suede. It just seemed to balance the card a bit better.
We would love for you to join us as this week, we have decided if we reach 10 entries there will be TWO (2) Ray of Sunshines announced the following Satrday.
Happy Stampin’
Like this:
Like Loading...