SC 001/11…

I thought I would do another card for our current sketch & stamp set.  It is not too late to create a card from the sketch using “Inspired by Nature” Stamp Set.  Check out the details – http://www.sunnychallenges.blogspot.com/
For my card, I thought I would use some of the outgoing DSP, emboss a little here & there, put it altogether & that would be it.  Yes, I used the DSP, but after putting it together, looked at it & found out I totally forgot to do the embossing.  Oh well, all the embossing stuff will have to wait another day.
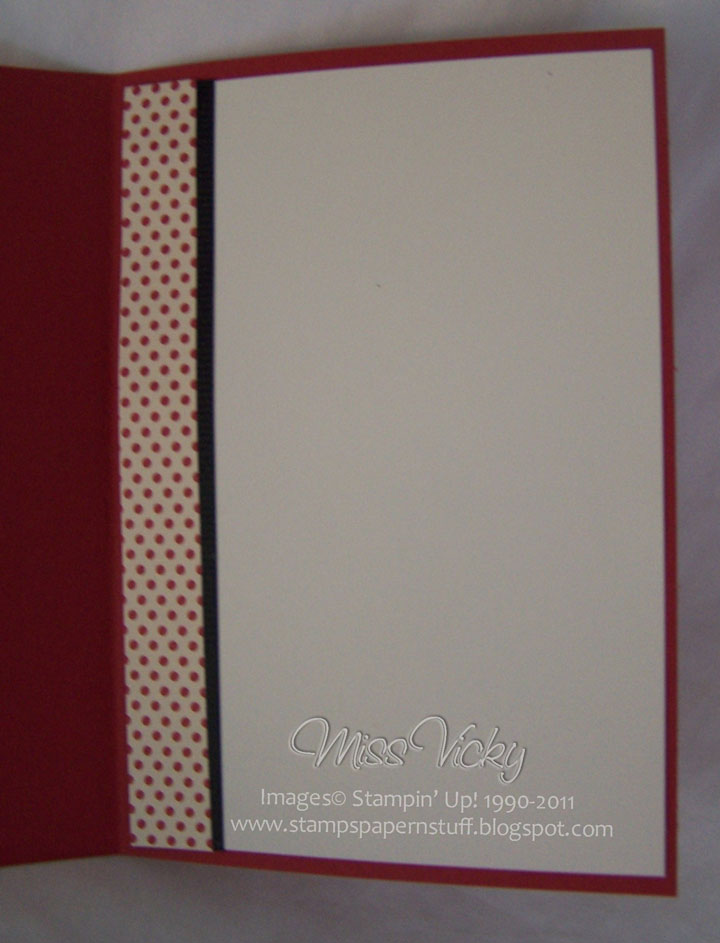
I cut a piece of DSP, adhered to Very Vanilla Cardstock & adhered to the base card – Riding Hood Red.  I stamped the image directly onto DSP using Basic Black Ink, adhered to Riding Hood Red & then to base card.
For my butterflies, I used the Bigshot & Embosslits Die – Beautiful Wings, along with DSP & Riding Hood Red.  The butterflies were adhered randomly over the card with Basic Pearls adhered down the middle of them.
Again, a very easy card, although I can’t help think it would have been much better if I had not forgotten to Heat Embossed.
Supplies –
Stamp Set – Inspired by Nature
Ink – Basic Black
Cardstock – Very Vanilla, Riding Hood Red, Basic Black
Embosslit Dies – Beautiful Wings
DSP – Love Letter
Accessories – Snail Glue, Basic Pearls, Bigshot
Why not head across to the challenge site & take a look at the lovely creations.  There is still time to submit your creation
Until next time, Enjoy!

SC 01111…

This is the first challenge for our new challenge blog – http://www.sunnychallenges.blogspot.com/
The sketch was created by the lovely & talented Gwen using the set stamp set for the week – Inspired by Nature.
For my card, I used Chocolate Chip Cardstock for the Base.  Adhered a piece of Pumpkin Pie on top, run a piece of Chocolate Chip through the Bigshot using Embossing Folder – Square Lattice & adhered to card.
I stamped my first image directly onto Very Vanilla Cardstock using Old Olive Ink.  I coloured my 2nd image using my SU Markers, stamped over the top of the first image & applied Crystal Effects to the top of the flowers to add dimensions.  This piece was adhered to Old Olive Cardstock & then to the base card.
??
Inside Card…

??
?

Close-Up – showing use of Crystal Effects

?

All in all a very easy sketch for the stamp set, but unlimited possibilities.  The colours I used for my sample are not my usual colours as I decided to go way out of my comfort zone.  
I think I pulled it off.  Let me know what you think.

???????????????

With Envelope…

?????????

Supplies –
Stamp Set – Inspired by Nature
Ink – Old Olive
Cardstock – Chocolate Chip, Very Vanilla, Pumpkin Pie, Old Olive
Embossing Folders – Square Lattice
Accessories – Multipurpose Glue, Bigshot, Crystal Effects, Bigshot, SU Markers – Old Olive, Daffodil Delight & Pumpkin Pie

??????

Why not head over to http://www.sunnychallenges.blogspot.com/ to load your entry & see what Gwen & Kris have designed.
Until next time, Enjoy!

Spinner…

This is the card we made at the Community Centre on Friday arvo.  Again, the ladies all made their individual card to suit the occasion they wanted.  They all turned out lovely!

Base Card – Basic Grey – 5 5/8″ x 4 1/4″ or 15cm x 10.5cm
Layer 1 – Melon Mambo – 5 1/2″ x 4″ or 14.5cm x 10cm
Layer 2 – Whisper White – 5 3/8″ x 3 7/8″ or 14cm x 9.5cm

Using Old Olive Ink and my image, I stamped the reeds randomly onto Whisper White Cardstock, ensuring the image overlapped the top.  Grabbing the small flower and Melon Mambo Ink, I stamped the image randomly among the reeds.
I measured about 1/2″ or 1.5cm down from the top of Whisper White Card & the same in from both sides.  I ruled a line in pencil from point to point.
I punched the point using my Small Circle Punch.  I then punched along the ruled line using the Word Window Punch.
Using a Stampin’ Dimensional, I adhered one to the top of a 5c coin, ensuring that this was under the punched cutting.  I adhered the second 5c coin on top of the Stampin’ Dimensional so that the two 5c coins were sitting exactly on top of each other, ensuring that they could slide side to side with no obstructions.
Using Multipurpose Glue, I adhered Melon Mambo Cardstock to the Base Card, and Whisper White to Melon Mambo Cardstock using Stampin’ Dimensionals.  This allows for the coins to slide side to side.
I stamped the sentiment onto Whisper White Cardstock using Melon Mambo and punched out using the Large Oval Punch.  I then used the Scallop Oval Punch to punch out a piece of Basic Grey Cardstock.  I adhered the Whisper White to the Basic Grey & this was adhered to the card.
I stamped the Butterfly onto Whisper White Cardstock using Melon Mambo, cut the image out & using a Stampin’ Dimensional, adhered it to the top of the 5c coin.
Crikey, I hope this makes sense.  If not, please do not hesitate to contact me.
Supplies –
Stamp Set – Inspired By Nature, Priceless, Short & Sweet, All a Flutter
Ink – Old Olive, Melon Mambo
Cardstock – Basic Grey, Whisper White, Melon Mambo
Punches – Large Oval, Scallop Oval, 1/2″ Circle, Word Window
Accessories – Multipurpose Glue, Stampin’ Dimensionals
Non-SU – 5c Coin
Until next time, Enjoy!

Inspired…

This card is for the challenge over at JUGS  I wasn’t too sure of the stamp set I wanted to use, but knew I wanted to used the DSP – Lap of Luxury.  I have ony cut into this paper & it is just stunning!

For my card –
Cut base card using Concord Crush Cardstock, score in half
Cut smaller piece of Basic Gray Cardstock & adhere to base card
Cut smaller piece of DSP – Lap of Luxury & adhere to Basic Gray Cardstock
Cut piece of Cardstock in Concord Crush – 2.5″ x 4″
Cut piece of DSP – Lap of Luxury – 2 3/8″ x 3 7/8″
Adhere DSP to top of Concord Crush
Cut piece of Basic Gray Cardstock – 4″ x .75″ & adhere to top of DSP
Adhere Concord Crush Ribbon to top of Basic Gray & tuck ends of ribbon under

Tie Ribbon LHS
Adhere entire piece over top of DSP which is your card
Cut piece of Concord Crush Cardstock – 4 5/8″ x 2 1/8″
Cut piece of DSP – 4 1/2″ x 2″
Using Shimmer Paint – Frost White, randomly spread over DSP & let dry

Ink image with Versamark & then with Concord Crush ink, stamp image directly over top of DSP
Apply Clear Embossing Powder & using Heat Tool, heat stamped image

TIP – This will not give you a raised image, but will allow parts of the Shimmer Paint to come through onto your image

Adhere DSP to top of Concord Crush Cardstock & apply to card

TIP – I sometimes leave the sentiment until such time as I am looking for a particular card, then I will include a sentiment.  It allows you to be more flexible with your cards, while at the same time not having to make another card

Supplies –
Stamp Set – Inspired by Nature
Ink – Concord Crush, Versamark
Cardstock – Basic Gray, Concord Crush
DSP– Lap of Luxury
Ribbon – 1/2″ Stitched- Poly – Concord Crush
Accessories – Snail Glue, Stampin’ Dimensionals, Shimmer Paint – Frost White,
Heat Tool, Embossing Powder – Clear
Until next time, Enjoy!

For You…

Today’s card is a sketch from Stamping411 – http://stamping411.blogspot.com
Again, another easy one to do, the posibilities are endless!
Using SU Pastels, I’ve created a very light background, including the sun, then embossed over.  I didn’t want the pastels to be too vivid so to compete with the embossing folder.
Tutorial for Heat Embossing may be found here
This makes for a great Male Card!
My Card –
Supplies –
Stamp Set – Inspired by Nature, Great Friend
Inks – Basic Black, Versamark
Cardstock – Very Vanilla, Not Quiet Navy, Old Olive
Embossing FolderSquare Lattice
Punches – 1 1/4″ Circle
Accessories – SU Dimensionals, Anywhere Glue Stick, SU Pastels, Embossing Powder – Black, Grosgrain Ribbon – Night of Navy, Embossing Buddy, Heat Tool
Summer Mini-Catalogue 2011
Until next time, Enjoy!