Challenge Card….

Today’s card is for the challenge over at Stampin’ Fun & Friends.  Click on the link to register for this great event.  It is not too late to do so.  There have been so many great ideas for creating lovely card sets including a matching box/bag to go with them. 

Our first challenge CherylAnn set us is to create a Project, Card, 3-D Item or Scrapbook Page going by this lovely spring photo. Isn’t that flower just gorgeous?

Measurements –
Base Card – More Mustard – 8 1/4″ x 4 1/8″ or 21cm x 15cm – Scored in the middle & folded in half
Layer 1 – Bravo Burgandy – 5 3/8″ x 3 7/8″ or 14cm x 10cm
Layer 2 – Very Vanilla – 5 1/4″ x 3 3/4″ or 13.5cm x 9.5cm

Supplies –
Stamp Set – Nature Walk, French Foliage
Inks – Bravo Burgandy, Garden Green, More Mustard, Always Artichoke
Cardstock – Bravo Burgandy, More Mustard, Very Vanilla
DSP – First Edition Speciality
Punches – Scallop Oval
Ribbon – 1/2″ Seam Binding – Always Artichoke
Accessories – Regal Buttons – More Mustard, Snail Adhesive, Mini-Glue Dots, Sponge Dauber, Very Vanilla Spritz, Paper Piercer, Silver Brad

Close up of Flower with Button
poking through….

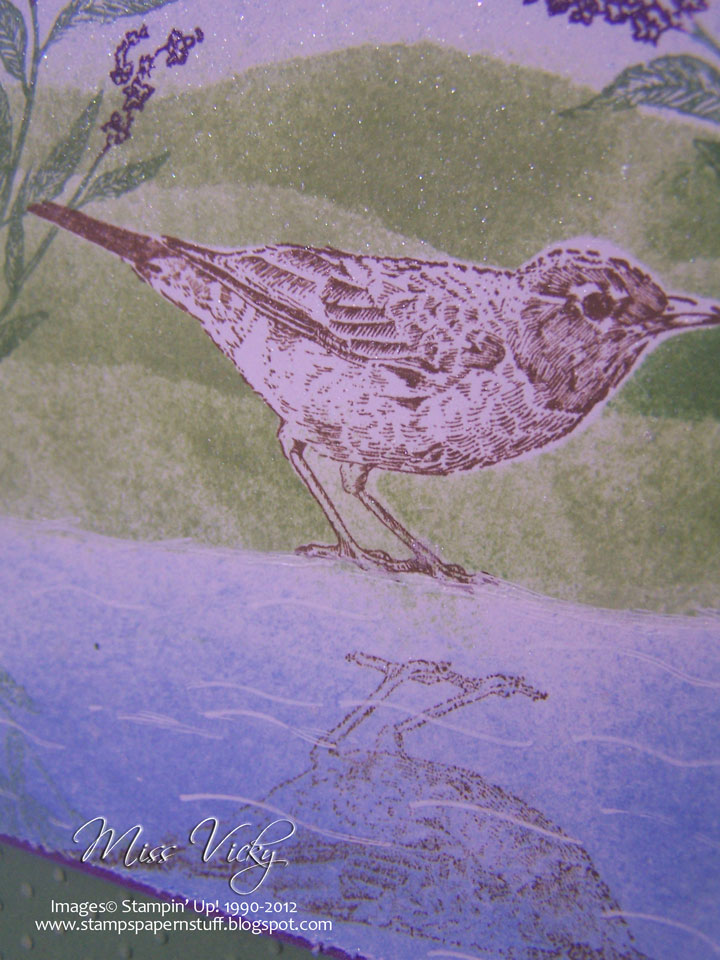
I randomly stamped my images onto the piece of Very Vanilla Cardstock using Garden Green, Always Artichoke, More MustardBravo Burgandy Inks.  With the Always Artichoke Ink, I did stamp off twice prior to stamping onto the Very Vanilla Cardstock.
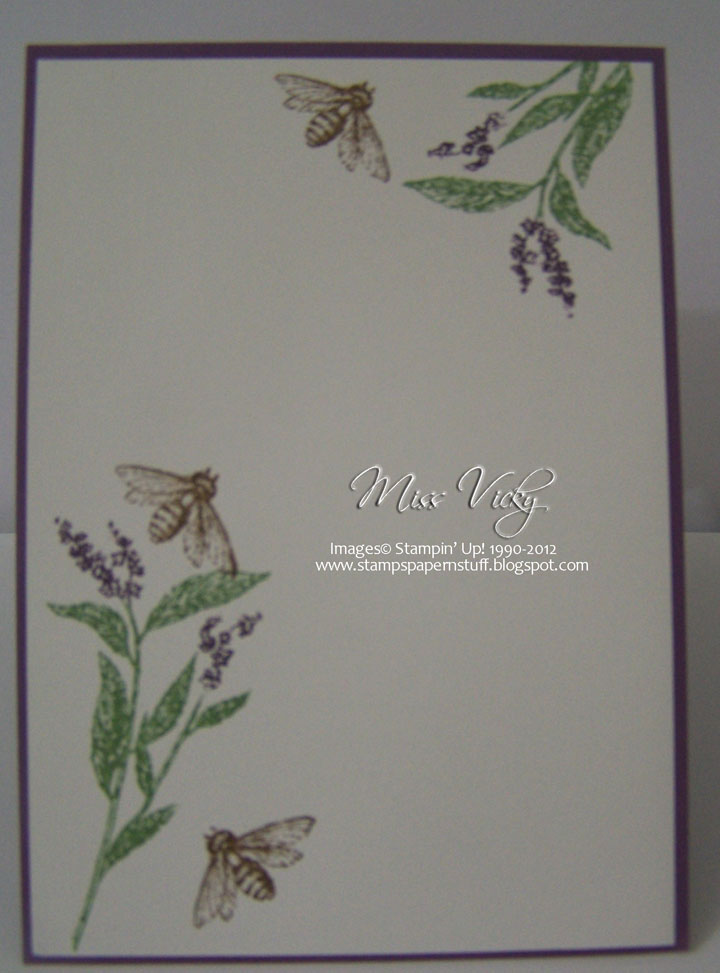
Inside Card….

I punched 5 scallop circles from the DSP with the Scallop Circle Punch, sponged around the edges using Bravo Burgandy Ink & Sponge Dauber prior to spritizing all 5 circles with the Very Vanilla Spritzer. This wet my circles so that I could scrunge & play with them.  It also made the sponging run a little & lighten the sponged Bravo Burgandy.
I carefully layered all pieces on top of each other, pierced a hole in the middle with my Paper Piercer, added a Silver Bard to the centre & squashed my flower until I was happy with the shape.

Once the flower was dry, I added a small button to the centre with a Mini-Glue Dot, tied a double bow with the Ribbon, attached to the card with another Mini-Glue Dot & adhered the flower in the centre of the bow, so that it looked a little like leaves.

Since the photo was taken, I again sponged the edges of the flower in Bravo Burgandy to bring out the colour a little more & to take away the pink tinge.

I haven’t added a greeting/sentiment to my card as you are probably all aware, I mostly post blank cards or will add the greeting later when I know what I am going to use it for.

Until next time, Happy Stampin’

SC 050/12….

Can you believe it – # 050…….  Sunny Challenges & Creations celebrate 12 months on this sketch.  Who would have ever thought that we would still be going?

Anyhow, Kris has set our challenge this week & we have a Technique to go with the sketch.  This week we had to do the Reflection or Mirror Image Technique.  If you haven’t had a go at this fun technique, then pop on over to Sunny Challenges for a tutorial on how to do it.

For my card, I sort of started from the inside out.  I had an idea forming in my head, but couldn’t work it out to start the card, so thought it best to play & think while doing the inside first.  Do you do your cards that way?  I often do & always amazes me how it sort of comes together in the end.

I do have another card which I was going to post instead of this one, but will post it later on in the week, so be sure to pop back to check it out!

Measurements –
Base Card – Perfect Plum – 11 3/4″ x 4 1/8″ or 29.5cm x 10.5cm – Score in middle & folded in half
Layer 1 – Bashful Blue – 4″ x 5 3/4″ or 14cm x 10cm
Layer 3 – Wild Wasabi – 3 7/8″ x 3 1/4″ or 9.5cm x 8.5cm
Layer 4 – Perfect Plum – 4 1/2″ x 3 5/8″ or 11.5cm x 9cm
Layer 5 – Whisper White – 4 3/8″ x 3 1/2″ or 11cm x 8.5cm

Supplies –
Stamp Set – Nature Walk
Ink – Certainly Celery, Bashful Blue, Soft Suede
Cardstock – Whisper White, Bashful Blue, Wild Wasabi, Perfect Plum
Embossing Folder – Perfect Polka Dots
Accessories – Snail Adhesive, Stampin’ Dimensionals, Sponge, Stampin’ Up! Markers – Perfect Plum, Wild Wasabi, Distressing Tool, White Gel Pen, Acetate, Vanilla Shimmer

My image was stamped onto the piece of Whisper White Cardstock in Soft Suede Ink.  I created a mask for my bird & adhered it to the top of my stamped image.

Using my Sponge, the hills were sponged in Certainly Celery Ink, while the sky was sponged lightly with Bashful Blue.  The same went for the water, except as I got towards the bottom of the water I sponged it a bit darker so that it washed some of the bird’s reflection.  Once I was happy with the sponging, the mask was taken off the bird.

The images around the edges were inked with my Stampin’ Up! Markers -Wild Wasabi & Perfect Plum prior to randomly stamping around the card. 

To add a bit of dimension to the water, I drew a few randomly lines with my White Gel Pen.  This sort of looks like it is the ripples in the water.  I did the same along the water’s edge.

I went around the edge with my Distressing Tool & finally sprayed the lot with Vanilla Shimmer.  It did start out with just the water so that it would give it a bit of a gleam, but ended up going over the whole card, but that it ok.
The Wild Wasabi piece went through the Bigshot using Perfect Polka Dots Embossing Folder & adhered to the piece of Bashful Blue Cardstock with Snail Adhesive & then finally to the Base Card – Perfect Plum.

The sponged piece was adhered to the card with Stampin’ Dimensionals.

I have gone back to the softer colours of late.

Don’t forget to pop on over to Sunny Challenges & Creations & check out what both Gwen & Kris have created.  We would love for you to join us & help celebrate our BIG 50!!!!!

Until next time, Happy Stampin’