SC 002/11..

The new week begins with a new sketch & stamp set.  This week it has been set by Kris and me being me, just about left it to the last moment, but after putting my thinking cap on, I come up with the following creation.  Doing these challenges is helping me to think outside the square so to speak & also to use colours hat I would not normally use, let alone together.  For more information & to link up with Mr Linky, head over to http://www.sunnychallenges.blogspot.com/
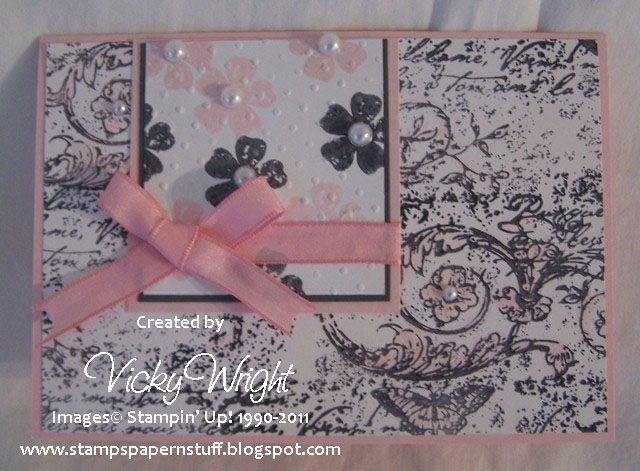
For my card, I stamped an image direct onto Sahara Sand using Blushing Bride Ink.  I cut a piece of Bravo Burgandy & mounted a smaller piece of DSP over the top.  I cut another piece in Blushing Bride, stamped an image onto it using Sahara Stone Ink, run it through the Bigshot using Embossing Folder – Square Lattice & adhered to card.  I then adhered the DSP piece over the top, as per the sketch.
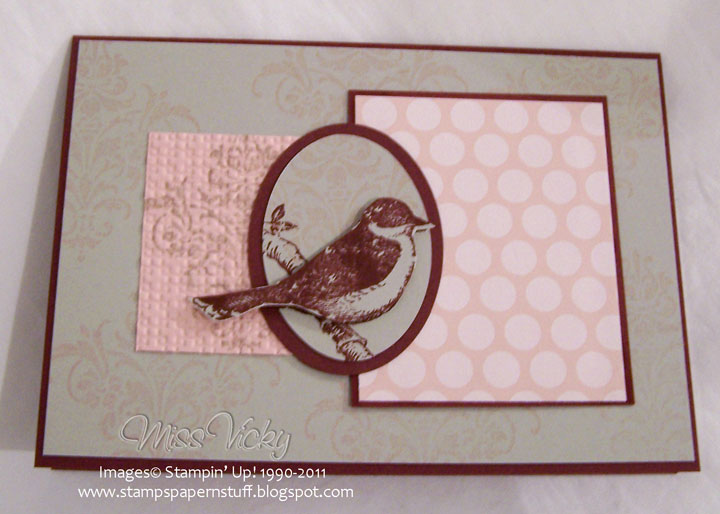
I cut 2 ovals using my Bigshop & the Ovals Die, the bigger one in Bravo Burgandy, while the smaller piece is Sahara Sand.  I stamped the same image onto the Sahara Sand piece using Blushing Bride Ink & then the bird image over the top with Bravo Burgandy Ink.
I again stamped the bird image onto a scrap piece of Sahara Sand Cardstock, cut it out & mounted over the top of the first image using SU Dimensionals.
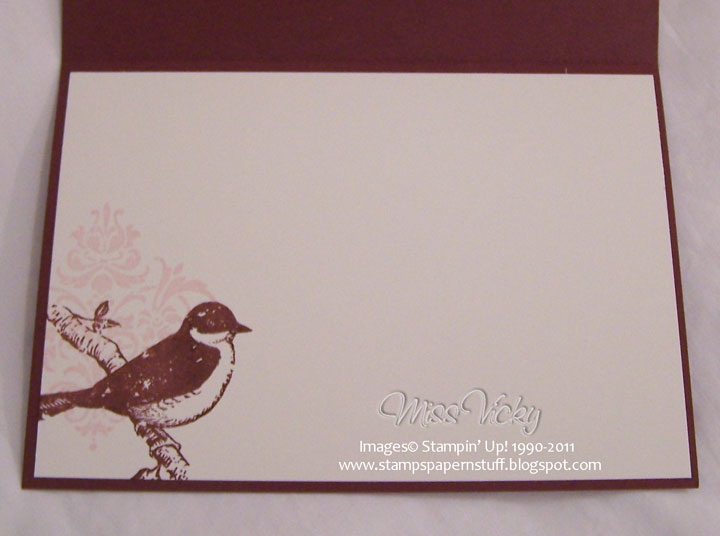
For the inside of the card, I cut a piece of Very Vanilla Cardstock, stamped an image using Blushing Bride Ink & then stamped the bird image over the top with Bravo Burgandy Ink.
Supplies –
Stamp Set – Friends 24-7
Ink – Bravo Burgandy, Blushing Bride, Sahara Sand
Cardstock – Very Vanilla, Bravo Burgandy, Blushing Bride, Sahara Sand
DSP – In Colours
Dies – Ovals
Embossing Folders – Square Lattice
Accessories – Snail Glue, SU Dimensionals, Bigshot
I do hope you will join us for this great challenge.  You have until next Saturday to do so.
Until next time, Enjoy!

TSSC 185…

Trying to use up more of my stash of DSP & stamps before they retire.  This card is taken from the sketch of Mary-Jo’s  I went with a stamp set that I really adore but have only used it probably once or twice – shame on me! 
Base Card – Very Vanilla – 5 7/8″ x 4 1/8″ or 15cm x 10.5cm
Layer 1 – DSP – 3 1/2″ x 5″ or 9cm x 13cm
Layer 2 – Basic Gray – 5 7/8″ x 1 3/4″ or 15cm x 4.5cm
Layer 3 – DSP – 5 7/8″ x 1 5/8″ or 15cm x 4cm
Layer 4 – Basic Gray – 1 3/4″ x 4 1/8″ or 4.5cm x 10.5cn
Layer 5 – DSP – 1 5/8″ x 4 1/8″ or 4cm x 10.5cm
Layer 6 – Baja Breeze – 3 1/8″ x 2″ or 8cm x 5cm
Layer 7 – Very Vanilla – 3″ x 1 7/8″ or 7.5cm x 4.5cm
I stamped my image onto the Very Vanilla Cardstock using Soft Suede Ink.  Inking my solid flower image with Soft Suede Ink, I stamped off twice & then stamped over the top of the first image – 2-Step Stamping!  I then randomly stamped 3 flower outlines in Soft Suede Ink around the card & stamped the solid images using Baja Breeze Ink.  I didn’t stamp off with this ink as it is a very soft colour anyhow.  This piece was adhered to the Baja Breeze Cardstock.
Using my Scallop Trim Border Punch, I punched along the edge of the shorter piece of Basic Gray Cardstock & adhered the matching piece of DSP on top.  I then adhered the longer piece of DSP to the longer piece of Basic Gray Cardstock.
I adhered the larger piece of DSP to the base card followed by all the layers – as per the sketch.  I applied SU Dimensionals to the back of the Baja Breeze Cardstock before adhering to the card.  I placed Basic Pearls to the centre of the flowers as well as down the RHS of the card.
When I first looked at the sketch, I thought “No, too much, not doing it!”  But boy am I glad I did.  I think the card made up really lovely & soft, but you be the judge.
Supplies –
Stamp Set – Flower Fancy
Ink – Soft Suede, Baja Breeze
Cardstock – Very Vanilla, Baja Breeze, Basic Gray
DSP – Elegant Soiree
Punches – Scallop Trim Border
Accessories – Snail Glue, SU Dimensionals, Basic Pearls
Until next time, Enjoy!

SSC214…

For a card which started out as a bit of an idea in my head, it turned into a very complicated one.  After colouring, ripping, tearing, stamping, then stamping, colouring, inking, embossing I think I am happy with the final result but….
The card was created from the challenge over at Stamping 411 and you know wthat that means – All measurements have been done for you.
 
Here’s some possible measurements to get you started:

1.Layer One – Card Base cut at 5.5 x 8.5, scored and folded

2.Layer Two – 4 x 5.25”
3.Layer Three – Die Cut or other Shape – approximately 3.5”
4.Layer Four – 3.25”
5.Layer Five – 3”

I cut my 2nd layer using Whisper White Cardstock, stamped using my SU Wheel & Basic Grey Ink.  It has been so long since I have used a Wheel that I quiet enjoyed it again & must remember to use them more often.  I randomly coloured the image using my Aqua Painter & Pink Pirouette Ink. I wasn’t too concerned about going out of the lines or how I coloured it as I think it looks a little better this way.  This was adhered to my base card – Pink Pirouette Cardstock.
 
I cut my 3rd layer using Pink Pirouette Cardstock but didn’t do a border as it looked a little too much when I did, so I skipped it.  I do hope the operators will forgive me for this.  I then stamped the flower images using Basic Grey & Pink Pirouette Inks stamping randomly over Whisper White Cardstock.  This piece was run through my Bigshot using Embossing Folder – Perfect Polka Dots.  I adhered this to a piece of Basic Grey, adhered to the Pink Pirouette, added a piece of Satin Ribbon, tied a bow & then adhered to the base card.  I applied Basic Pearls to the middle of the flowers. 
 
Now you ask how could this take me hours to create & finish, but believe me it did!  I nearly gave in a number of times, but wouldn’t let it get the better of me.  This is for a special 50th Birthday.  I know it has no greeting, etc but I like them to be blank sometimes, especially for such a special occasion!
 
Supplies –
Stamp Set – Vintage Vogue
Ink – Basic Grey, Pink Pirouette
Cardstock – Pink Pirouette, Basic Grey Whisper White
Embossing Folder – Perfect Polka Dots
Ribbon – 5/8″ Satin Pretty in Pink
Wheel – Very Vintage
Accessories – Snail Adhesive, Bigshot, Basic Pearls, Aqua Painter
 
Now, I must go & do what I am supposed to be doing – printing & creating invitations!
 
Until next time, Enjoy!
  

SC 01111…

This is the first challenge for our new challenge blog – http://www.sunnychallenges.blogspot.com/
The sketch was created by the lovely & talented Gwen using the set stamp set for the week – Inspired by Nature.
For my card, I used Chocolate Chip Cardstock for the Base.  Adhered a piece of Pumpkin Pie on top, run a piece of Chocolate Chip through the Bigshot using Embossing Folder – Square Lattice & adhered to card.
I stamped my first image directly onto Very Vanilla Cardstock using Old Olive Ink.  I coloured my 2nd image using my SU Markers, stamped over the top of the first image & applied Crystal Effects to the top of the flowers to add dimensions.  This piece was adhered to Old Olive Cardstock & then to the base card.
??
Inside Card…

??
?

Close-Up – showing use of Crystal Effects

?

All in all a very easy sketch for the stamp set, but unlimited possibilities.  The colours I used for my sample are not my usual colours as I decided to go way out of my comfort zone.  
I think I pulled it off.  Let me know what you think.

???????????????

With Envelope…

?????????

Supplies –
Stamp Set – Inspired by Nature
Ink – Old Olive
Cardstock – Chocolate Chip, Very Vanilla, Pumpkin Pie, Old Olive
Embossing Folders – Square Lattice
Accessories – Multipurpose Glue, Bigshot, Crystal Effects, Bigshot, SU Markers – Old Olive, Daffodil Delight & Pumpkin Pie

??????

Why not head over to http://www.sunnychallenges.blogspot.com/ to load your entry & see what Gwen & Kris have designed.
Until next time, Enjoy!

SSC213…

Today’s card is taken from the sketch over at Stamping 411 I immediately thought of this set when first seeing the sketch.
Once again, the lovely operators have provided us with measurements –
Base 8 1/2″ x 11″, scored and folded in half at 5 1/2″

Layer 2: 5 1/4″ x 4″

Layer 3: 3 1/4″ x 4″
Layer 4: 2″ x 4″
Layer 5: 1″ x 4″
Layer 6: some potential shape
Layers 7, any punched shapes or embellishments.. Just use your imagination!
For my card, I adhered my piece of DSP to Bashful Blue Cardstock.  I run Whisper White through my Bigshot using the Embossing Folder – Perfect Polka Dots and adhered it to the top of the Bashful Blue Cardstock.
I punched a piece of Real Red Cardstock using my Eyelet Border Punch, added a piece of Early Expresso Grosgrain Ribbon along the middle & adhered to the middle of the card.  The whole piece was then adhered to my Base Card – Pear Pizzazz Cardstock.
Using Chocolate Chip Ink, I stamped the sentiment directly onto Whisper White Cardstock, punched a piece of Real Red Cardstock using my Decorative Label Punch, cut this in half & layered the Whisper White over the top allowing the Real Red edge to show on both top & bottom.
With Chocolate Chip Ink, I stamped the cupcake image, cut the bottom out & adhered to the card, using SU Dimensionals.  I repeated this same step, except using Bashful Blue Ink & cutting the top of the cupcake.  This was adhered to the card using SU Dimensionals.  I applied Rhinestones to the top of the cupcake.
Supplies –
Stamp Set – Party Hearty, After Thoughts (Hotstess Level 1)
Ink – Chocolate Chip, Bashful Blue
Cardstock – Real Red, Whisper White, Pear Pizzazz
DSP – Celebrations
Punches – Decorative Label Punch, Eyelet Border
Embossing Folders – Perfect Polka Dots
Ribbon – 1/4″ Grosgrain – Early Expresso
Accessories – Multipurpose Glue, Bigshot, SU Dimensionals, Rhinestones
Until next time, Enjoy!