No Stamps…

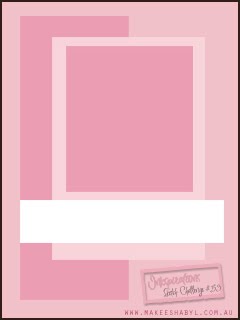
Mary-Jo has a great Sketch over on her blog and this is where the layout for this card come from.  Much to my surprise, I found this quiet difficult to do…  always the way.  What you think is going to be easy, hardly ever is.  But to my surprise, I have not used any stamps!

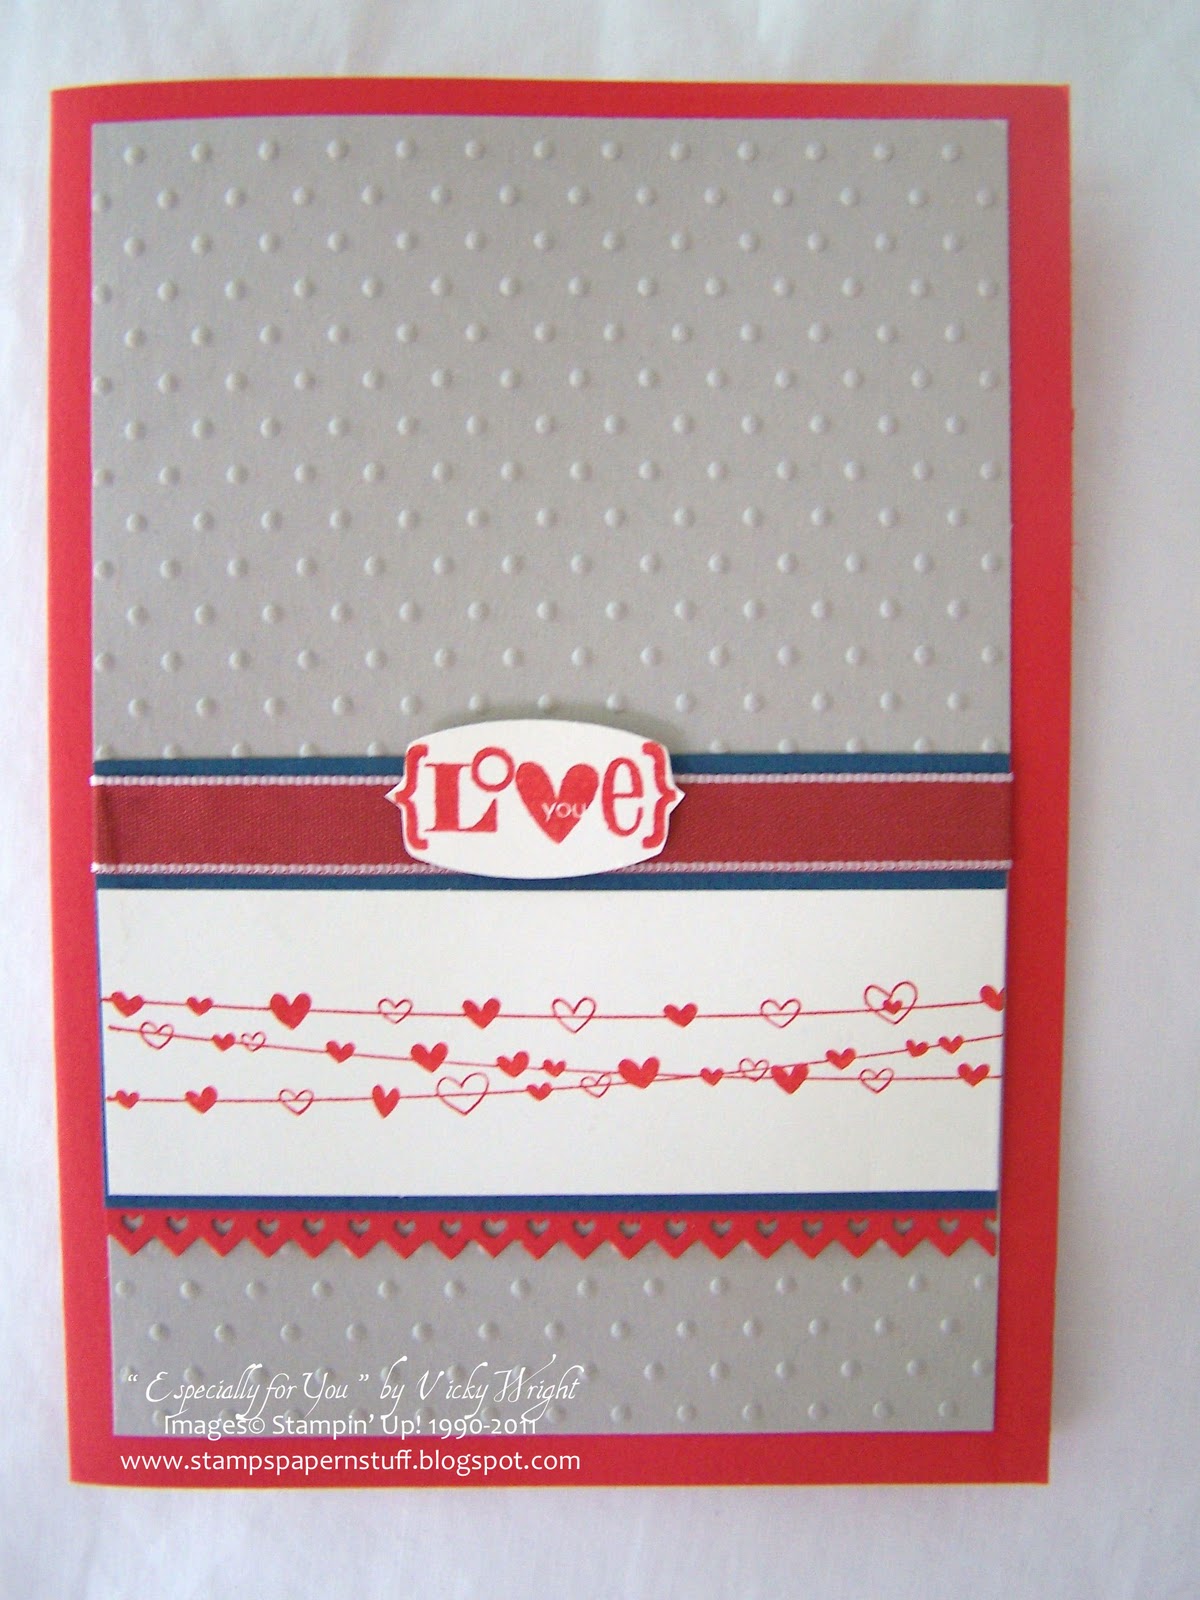
Base card – Baja Breese Cardstock – cut, score & fold
Layer 1 – Basic Gray Cardstock – 5 3/8 x 2 1/4″ or 14cm x 5cm
Using Embossing Folder – Perfect Polka Dots, run through Bigshot & adhere to RHS base card
Layer 2 – Cherry Cobbler Cardstock – 5 3/8″ x 1 5/8″ or 14cm x 4.5cm
Using Embossing Folder – Petals a Plenty, run through Bigshot & adhere LHS base card
With Baja Breeze Cardstock, punch 2 birds using the Two-Step Bird Extra Large Punch
With More Mustard Cardstock, punch 1 bird using the same punch
With Old Olive Cardstock, punch 3 leaves with the same punch
With Not Quiet Navy Cardstock, punch 3 wings using the Two-Step Bird Extra Large Punch
Using Embossing Folder – Petals a Plenty, run these wings through the Bigshot
Adhere all 3 Leaves, Birds & Wings to the card – as per sketch & card

Supplies –
Cardstock – Baja Breeze, More Mustard, Old Olive, Not Quiet Navy,
Cherry Cobler, Basic Gray
Punches – Two-Step Bird Extra-Large
Embossing Folders – Perfect Polka Dots, Petals a Plenty
Accessories – Multipurpose Liquid Glue
For something a little different this week, Mary Jo has added a Blog Hop
What is a blog hop?

A Blog Hop is a linky list that is SHARED ON MULTIPLE BLOGS.
When several blogs put the same linky list code on their blog, the exact same list appears on each blog. 
Blog visitors can submit their entries on any blog that contains the list.
The entries will appear on each blog where the list resides.
Blog readers see the same list on each blog, and can “HOP” from blog to blog seeing the same list of links to follow – BLOG HOP!

Click onto the photos below & they will take you to that particular blog.  You will find some lovely cards & creations among the blogs.  Leaving a comment will be very much appreciated by all.  Go visit & have a bit of fun!

Cheers…

I’ve been wanting to make more male cards & with a heap of birthdays coming up in the next couple of months, including January, this is a great way to get some of those cards done.

For today’s card, I combined a Colour Challenge over at Stamping 411 and the Sketch Challenge from Inkspirations Challenges

Base Card – Cut using Riding Hood Red Cardstock, score & fold

Layer 1 – Always Artichoke Cardstock – 5 7/8″ x 4 1/8″ or 14.5cm x 10cm
Stamp images randomly using More Mustard Ink
Layer 2 – More Mustard Cardstock – 4 1/2 x 2 1/2 or 11.5cm x 6.5cm
Layer 3 – Riding Hood Red Cardstock – 4″ x 2 3/8″ or 10.5cm x 6cm
Layer 4 – Always Artichoke Cardstock – 3″ x 2″ or 8cm x 5cm
Layer 5 – Watercolour Paper – 2 7/8″ x 1 7/8″ or 7.5cm x 7cm
Stamp images randomly using More Mustard Ink
Using Aqua Painter & More Mustard Ink, colour images
Adhere Watercolour Paper to Always Artichoke & then to Riding Hood Red
Adhere to More Mustard Cardstock
Tie knot in Ribbon & adhere along bottom
Adhere to base card

Supplies –
Stamp Set – Cheers to You
Inks – More Mustard
Cardstock – Riding Hood Red, More Mustard, Always Archoke, Watercolour Paper
Ribbon – 1/4″ Grosgrain – Very Vanilla
Accessories – Aqua Painter, Multipurpose Liquid Glue, Snail Adhesive
Until next time, Enjoy!

Wish Big…

This is a great birthday card for a boy!  Mind you, it could easily be turned into a card for the girls too.

I’ve taken the sketch from Clean & Simple Stamping – a really nice easy one, to create this card.

Base Card – Cut Whisper White Cardstock, score & fold
Layer 2 – DSP – 4 1/2″ x 1 1/2″
Layer 3 – Ribbon – Tie a knot in the ribbon and adhere to top of DSP & tuck ends under
Using Bigshot, Real Red & Sizzlits Dies – Big Bold Cupcakes – cut bottom of cake
Run through Crimper
Adhere to RHS card
Using Bigshot, Pacific Point Cardstock & Sizzlits Dies – Big Bold Cupcakes – cut top of cake
Adhere to top of Real Red Cardstock using SU Dimensionals
Using Bigshot, Bashful Blue Cardstock & Sizzlits Dies – Big Bold Cupcakes – cut sprinkles & randomly dhere to top of cake
Stamp sentiment using Real Red Ink

This sketch is able to be used time & time again for quick 5 minute cards.

Supplies –
Stamp Set – Short & Sweet (Retired)
Ink – Real Red
Cardstock – Real Red, Whisper White, Bashful Blue, Pacific Point
DSP – Celebrations
Sizzlits Dies – Big Bold Cupcake
Ribbon – 1/2″ Stiched-Poly Pear Pizzazz
Accessories – SU Dimensionals, Snail Adhesive
Until next time, Enjoy!

Valentine…

This is my very first Valentine’s card!  New stamp set arrived today!

I had told myself that I wasn’t going to purchase any valentine stamp sets, but when I saw this lovely set in the current Mini, that thought went out the window.  This set is just so cute, but the best thing I like about it is that it is a very fine set & not overbearing!

I’ve created this card for Mary Jo’s Monday Lunchtime Sketch  Great sketch Mary Jo. 

Cut base card using Poppy Parade Cardstock
Cut Sahara Sand Cardstock & run through Bigshot using Embossing Folder Perfect Polka Dots
Cut piece in Poppy Parade & using Pinking Hearts Border Punch, punch along bottom of cardstock
Cut smaller piece in Not Quiet Navy & adhere to Poppy Parade
Cut Very Vanilla Cardstock & using Poppy Parade Ink, stamp image down centre
Adhere Very Vanilla to Not Quiet Navy
Adhere Not Quite Navy Ribbon along top & tuck ends under
Adhere this piece to base card about 1/4 way from bottom
Stamp sentiment onto Very Vanilla Cardstock using Poppy Parade Ink

Using small Oval Punch, punch sentiment & then cut around the sides using scissors
Adhere to middle of ribbon using SU Dimensionals

I’ve just realised that I haven’t quiet finished my card according to the sketch, but hey I don’t really think that it matters.  The majority of the card is as per the sketch.  If I get time, I may attempt to have another go.  Sorry Mary Jo!

Supplies –
Stamp SetLove Defined
Inks – Poppy parade
Cardstock – Very Vanilla, Poppy Parade, Not Quiet Navy
PunchesPinking Hearts, Oval Small
Ribbon – 3/8″ Taffeta
Embossing Folder – Perfect Polka Dots
Accessories – Snail Adhesive, Multipurpose Liquid Glue, SU Dimensionals

* Summer Mini-Catalogue 2011

Until next time, Enjoy!

Medallion…

As I have to make a couple of male birthday cards this month & not having any cards in my stash – haha – this is the prefect sketch to complete a couple of cards.

Gotta love how all the measurements are done for you –

Layer 1  – Cardbase cut at 5.5 x 8.5″, scored & folded
Layer 2 – 4 x 5.25″
Layer 3 – 4 x 1.75″

I’ve used Baja Breeze for my card base, scored & folded
Cut smaller piece of Early Expresso Cardstock
Cut DSP – Pear Pizzazz
Cut Very Vanilla Cardstock
Stamp image directly onto Very Vanilla using Early Expresso Ink
Using your Early Expresso SU Marker, colour in sentiment & stamp directly onto Very Vanilla
Adhere both pieces to the Early Expresso Cardstock
Adhere Ribbon – Pear Pizzazz across the join, tuck ends under & tie knot
Adhere Early Expresso Cardstock to base card – Baja Breeze

This is a great sketch for that 5 minute card.

Supplies –
Stamp Set – Mediallion, A Word for You
Inks – Early Expresso, Pear Pizzazz
Cardstock – Very Vanilla, Baja Breeze, Early Expresso
DSP – Pear Pizzazz
Ribbon – 1/2″ Stitched-Poly Pear Pizzazz
Accessories – Multipurpose Liquid Glue, Snail Glue, SU Markers
Until next time, Enjoy!