Scrap Booking….

I am trying very hard to get back into my scrapbooking.  It has been so long, but having my photos all over the place does not help.  So with a bit of luck, I will be able to sort them out while scrapping my photos.

First up are 2 lovely photos of my nieces which were taken early on in the year.  These are such lovely photos, that it was the perfect opportunity to begin with Amber & Dannielle.  Belive it or not, but they are identical twins, hence the title of the pages.  People who have known them all their lives are still unable to tell them apart.  I have to guess which one they are talking about by the stories they relay to me.

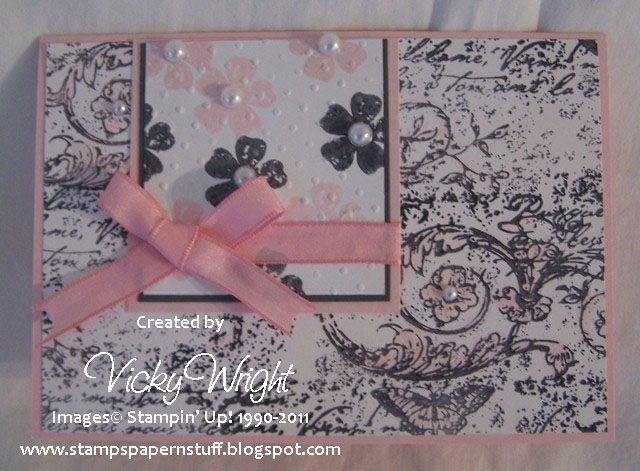
Besides doing the 12 x 12 pages, I like to create albums using A4 pages.  Sometimes, I find them a little more easier to handle & seem to fit more in an album than the standard 12 x 12 album.  Fingers crossed SU! will bring out an album to fit A4 pages.

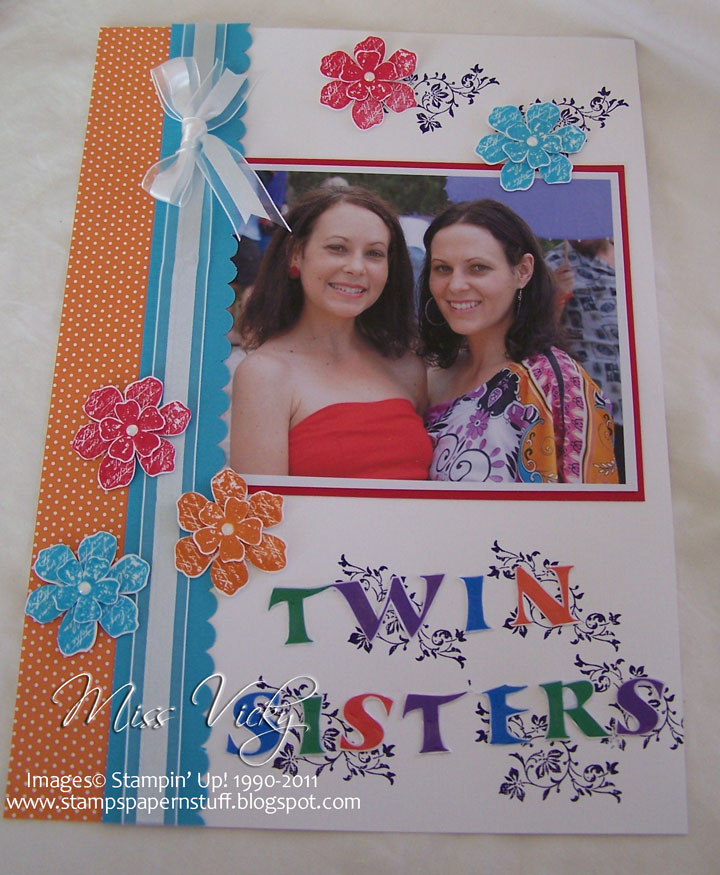
I didn’t want to do the usual beach theme, so I decided to go with the colours in their dresses.  I printed the title onto a piece of Textured Whisper White using the colours in their dresses & adhered to the page with Chystal Effects.  I did pour Crystal Effects over each letter to make it stand out a little.

Supplies –
Stamp Set – Vintage Vogue, Teeny Tiny Sentiments
Ink – Pumpkin Pie, Tempting Turquoise, Real Red, Basic Black
Cardstock – Textured – Whisper White, Real Red, Tempting Turquoise
DSP – Island Oasis (Retired)
Ribbon – 5/8″ Organza – White, Hemp Twine
Punches – Tiny Tags, Scallop Edge
Accessories – Crystal Effects, Snail Adhesive, SU Dimensionals

Until next time, Enjoy! 

Final Swaps….

These are the final swaps I made for the Regionals in Brisbane
Elements of Style
Vintage Vogue
French Foliage
Until next time, Enjoy!

SSC214…

For a card which started out as a bit of an idea in my head, it turned into a very complicated one.  After colouring, ripping, tearing, stamping, then stamping, colouring, inking, embossing I think I am happy with the final result but….
The card was created from the challenge over at Stamping 411 and you know wthat that means – All measurements have been done for you.
 
Here’s some possible measurements to get you started:

1.Layer One – Card Base cut at 5.5 x 8.5, scored and folded

2.Layer Two – 4 x 5.25”
3.Layer Three – Die Cut or other Shape – approximately 3.5”
4.Layer Four – 3.25”
5.Layer Five – 3”

I cut my 2nd layer using Whisper White Cardstock, stamped using my SU Wheel & Basic Grey Ink.  It has been so long since I have used a Wheel that I quiet enjoyed it again & must remember to use them more often.  I randomly coloured the image using my Aqua Painter & Pink Pirouette Ink. I wasn’t too concerned about going out of the lines or how I coloured it as I think it looks a little better this way.  This was adhered to my base card – Pink Pirouette Cardstock.
 
I cut my 3rd layer using Pink Pirouette Cardstock but didn’t do a border as it looked a little too much when I did, so I skipped it.  I do hope the operators will forgive me for this.  I then stamped the flower images using Basic Grey & Pink Pirouette Inks stamping randomly over Whisper White Cardstock.  This piece was run through my Bigshot using Embossing Folder – Perfect Polka Dots.  I adhered this to a piece of Basic Grey, adhered to the Pink Pirouette, added a piece of Satin Ribbon, tied a bow & then adhered to the base card.  I applied Basic Pearls to the middle of the flowers. 
 
Now you ask how could this take me hours to create & finish, but believe me it did!  I nearly gave in a number of times, but wouldn’t let it get the better of me.  This is for a special 50th Birthday.  I know it has no greeting, etc but I like them to be blank sometimes, especially for such a special occasion!
 
Supplies –
Stamp Set – Vintage Vogue
Ink – Basic Grey, Pink Pirouette
Cardstock – Pink Pirouette, Basic Grey Whisper White
Embossing Folder – Perfect Polka Dots
Ribbon – 5/8″ Satin Pretty in Pink
Wheel – Very Vintage
Accessories – Snail Adhesive, Bigshot, Basic Pearls, Aqua Painter
 
Now, I must go & do what I am supposed to be doing – printing & creating invitations!
 
Until next time, Enjoy!
  

Gift Set…

Wot the!!!!!!!!!  You may well ask?
This is part of the Gift Cards which I started to make today and of course, have only just finished them.  I am actually happy with the final result, considering I didn’t really know what I was going to end up with or how the end result would look!
Card 1 is below, while the 2nd card, finished project & supplies used are listed following the photos.
I hope you enjoy looking at them as much as I enjoyed making them!
Wot the!!!!!!!!!
 
Card # 2 –
Gift Cards –
Gift Set –
Supplies –
Stamp SetTiny Tags, Vintage Vogue, All a Flutter
Inks – Perfect Plum, Pale Plum
Cardstock – Very Vanilla, Perfect Plum, Pale Plum
Punches – Word Window
WheelsVery Vintage
Accessories – Anywhere Glue Stick, Pretties Kit,
Grosgrain Ribbon – Very Vanilla, Elegant Eggplant, Cellophane Bags – Medium Flat
* Autumn-Winter Mini Catalogue 2010
Tip – The Cellophane Bags are great for projects! 
I’ve used a Medium Flat one in this project & it slides perfectly into a standard sized envelope for postage!
Until next time, Enjoy!

4 You…

G’day Stampers,

Being a couple of days since my last entry, thought I would share a small project I am currently working on.  This will not be finished ’til later on 2-nite!  I am yet to decide how & what I am going to make to store the cards.  Something simple & quick, as were the cards, but yet something which will suit the style of the cards!
I want to highlight the use of the great “Wheels” Stampin’ Up!® have!

Card 1 –
Supplies –
Stamp SetTiny Tags*, Vintage Vogue
Inks – Perfect Plum, Pale Plum
Cardstock – Very Vanilla, Perfect Plum, Pale Plum
Wheels – Very Vintage
Accessories – Grosgrain Ribbon – Very Vanilla, Pretties Kit, Anywhere Glue Stick, Mini-Glue Dot
* Autumn-Winter Mini-Catalogue 2010
Technique used here is the very easy, yet effective “Rock n’ Roll”
Please check back later on 2-nite or tmw for the remainder of the set
Enjoy!