My brother’s brithday card has turned into a female card!!!!! When selecting my stamps, I accidently picked the stamp set on my desk. This will teach me to put my stuff away after I finish using them….. Ummmm back to the drawing board for him.
The card is for the current challenge over at Sunny Challenges & Creations, so why not hop over & see what Kris & Gwen have created using the current sketch & Theme “Celebrations“. Yep, this is really easy – all sorts of celebrations pop into my head, including weddings, birthdays, engagements, christenings, the list goes on. We would love for you to join us this year…..
Now only did I select the wrong stamp set, but after completing my card, I discovered I had done it upside down & back to front….. Yep, always check the direction of your card PRIOR to adhering your layers…. Anyhow, not to be beaten, I cut the Very Vanilla Cardstock around the edge so that only Riding Hood Red was showing & created another base!!!!!!
As for the colours, you ask…… I grabbed my trusty Colour Coach for this sketch, starting with what was Riding Hood Red & the combinations for that. I have just finished creating the card & looked at the Colour Coach again, only to discover I had been going by Riding Hood Red AND Cherry Cobbler…..
You know the olnly saying – “things come in 3’s“…………
Measurements –
Base Card – Very Vanilla Cardstock – 11 7/8″ x 4 1/4″ or 30cm x 10.5cm – Scored in the middle & folded in half
Layer 1 – Riding Hood Red Cardstock – 5 5/8″ x 3 7/8″ or 14cm x 10cm
Layer 2 – Soft Suede Cardstock – 5 3/8″ x 3 3/4″ or 13.5cm x 9.5cm
The Riding Hood Red Cardstock was adhered to the Base Card – Very Vanilla using Snail Adhesive.
 |
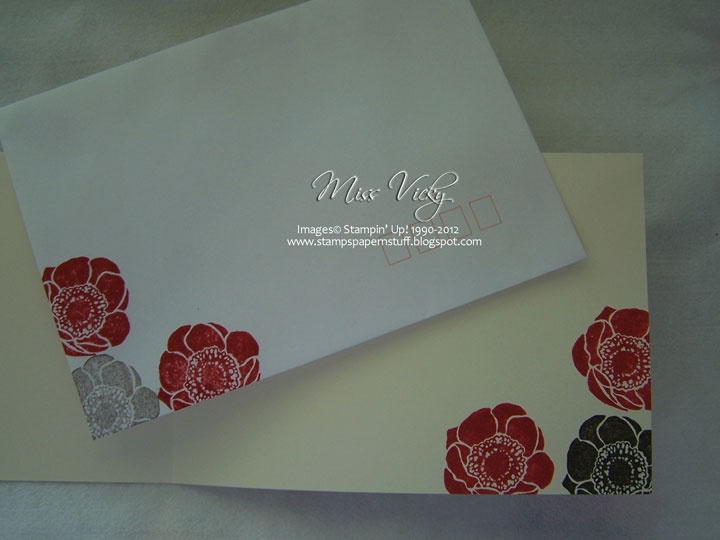
| Inside & Envelope… |
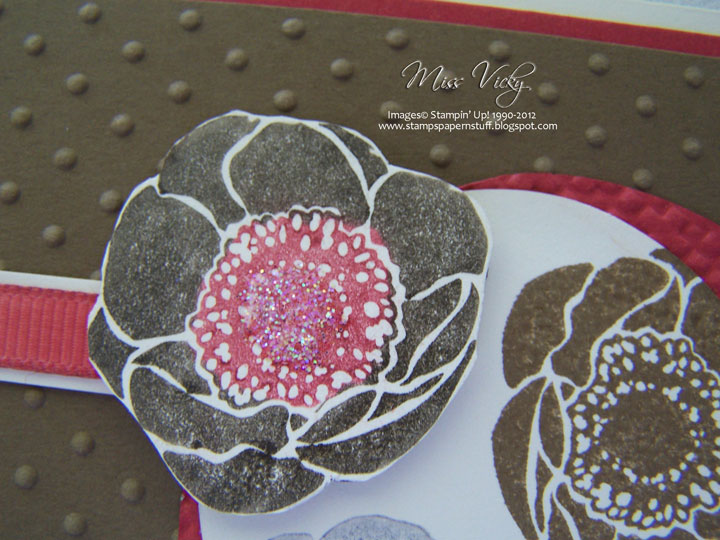
I run the piece of Soft Suede Cardstock through the Bigshot using Embossing Folder – Perfect Polka Dots. I cut a piece of Very Vanilla Cardstock about 5 3/8″ long x 3/8″ wide, adhered it to the top of the embossed piece & adhered the piece of Riding Hood Red Ribbon along the middle, tucking ends under prior to adhering to the Base Card.
For my Ribbon, I dyed a piece of Whisper White Grosgrain using Riding Hood Red Ink & Sponge. This was set aside to dry prior to adhering to the thing piece of Very Vanilla Cardstock.
For the larger circle, I run the Circles #2 Die through the Bigshot & again using the Embossing Folder – Square Lattice. This was adhered to the card with Multipurpose Glue.
I cut a piece of Very Vanilla Cardstock from the Circles #2 Die, stamped one image in Soft Sude Ink, one in Early Expresso Ink, while the last in Basic Gray, which was stamped off prior to stamping onto the Very Vanilla Cardstock. This is where I couldn’t understand why I was using Basic Gray all of a sudden. Answer – I was on the colour selection of Cherry Cobbler!!!!
I stamped an extra image onto a scrap of Very Vanilla Cardstock using Riding Hood Red & Early Expresso SU Marker. Dazzling Diamonds was applied to the centre with 2-Way Glue prior to adhering over top of one of the images with Stampin’ Dimensionals. The whole piece was adhered to the embossed circle with Multipurpose Glue.
My sentiment was stamped onto a scrap piece of Very Vanilla Cardstock with Riding Hood Red & punched using the Modern Label Punch. Don’t you love it when all the stamps match the punches????
Now for a card full of errors & mistakes, I think it come up ok!!!! Miracles do happen!!!!
Supplies –
Stamp Set – Friends Never Fade
Ink – Riding Hood Red, Soft Suede, Early Expresso, Basic Gray
Cardstock – Very Vanilla, Riding Hood Red, Soft Suede
Ribbon – 1/4: Grosgrain – Whisper White
Punches – Modern Label
Dies – Circles # 2
Embossing Folders – Perfect Polka Dots, Square Lattice
Accessories – Snail Adhesive, Stampin’ Dimensionals, 2-Way Glue,
Multipurpose Liquid Glue, SU Markers, Sponge
Until next time, Enjoy!

 colours or layout you use when doing this technique, the end result never ceases to amaze me.