Today we are going to talk about Scrapbooking with Stamps.
Most of us love how stamps & love stamping. So why not combine the 2? Using your stamps on your scrapbook pages to complete your layouts – gives you a much wider range of choice & options.
Backgrounds –
By using a single stamp or multiple stamps from a set or coordinating sets, you will be surprised by the totally different look to your page. Don’t stop there! Use colored inks, Versa-mark, same ink as your cardstock which will give you a soft muted background.
Borders –
By using a single stamp or multiple stamps from a set, you can create a border for your whole page or as an embellishment on its own.
Embellishments –
I love to use my stamps for single images. I often cut them out, emboss & adhere to the page individually or by grouping them. Add Brads, Buttons, Ribbon, etc to your page or to your cut out images. It will not only create more interest, but add dimension to your page.
Journaling –
I am always using my Stampin’ Write Marker – I would be lost without it! Some people love to write their feelings, memories, etc with the photo they have scrapped, while others will only add the place, date, year. It is up to the individual, but just think of those looking through your album in future years. It is entirely up to you, but use a good Marker. Another way is to type the story on your pc print out & add to your layout.
Theme Pages –
Stampin’ UP! have the best combination of products I have ever come across. All the guess work has been taken of for you. By using their DSP, matching stamp sets, embellishments, you will have a themed page finished before you know it. As previously mentioned last week, some people like to do a complete themed album. This is the perfect way to create that sort of album!
Titles, Captions & Letters –
For my Titles, etc I like to make use of a whole lot different embellishments, stamps, etc. It gives your layout another element, as well as creating something truly unique for your layout. Use of alphabet stamps, buttons, punches, phrases, etc are just some of the embellishments you can use. Give it a go! I guarantee you will love it! Use of Monograms is another option you may want to go. Highlight the first letter of the word to convey the message, eg Smile… Don’t stop there, highlight different letters in the word.
Wheels –
These are fantastic to complete your page, but an item which is sometimes forgotten. Next time you want to complete a page, dig out that dusty box which has all your wheels in it & put them to your page. Great for a background or to create DSP! Match the stamp set with your wheel your page is nearly done for you even before you put anything on paper! Ink your wheels with colored inks, Versa-mark, same ink as your cardstock which will give you a soft muted background.
Have fun experimenting & playing. You will surprise yourself as to how your pagr will turn out!
Now onto today’s page.
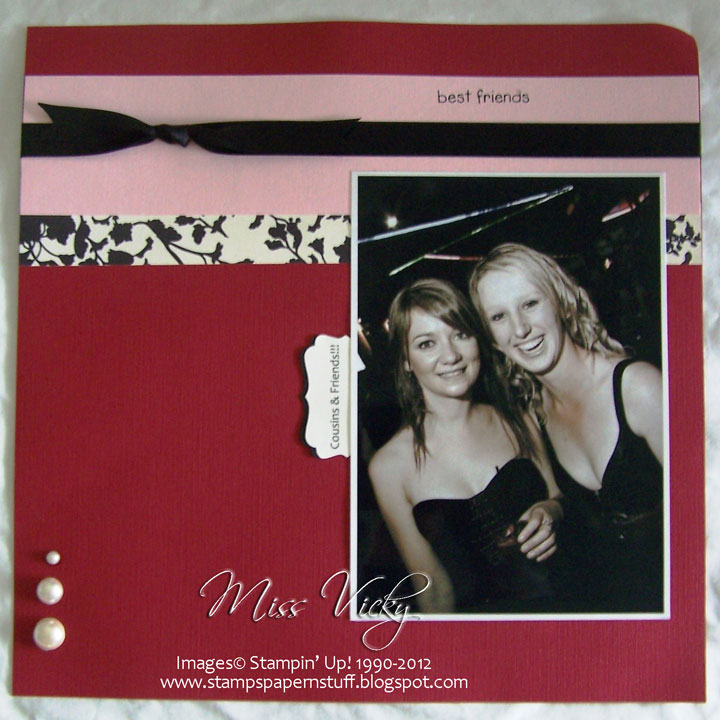
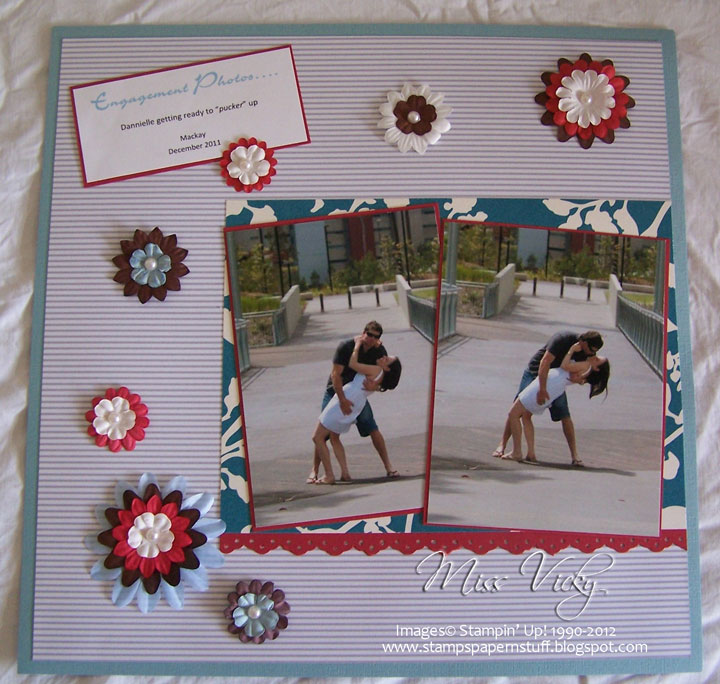
I played with these photos of my niece, Bonnie & her cousin Brooke. As I really like the effect of the photos, I created the pages so as not to take away from the photos.
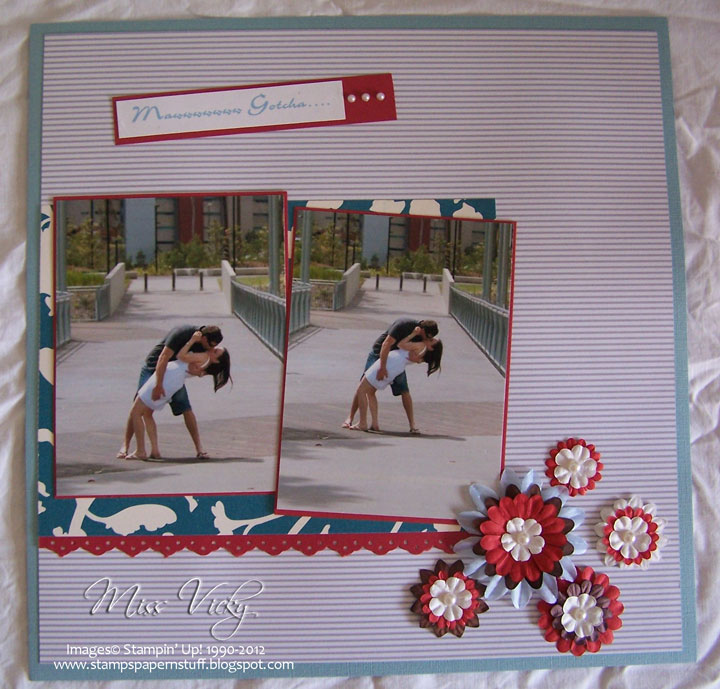
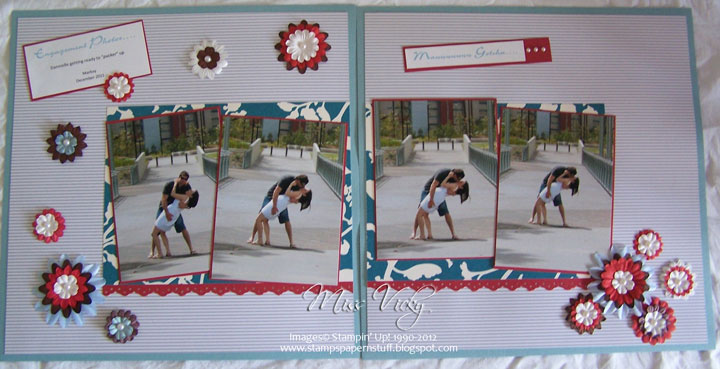
For both pages, I have pretty much stuck to the sketch.
I did add a little bit of Pink Pirouette ss a colour & at first I was a little hesitant as to whether I liked it & if it would stay, but after looking at it for awhile, I have come to like it. In fact, the lights on the ceiling are a little pink, which is where I got the colour from in the first place – am not sure if you can see them!
So, me being me, I had to create the 2nd page to match the 1st, but I did rotate the sketch.
My journalling I typed using my PC & printed onto Very Vanilla Cardstock before punching out with the Decorative Label Punch. I also did one in label in Basic Black, cut down the middle & used for both captions.
The “Girls Night Out” & “Best Friends” was also created on the PC & printed direct onto the Cardstock. I used different fonts…
Supplies –
Cardstock – Textured Pink Pirouette, Textured Riding Hood Red, Very Vanilla, Basic Black
DSP – Timeless Portrait
Ribbon – 5/8″ Satin – Basic Black
Punches – Decorative Label
Accessories – Snail Adhesive
Non-SU – Pearls
Remember, Scrapbooking is meant to be FUN!!!!!

 Sunday brings the beginning of a new week & the start of the new challenge over at Sunny Challanges & Creations. It was my turn to create the sketch & issue the 2nd part of the challenge. This week, I opted for DSP – Designer Series Paper. How easy can that be???