It seems so long since my last post that I actually had to check out the last card I did….
The challenge this week is to use Old Olive, Chocolate Chip & 1 Netural Colour, as well as the sketch. It was my turn to create the challenge.
I did create a card for the challenge a couple of days ago, but when I went to post it, suddenly realised all the colours were wrong! Wouldn’t you think I would check the 2nd part of the challenge first????? Never mind, I will post that one in a few days.
Measurements –
Base Card – Very Vanilla – 8 1/4″ x 5 7/8″ or 21cm x 15cm – Scored in middle & folded in half
Layer 1 – Old Olive – 4″ x 5 5/8″ or 10cm x 14.5cm
Layer 2 – Very Vanilla – 5 1/2″ x 1 5/8″ or 4cm x 14cm
Layer 3 – Very Vanilla – 5 1/2″ x 2 1/8″ or 4cm x 5.5cm
Layer 3 – Old Olive – 3 1/4″ x 2 7/8″ or 8.5cm x 7.5cm
Layer 4 – Chocolate Chip – 3 1/8″ x 2 3/4″ or 8cm x 7cm
Layer 5 – Very Vanilla – 3″ x 2 5/8″ or 7.5cm x 6.5cm
 |
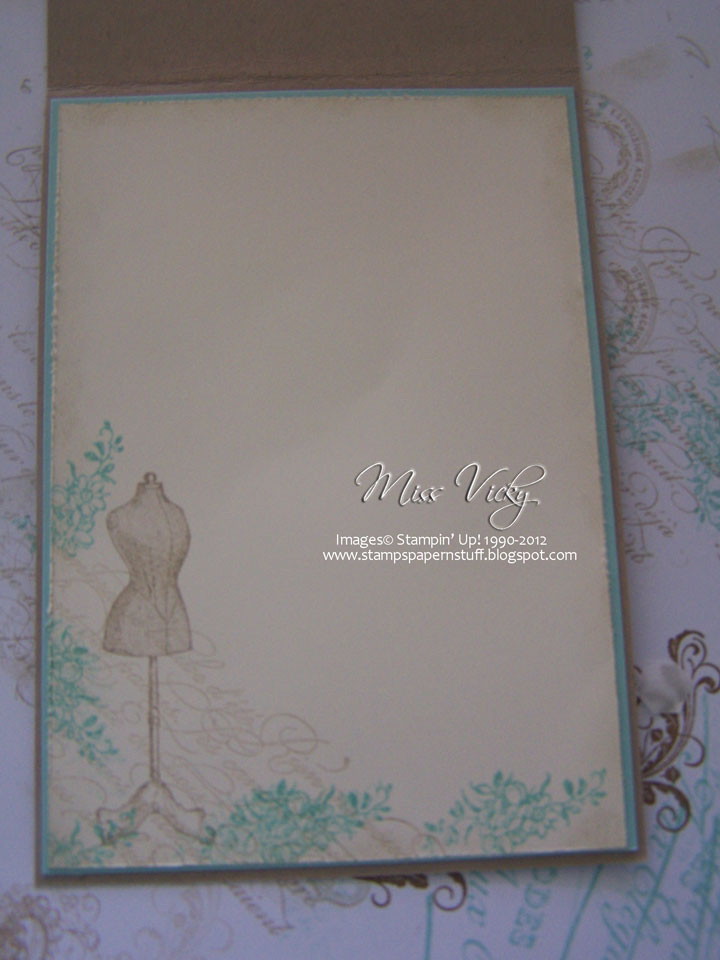
| Close up of Embossing & Distressing… |
Supplies –
Stamp Set – Artistic Etchings
Ink – Chocolate Chip, Old Olive
Cardstock – Old Olive, Very Vanilla, Chocolate Chip
Ribbon – Crochet Trim – Victoria
Embossing Folder – Final Press
Accessories – Bigshot, Snail Adhesive, Multipurpose Glue, Sponge, Spong Dauber, Designer Sanding Block, Cutter Tool, Stampin’ Up! Dimensionals, Smooch Spritz – Vanilla Shimmer
??
?
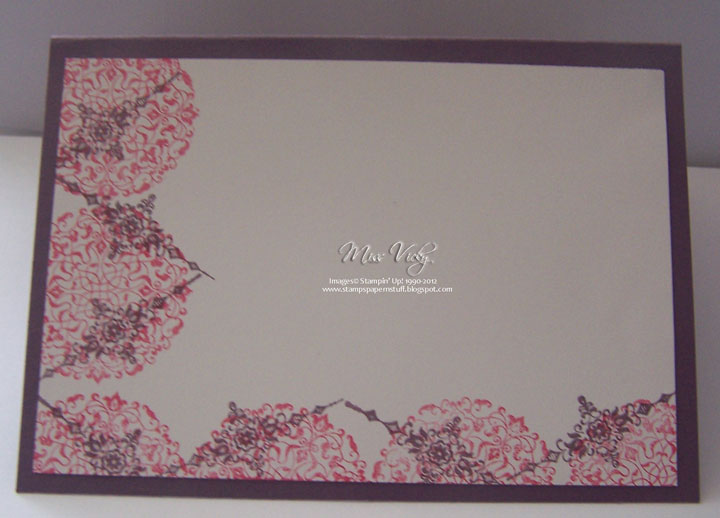
 |
| Card Inside… |
Using Choclate Chip Ink & Sponge, I covered the piece of Very Vanilla Cardstock ensuring it was really well covered. I then run it through the Bigshot using Embossing Folder – Final Press. When it comes out, you will notice that some of the raised embossing is showing bits of Vanilla Cardstock. This is what you want! Grabbing my Stampin’ Up! Sanding Block, I then rubbed it over the raised areas of the embossed piece. I was pretty rough with this, as I wanted it to be torn & well worn!
Grabbing a Sponge Dauber, I inked it in Old Olive Ink & rubbed it over the raised areas so that small bits of Old Olive were showing through. I then sprayed the whole piece with Vanilla Shimmer Smooch Spritz. Not only did this give a shimmer to the card, but it also made the Choclate Chip a little softer. In fact, I had to look at the Ink to check if I had actually used Chocolate Chip, as I thought it was Soft Suede.
Once the piece was dry, I cut it according to the above measurements & went around all the edges with my Distressing Tool. Again, I was fairly rough, as I wanted it to be torn in places & bits of the Very Vanilla to show around the edges. This piece was adhered to the Old Olive Cardstock with Multipurpose Glue.
 |
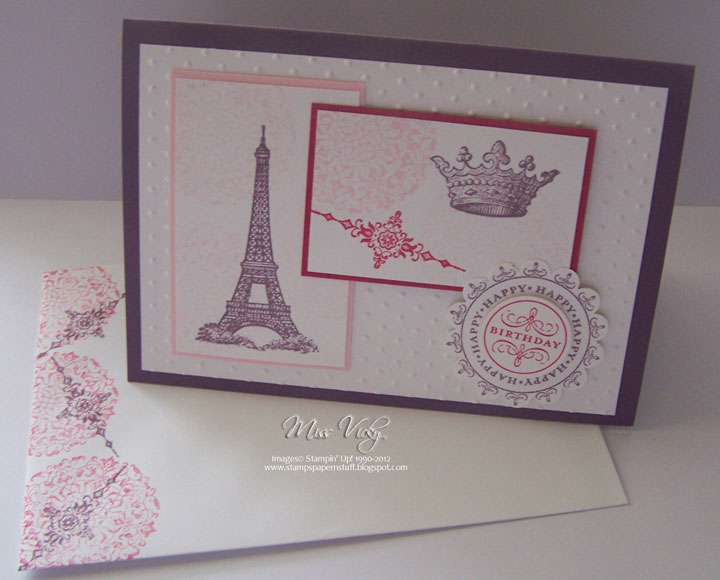
| Stamped Images… |
I adhered a piece of the Crochet Trim across the middle with Snail Adhesive & tied a knot to the Right Hand Side.
Grabbing the smaller piece of Very Vanilla Cardstock, Old Olive Ink & Sponge Dauber, I daubed ink all over the Cardstock, working in circular motions. I did wipe the Dauber onto a piece of scrap paper prior to daubing onto the Cardstock, as I wanted it to be a little softer.
Images were randomly stamped in Old Olive & Chocolate Chip, stamping off once or twice prior to stamping some of the images in Old Olive. I should have distressed the edges prior to adhering to the layers, but completely forgot until I had the card completed. I sprayed Smooch Spritz over the top & let dry prior to adhering firstly to Chocolate Chip & then to Old Olive with Snail Adhesive.
I opted not to add the sentiment, so hope Kris & Gwen will forgive me!
Don’t forget to pop over to Sunny Challenges & Creations to check out what Kris, Gwen & our Guest Designers have created. While you are there, why not play along?
Until next time, Happy Stampin’

Like this:
Like Loading...

 My card today has been created for a swap that I was asked to join last month at Soul Scrappers. I’ve been a member of this group for a few years now & are a lovely bunch of ladies. Great place to see so many wonderful photos, ideas, challenges & scrapbook pages.