TSSC183…

I can’t believe the roll I have been on – will it last?????
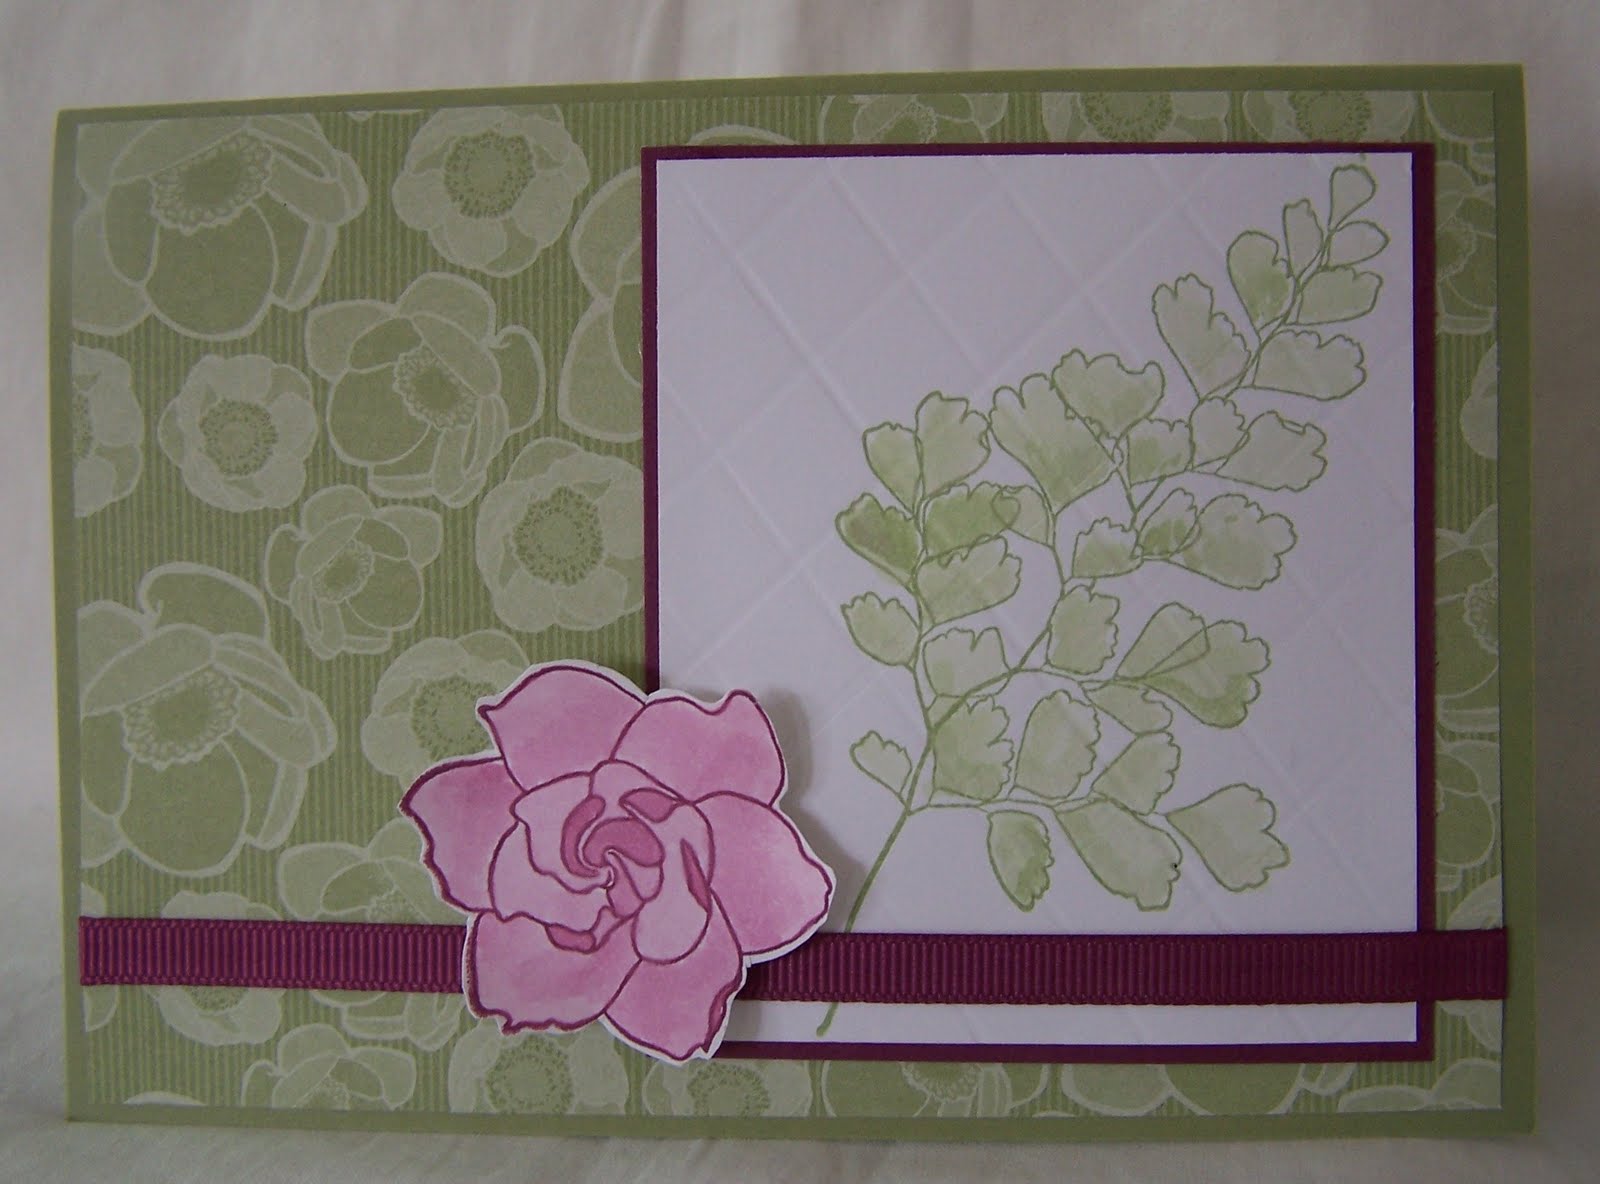
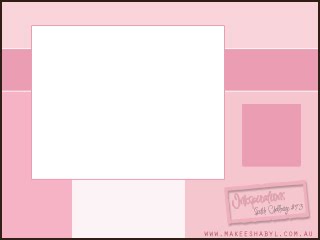
This card has been created for 2 challenges, the sketch over at Mary-Jo’s Blog which is a Blog Hop.  The other is from Handstamped Sentiments which is a theme – Summer.  I know it is hard to imagine summer here in Australia at the moment, but I did use paper & stamps from a past Mini, which I thought suited the challenge well.
Base Card – Old Olive – 5 7/8″ x 4 1/8″ or 15cm c 10.5cm
Layer 1 – DSP – 5 3/4″ x 4″ or 14.5cm x 10cm
Layer 2 – Tempting Turquoise – 4 1/2″ x 3″ or 11.5cm x 7.5cm
Layer 3 – Old Olive – 4 3/8″ x 2 7/8″ or 11cm x 7cm
Layer 4 – Tempting Turquoise – 3 3/8″ x 2″ or 9cm x 5cm
Layer 5 – Whisper White – 3 1/4″ x 1 7/8″ or 8.5cm x 4.5cm
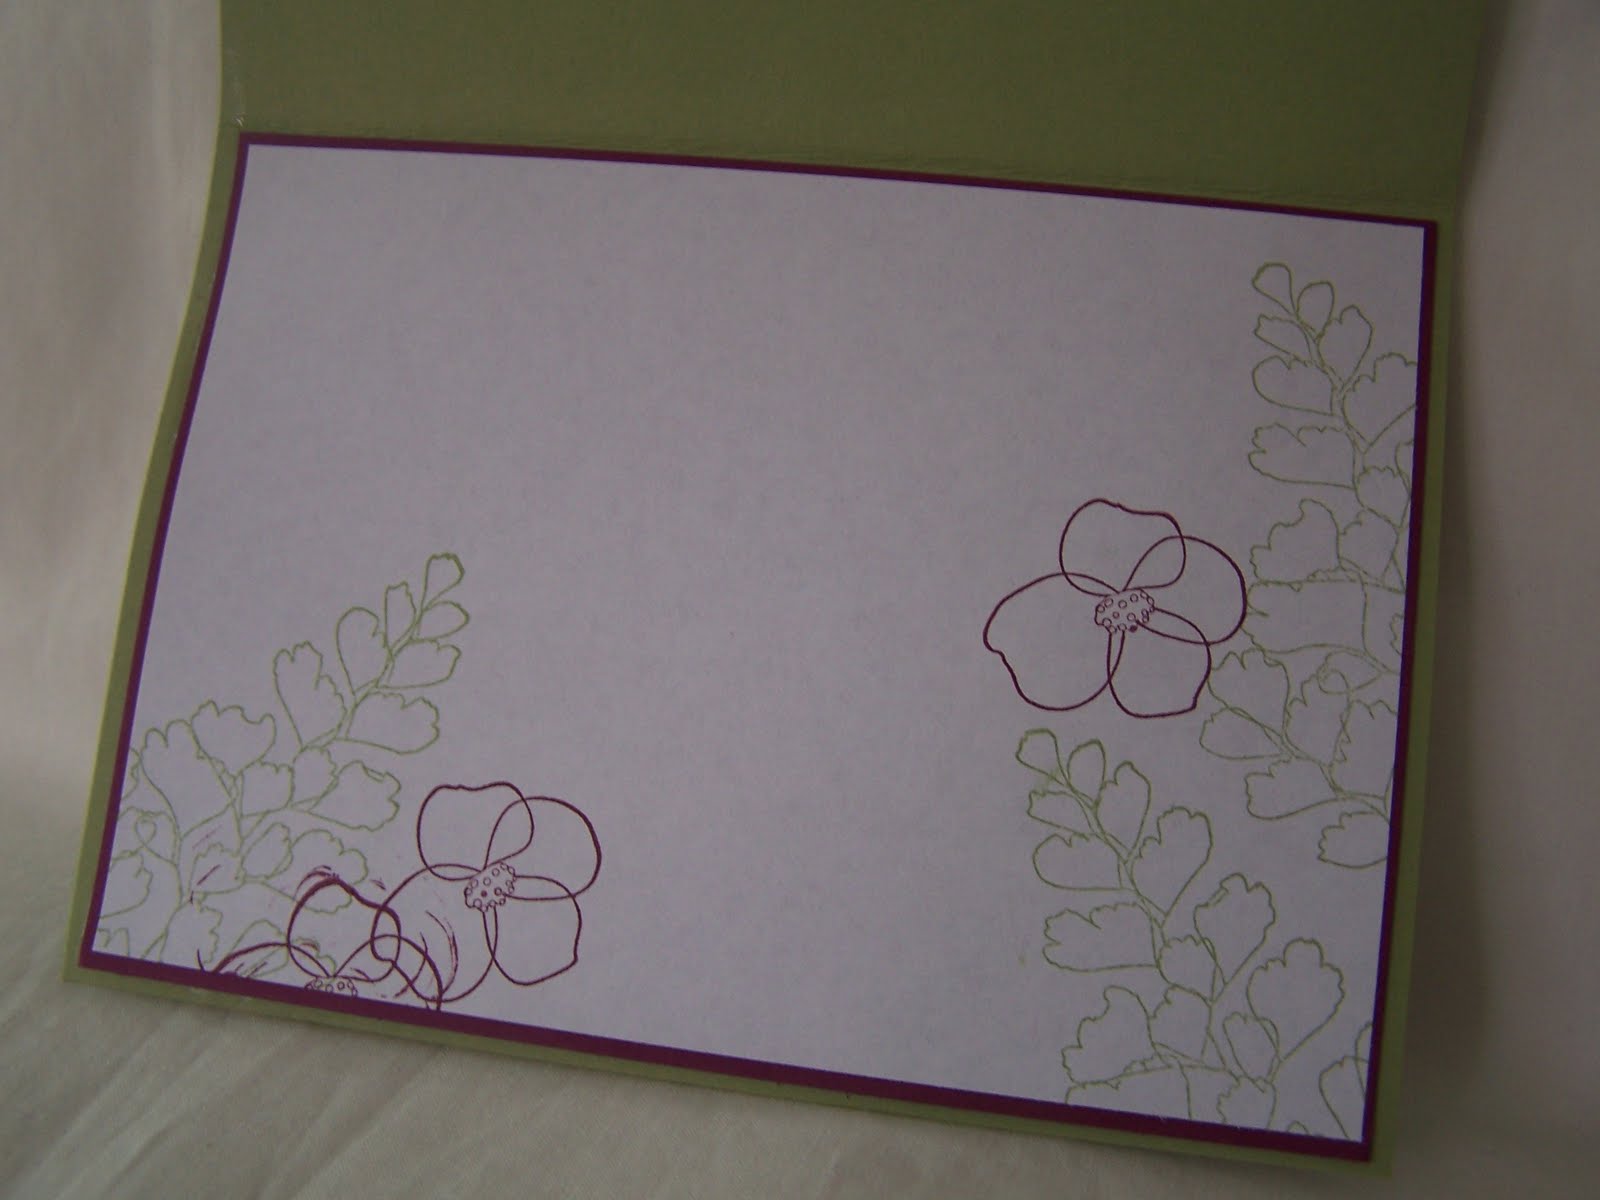
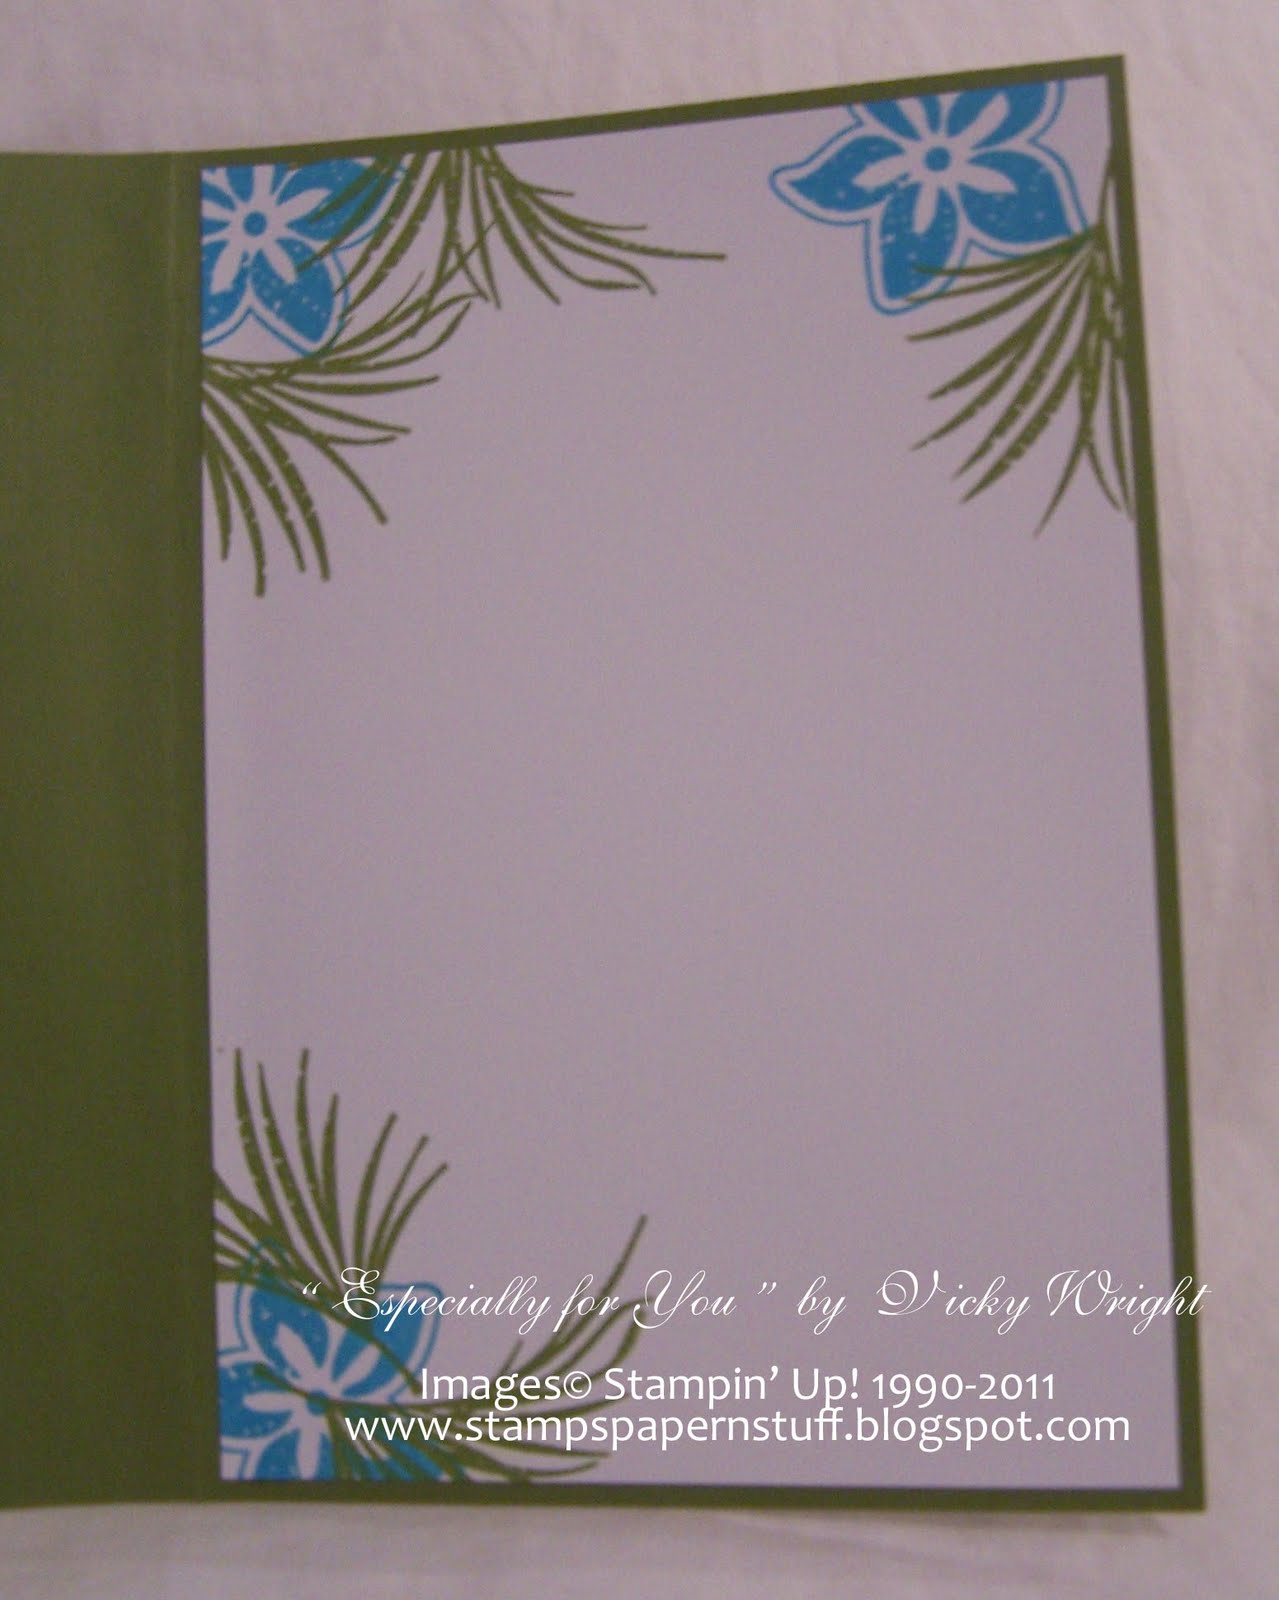
I stamped images directly onto the Whisper White Cardstock, using Old Olive Ink & adhered to the piece of Tempting Turquoise.  I did stamp off a couple of times for some of the images.  For my sentiment, I used Early Expresso Ink.
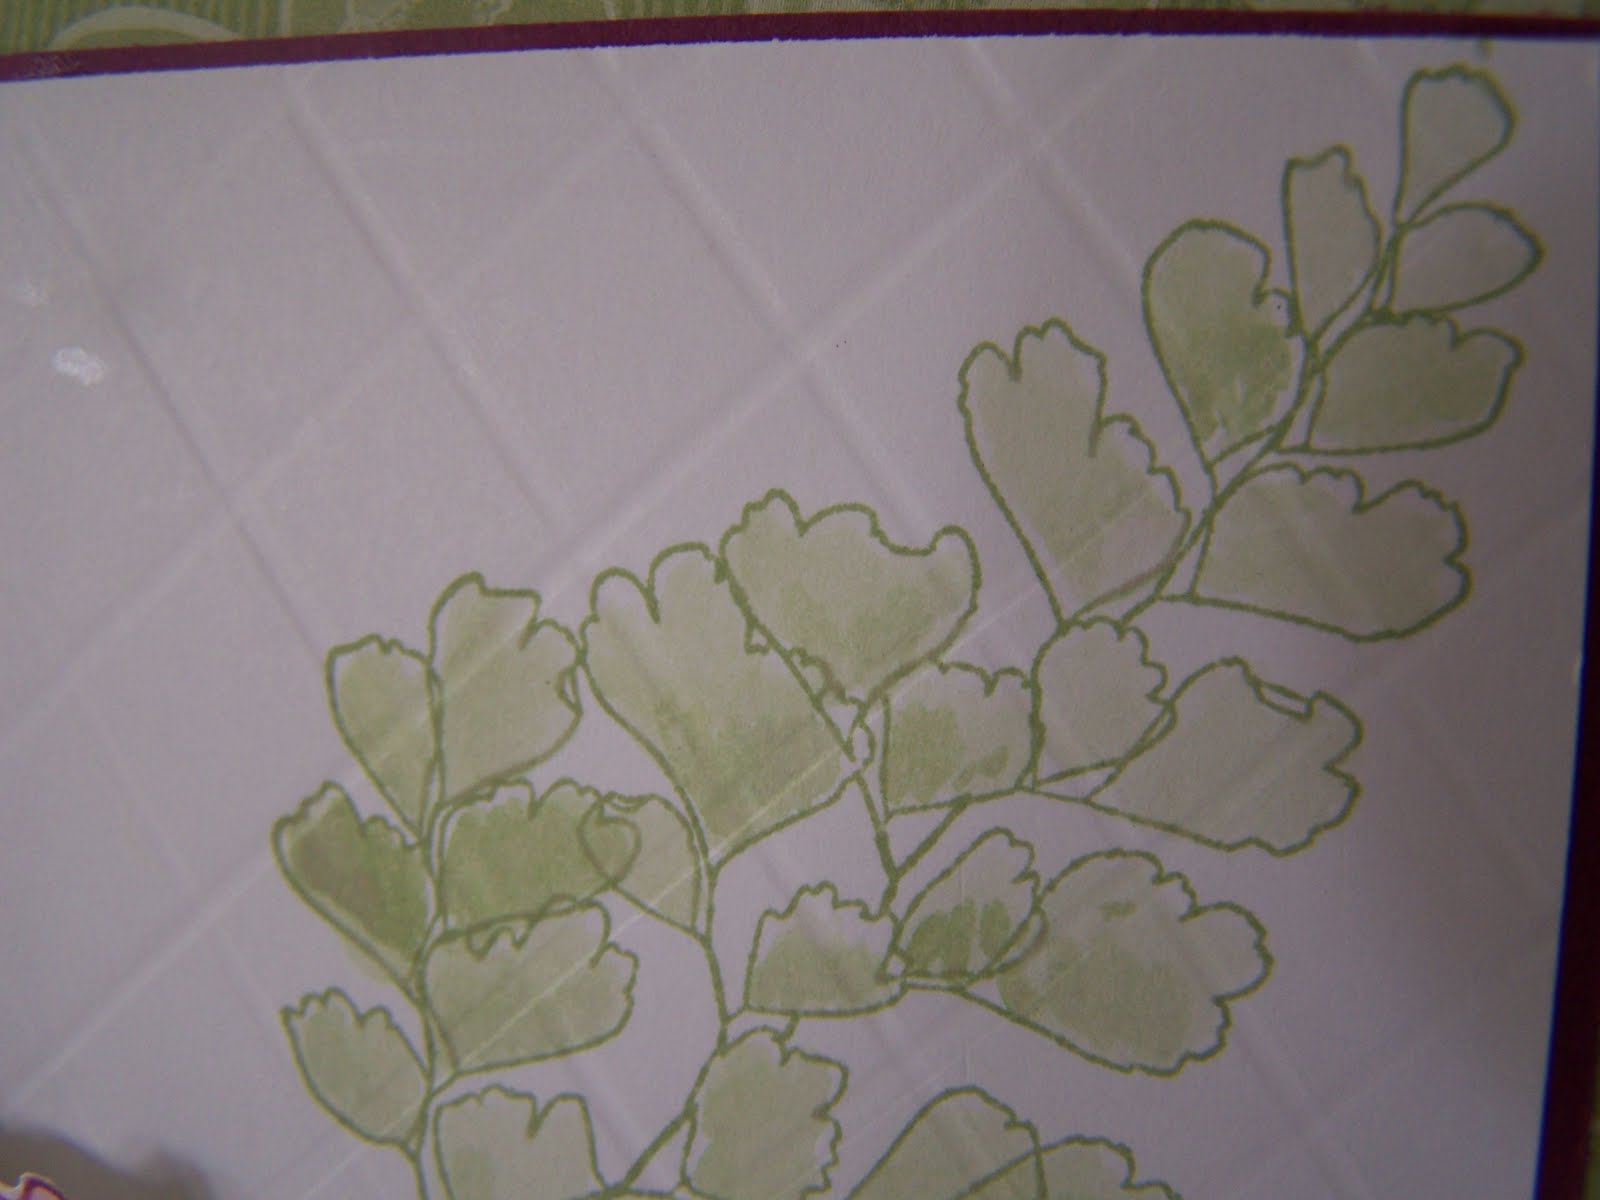
I run the piece of Old Olive Cardstock through my Bigshot using the Embossing Folder – Square Lattice.  It reminds me of  Bamboo & Thatching, so thought it very appropriate.  This was then adhered to Tempting Turquoise, to the DSP & then to the Base Card – Old Olive.
I stamped my flower onto a piece of Whisper White Cardstock using Daffodil Delight Ink, cut it out & adhered using a SU Dimensional.  After stamping my inside, I then decided that the front looked a bit “Yuh” so I then stamped 2 smaller flowers using Tempting Turquoise Ink.  I adhered these using SU Dimensionals.  It bought the whole card alive.  Much happier.  I added 3 Rhinestones to the center of the flowers.
Supplies –
Stamp Set – Tropical Pary, So Happy for You
Inks – Tempting Turquoise, Daffodil Delight, Early Expresso
Cardstock – Tempting Turquoise, Whisper White, Old Olive
DSP – Island Oasis
Embossing Folder – Square Lattice
Accessories – SU Dimensionals, Rhinestones, Multipurpose Glue, Bigshot
Until next time, Enjoy! 

SFF071511…

I found this sketch over at Sketch Frenzy Friday & immediatly thought of Fifth Avenue Floral & Great Friend.  This is one of my favourites, but then I think most of my sets are, including ones I don’t have – lol.
Base Card – Rich Razzleberry – 4 7/8″ x 4 1/4″ or 15cm x 10.5cm
Layer 1 – Old OLive – 4 3/4″ x 4″ or 14.5cm x 10cm
Layer 2 – Whisper White – 4 5/8″ x 9.5cm
Layer 3 – Old Olive – 4 5/8″ x 1″ or 9.5cm x 2.5cm
Using Inks of Rich Razzleberry & Old Olive, I randomly stamped 2 different images onto a piece of Whisper White Cardstock.  I then adhered the small piece of  Old Olive Cardstock down the LHS of the Whisper White, layered a piece of Pumpkin Pie Satin Ribbon down the middle, followerd by a piece of Rich Razzleberry Grosgrain Ribbon on top of that & tied a bow towards the top.
?
Inside Card

?

I stamped the sentiment using Rich Razzleberry & adhered to Old Olive Cardstock which had been punched using my Modern Label Extra Large Punch.  I adhered to the top RHS of the card using SU Dimensionals.
I punched a piece of Whisper White Cardstock using my 1 3/4″ Extra Large Circle Punch & with Old Olive Ink, stamped some leaf images.  I also stamped off while doing these too.  This was adhered to a piece of Pumpkin Pie Cardstock which had been punched using my Extra Large Scallop Circle Punch. For the white dots, I did these with my Gel Pen.
I stamped 2 butterfly images onto Whisper White Cardstock using Rich Razzleberry Ink, cut them out , applied a couple of Basic Rhinestones down the middle, curled them a little & adhered to the circle using SU Dimensionals.  I also added a couple of Rhinestones to the words in my sentiment.
These are colours I don’t usually go for, but I am trying to think outside the box a little.  Mind you, I don’t know how long it will last, but am quiet enjoying the different colours for the moment.
Supplies –
Stamp Set – 5th Avenue Floral, Great Friend
Ink – Old Olive, Rich Razzleberry
Cardstock – Whisper White, Rich Razzleberry, Old Olive, Pumpkin Pie
Ribbon – 5/8″ Satin – Pumpkin Pie, 1/4″ Grosgrain – Rich Razzleberry
Punches – 1 3/4 ” Extra Large Circle, Extra Large Scallop Circle, Modern Label Extra Large
Accessories – SU Dimensionals, Tombow Multipurpose Glue, Basic Rhinestones, Gel Pen
Until next time, Enjoy!

TSSC 182…

While having all my craft stuff out from yesterday, thought I would attempt another chlallenge.  This is the one from Techno Stamper and it is a Blog Hop.  Click directly onto the cards & you will be taken to the link.  I’ve used a Stamp Set which I have not used as often as I should.  In fact, I think it has been out of its box just the once.

Base Card – Pear Pizzazz – 4 7/8″ x 4 1/8″ or 15cm x 10cm
Layer 1 – Very Vanilla – 4 3/4″ x 4″ or 14.5cm x 9.5cm
Layer 2 – DSP – 4 5/8″ x 3 7/8″ or 14cm x 9cm
Layers 3 & 4 – DSP – 7/8″ x 3 7/8″ or 2cm x 9cm
Layer 5 – Ribbon – Grosgrain
Layer 6 – Early Expresso – Oval
Layer 7 – Very Vanilla – Oval

I adhered te short pieces of DSP to the larger piece of DSP ensuring the placement was as per the sketch.  I then adhered my Ribbon to the bottom & tied a knot.

I cut 2 ovals using my Bigshot & Ovals Die – one in Very Vanilla & a bigger one in Early Expresso.  I inked the image in Pear Pizzazz & stamped it directly onto the Very Vanilla.  I inked the 2nd image using Early Expresso & stamped over the Pear Pizzazz image & adhered to the Early Expresso Oval.  This was then placed onto the DSP using SU Dimensionals.

The whole lot was then adhered to the base card – Pear Pizzazz.  Again, no sentiment!

Supplies –
Stamp Set – Pendant Park
Inks – Early Expresso, Pear Pizzazz
Cardstock – Pear Pizzazz, Early Expresso, Very Vanilla
DSP – Greenhouse Gala
Dies – Ovals
Ribbon – Grosgrain – Early Expresso
Accessories – Bigshot, SU Dimensionals, Snail Adhesive

Until next time, Enjoy!

SFF070811

At the Community Centre this arvo, we will be making this card.  I have actually taken the sketch from Sketch Frenzy Friday & thought it would be a very easy layout to complete while at the same time teach a new technique – Faux Tiles, as well as Water Colouring.  This is such an esay technique.  Check back tomorrow & I will have the tutorial on how I did the tiles.
Anyhow, on with the card –
Base Card – Pear Pizzazz – 5 7/8″ x 4 1/8″ or 15cm x 10cm
Layer 1 – DSP – 5 3/4″ x 4″ or 14.5cm x 9.5cm
Layer 2 – Rich Razzleberry – 3″ x 3 1/2″ or 8cm x 9cm
Layer 3 – Whisper White – 2 7/8″ x 3 1/8″ or 7.5cm x 8.5cm

???

Inside of Card

?

I stamped my image directly onto the Whisper White Cardstock, using my Aqua Painter, proceeded to colour image with Pear Pizzaz Ink.  Once dried, I scored the card in a tile pattern – gaps will appear where your scorelines are.  This was adhered to the piece of Rich Razzleberry Cardstock.  It has been soooooo long since I have used this colour that I am finding it a very refreshing change.
The piece was adhered to the RHS side of the DSP, Rich Razzleberry Grosgrain Ribbon attached – again with the Rich Razzleberry – across the bottom half of the DSP & the whole piece  adhered to the base card – Pear Pizzazz.

?

Close Up of Tile Effect

?

I stamped a flower image onto a piece of scrap Whisper White using Rich Razzleberry Ink, coloured with my Aqua Painter, cut it out & applied to the card using a SU Dimensional.
I hope the operators will forgive me, but I didn’t stamp a sentiment.  I love to stamp these onto my card when I know what I want my card to be used for.
Supplies –
Stamp Set – Growing Green
Ink – Rich razzleberry, Pear Pizzazz
Cardstock – Whisper White, Pear Pizzazz, Rich Razzleberry
DSP – Greenhouse Gala
Ribbon – Grosgrain Ribbon – Rich Razzleberry
Accessories – Snail Adhesive, Aqua Painter, SU Dimensionals
Until next time, Enjoy!
 

Inkspirations Challenge #73…

It is amazing what you find when you clean your desk & how bits of left over scraps will come together to make a card, let alone fit a challenge.  This is what I did for the Sketch Challenge over at Inkispirations Challenge  I took the colours from scraps lying on my desk & teamed them with the scraps of DSP.  I don’t feel so guilty of not cleaning my desk!  That is my excuse anyhow.

I was recently asked if I stamped my envelopes to match my cards.  Ever since I started making cards, I had to match the envelopes to my cards.  I know the ladies I used to do cards with, thought it funny & strange, but that was me – has to match.  I also do the inside to match as well.  In future, I will show you both the envelope & inside, along with the card.

Base Card – Crumb Cake– 5 7/8″ x 4 1/4″ or 15cm x 10.5cm
Layer 1 –  Cherry Cobbler – 5 3/4″ x 4″ or 14.5cm x 10cm
Layer 2 – Very Vanilla – 2 1/4″ x 2″ or 6cm x 5cm
Layer 3 – DSP – 2 1/8″ x 1 7/8″ or 5.5cm x 4.5cm
Layer 4 – Soft Suede – 5 3/4″ x 7/8″ or 14.5cm x 1cm

Layer 5 – Early Expresso – 3″ x 2 1/2″ or 8cm x 6.5cm
Layer 6 – Very Vanilla – 2 78″ x 2 1/8″ or 7.5cm x 6cm

I adhered both pieces of DSP to Soft Suede & Very Vanila &  attached to Cherry Cobbler – as per the sketch.  Using Early Expresso & Soft Suede Inks, I stamped the image randomly onto the piece of Very Vanilla, adhered it to the Expresso Expresso, then to the Cherry Cobbler.  This piece was then adhered to the Base Card – Crumb Cake.
Using my Boho Blossoms Punch, I punch 5 flowers in Cherry Cobbler & adhered these randomly to the card.  Basic Pearls were adhered to the middle of each flower. 
I used my Cherry Cobbler SU Marker to colour in the greeting, stamped directly onto Very Vanilla & punched out using the Word Window Punch.  I adhered this to the punched piece of Soft Suede which had been punched using my Modern Label.  This was adhered to the card.  I didn’t exactly place it as per the sketch, so I hope the operators will forgive for this.
Supplies –
Stamp Set – Just Believe, So Happy for You
Inks – Early Expresso, Soft Suede
Cardstock – Crumb Cake, Cherry Cobbler, Very Vanilla, Soft Suede, Early Expresso
DSP – Elegant Soriee
Punches – Word Window, Modern Label, Boho Blossoms
Accessories – Multipurpose Glue, Basic Pearls, SU Markers
All in all, another easy, fun CAS card!
Until next time, Enjoy!