I found this sketch over at
Sketch Frenzy Friday & immediatly thought of
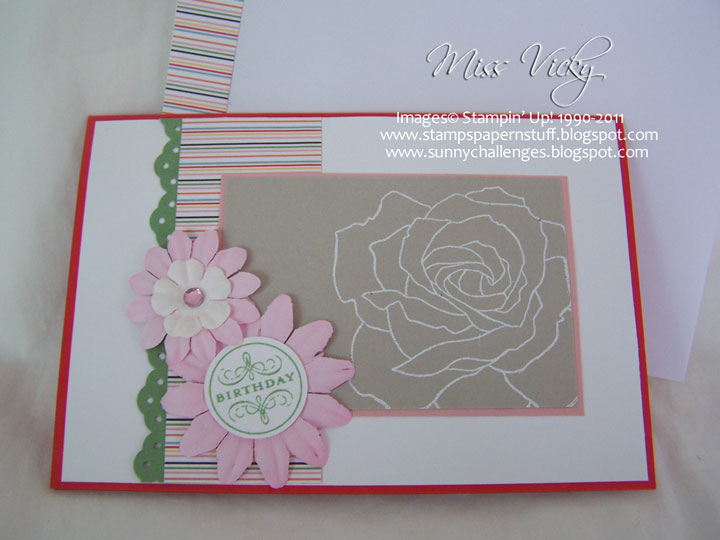
Fifth Avenue Floral & Great Friend. This is one of my favourites, but then I think most of my sets are, including ones I don’t have – lol.
Base Card – Rich Razzleberry – 4 7/8″ x 4 1/4″ or 15cm x 10.5cm
Layer 1 – Old OLive – 4 3/4″ x 4″ or 14.5cm x 10cm
Layer 2 – Whisper White – 4 5/8″ x 9.5cm
Layer 3 – Old Olive – 4 5/8″ x 1″ or 9.5cm x 2.5cm
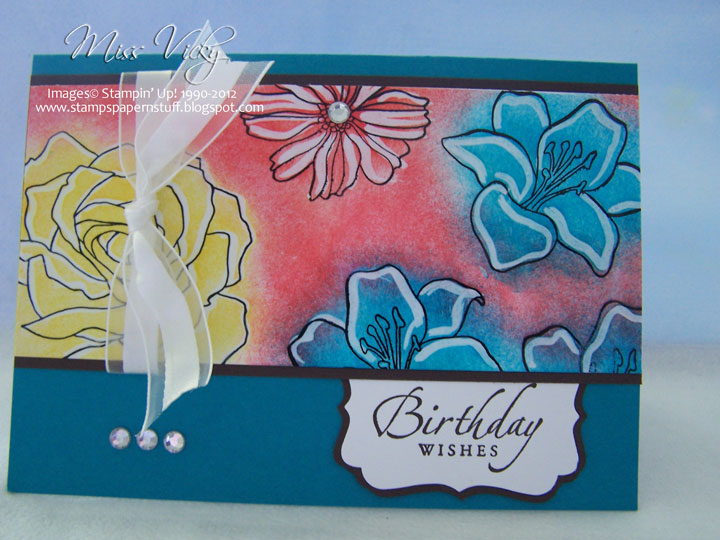
Using Inks of Rich Razzleberry & Old Olive, I randomly stamped 2 different images onto a piece of Whisper White Cardstock. I then adhered the small piece of Old Olive Cardstock down the LHS of the Whisper White, layered a piece of Pumpkin Pie Satin Ribbon down the middle, followerd by a piece of Rich Razzleberry Grosgrain Ribbon on top of that & tied a bow towards the top.
?
 |
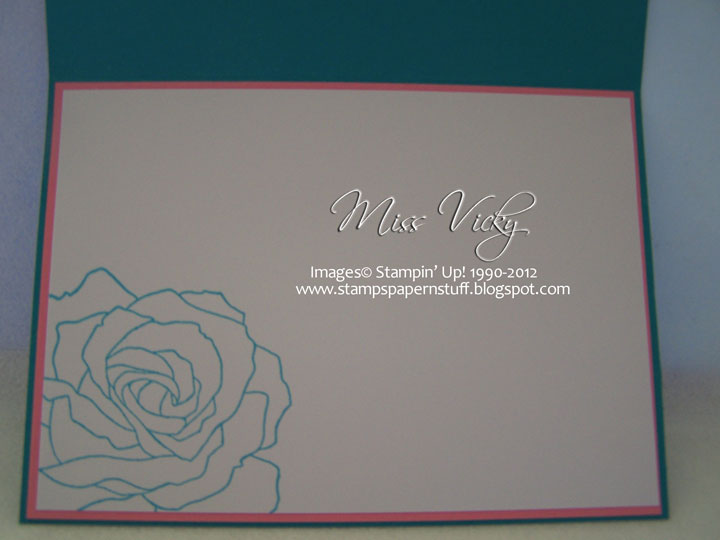
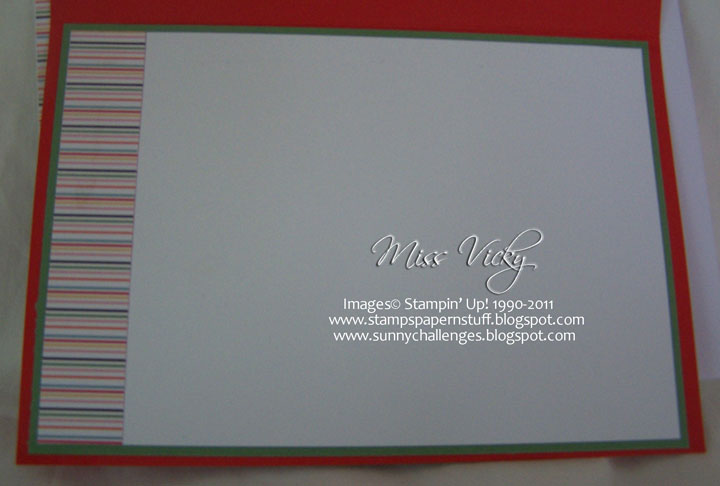
| Inside Card |
?
I stamped the sentiment using Rich Razzleberry & adhered to Old Olive Cardstock which had been punched using my Modern Label Extra Large Punch. I adhered to the top RHS of the card using SU Dimensionals.
I punched a piece of Whisper White Cardstock using my 1 3/4″ Extra Large Circle Punch & with Old Olive Ink, stamped some leaf images. I also stamped off while doing these too. This was adhered to a piece of Pumpkin Pie Cardstock which had been punched using my Extra Large Scallop Circle Punch. For the white dots, I did these with my Gel Pen.
I stamped 2 butterfly images onto Whisper White Cardstock using Rich Razzleberry Ink, cut them out , applied a couple of Basic Rhinestones down the middle, curled them a little & adhered to the circle using SU Dimensionals. I also added a couple of Rhinestones to the words in my sentiment.
These are colours I don’t usually go for, but I am trying to think outside the box a little. Mind you, I don’t know how long it will last, but am quiet enjoying the different colours for the moment.
Supplies –
Stamp Set – 5th Avenue Floral, Great Friend
Ink – Old Olive, Rich Razzleberry
Cardstock – Whisper White, Rich Razzleberry, Old Olive, Pumpkin Pie
Ribbon – 5/8″ Satin – Pumpkin Pie, 1/4″ Grosgrain – Rich Razzleberry
Punches – 1 3/4 ” Extra Large Circle, Extra Large Scallop Circle, Modern Label Extra Large
Accessories – SU Dimensionals, Tombow Multipurpose Glue, Basic Rhinestones, Gel Pen
Until next time, Enjoy!
Like this:
Like Loading...

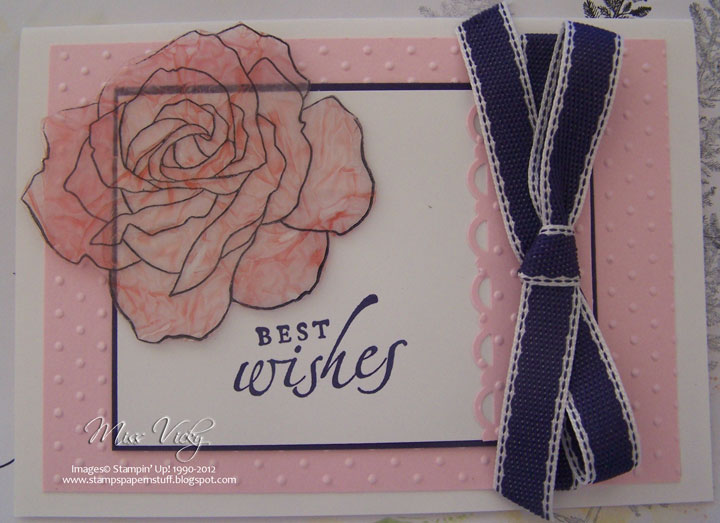
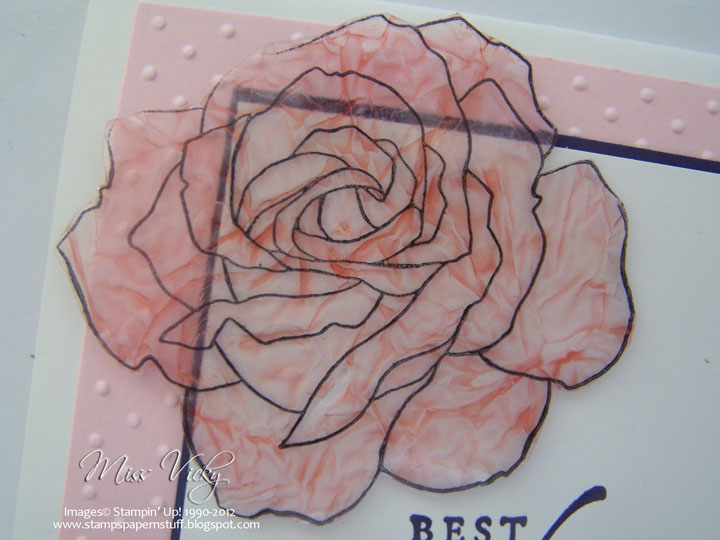 Fifth Avenue Floral makes for a great stamp using the Acetate & Tissue Technique, but with a twist! This is the 2nd card we did in this class.