?
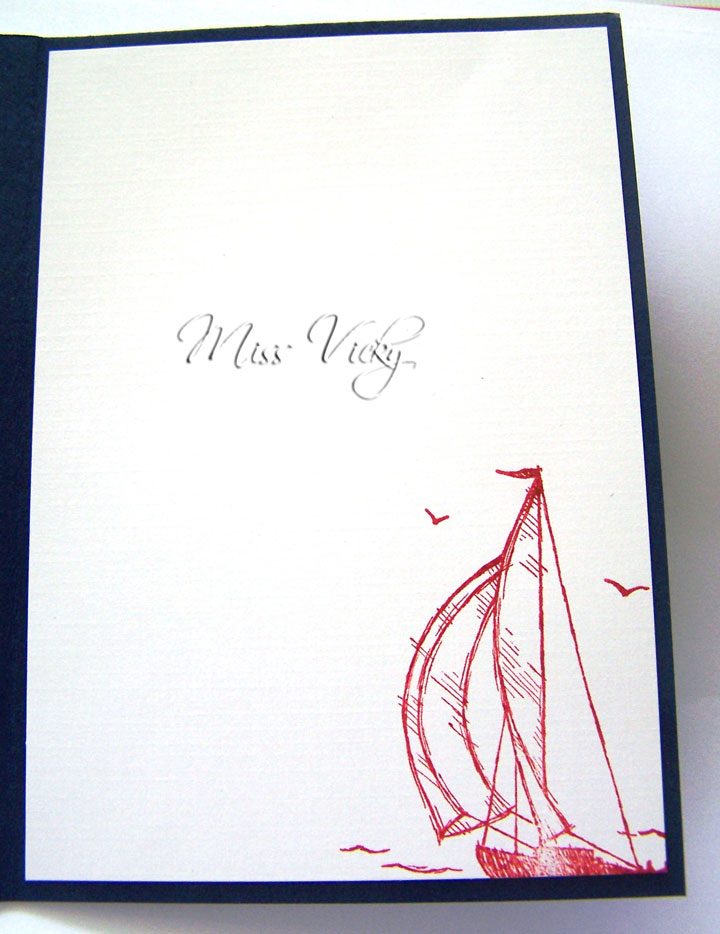 |
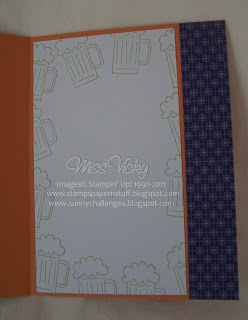
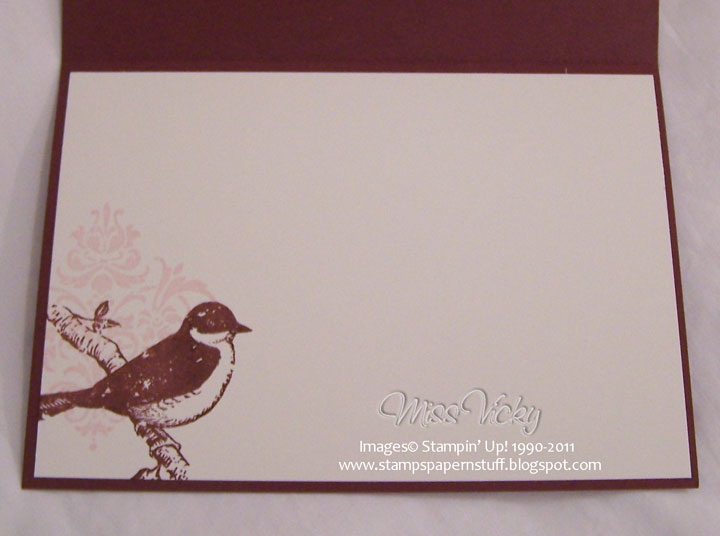
| Inside… |
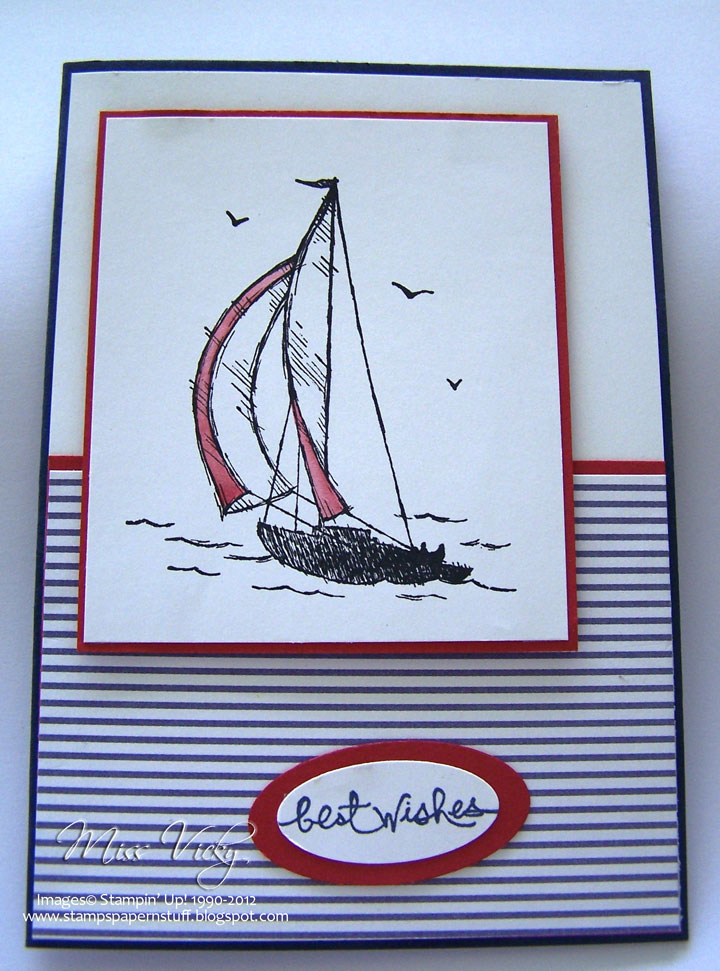
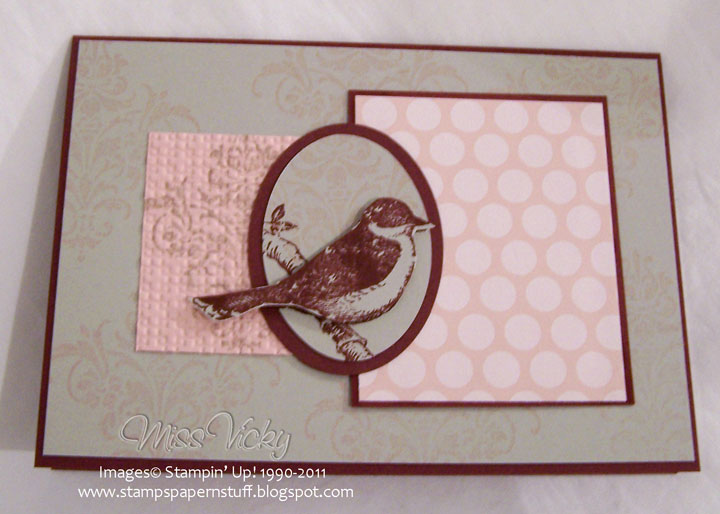
?Our class today at Crafty Creations was to create a male card. These cards can sometimes prove the most difficult to make, but this one come together quiet easy. In fact, I was really surprised at how it all came together. I love the final result!
??
Layer 5 – Whisper White – 3 1/2″ x 3″ or 8.5cm x 7.5cm
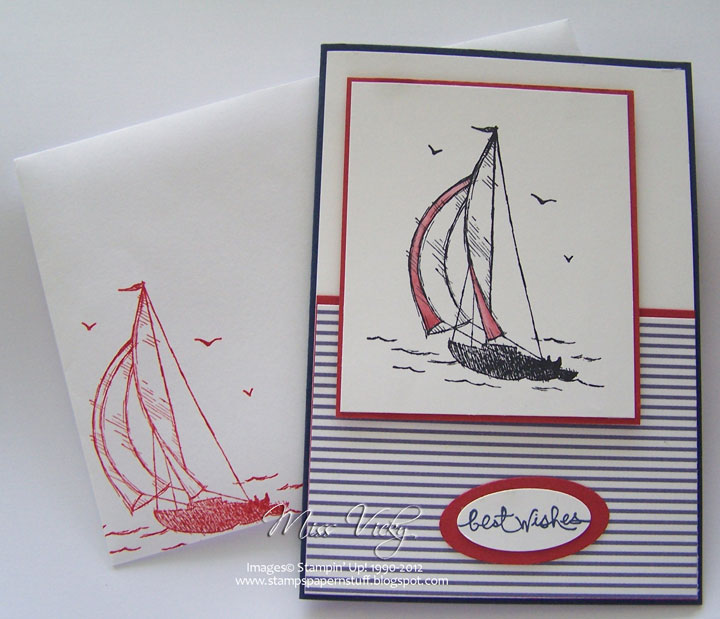
I wanted the card to be Navy & White mostly, with just a touch of Red showing.
I adhered the DSP to the piece of Riding Hood Red leaving just a small amount of the red showing at the top. This was then adhered to the piece of Whisper White prior to adhering to the Base Card – Night of Navy using Snail Adhesive.
?
 |
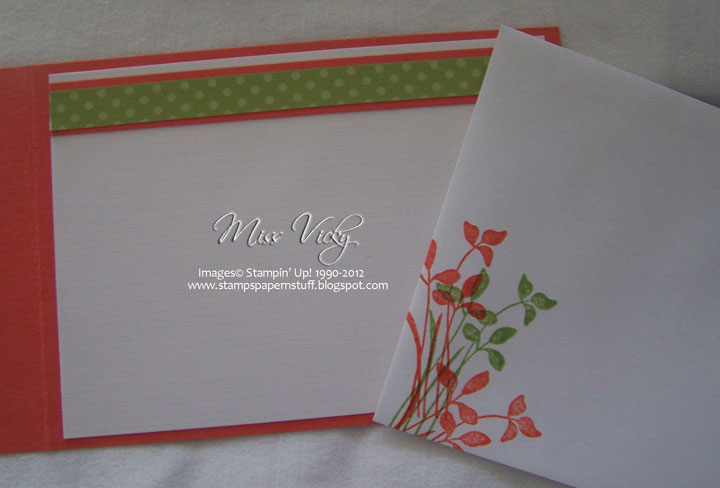
| Envelope… |
?I stamped the image onto Whisper White using Staz-On, allowed to dry & using my Blender Pen & SU Marker – Riding Hood Red, I coloured a little of the sails. This piece was then adhered to Riding Hood Red using Snail Adhesive, before adhering to the Base Card with Stampin’ Dimensionals.
I stamped my sentiment onto Whisper White using Night of Navy Ink, punched with the small Oval Punch, adhered to a punched piece of Riding Hood Red which had been punched with the Large Oval Punch & then adhered to the bottom of the card with Snail Adhesive.
I love the whole look of this card!