was the set we used in Crafty Creations last Friday. In fact, I sold this set in the class.
 On the last Friday of each month, we do a Recipe Page for our book. For those that don’t want to do this page, they are able to create a card. Supplies for both are always the same, as is the layout. That page may be found here.
Measurements –
Base Card – Basic Black – 8 1/4″ x 4 1/8″ or 21cm x 15cm
Layer 1 – DSP – 5 3/4″ x 4″ or 14,5cm x 10cm
Layer 2 – DSP – 2″ x 4″ or 5m x 10cm
Layer 3 – Basic Black – 3″ x 4 1/2″ or 11.5cm x 8cm
Layer 4 – Whisper White – 2 7/8″ x 4 3/8″ or 11cm x 7.5cm
Supplies –
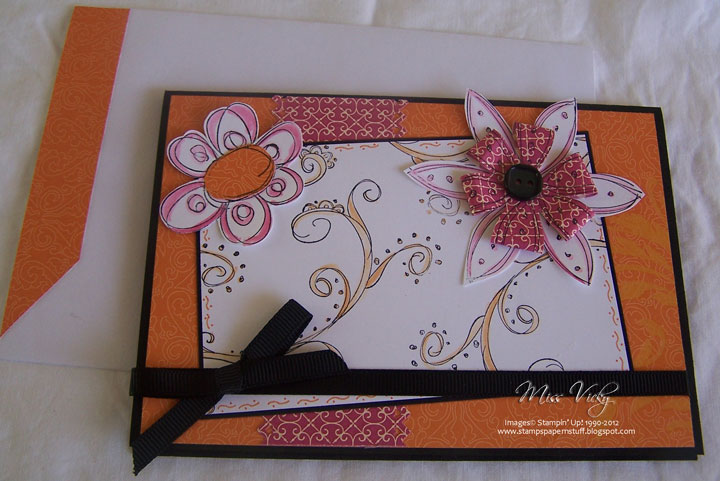
Stamp Set – Scribble This (Retired)
Ink – Staz-On
Cardstock – Basic Black, Whisper White
DSP – Sweet & Sour (Retired)
Punches – Pinking Hearts (Retired)
Ribbon – 1/4″ Grosgrain – Basic Black (Retired)
Accessories – Blender Pen, Stampin’ Up! Markers – Pumpkin Pie, Melon Mambo, Snail Adhesive, Mini Glue Dots
Non-SU – Button
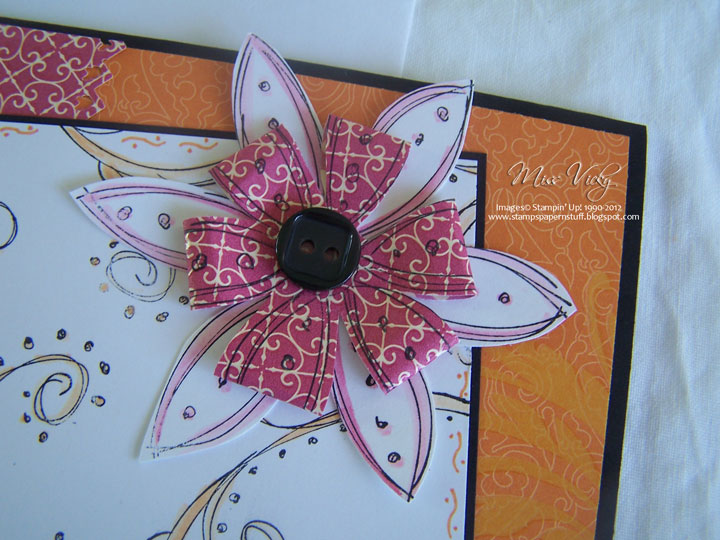
I randomly stamped my images using Staz-On Black Ink onto the smaller piece of Whisper White Cardstock, coloured with my Blender Pen & SU Pumpkin Pie Marker prior to adhering to the smaller piece of Basic Black Cardstock. I also added a couple of squiggley lines around the end of Whisper White with SU Pumpkin Pie Marker.
The smaller piece of DSP was punched along both sides with the Pinking Hearts Punch prior to adhering to the larger piece of DSP. The stamped piece was then adhered to the top of the DSP at an angle, Basic Black Ribbon adhered across the bottom section, ends tucked under, bow tiede & the adhered to the Base Card – Basic Black.
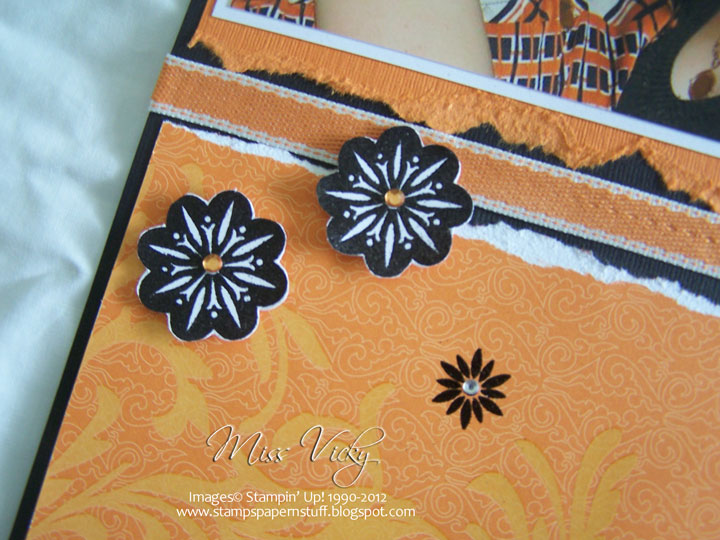
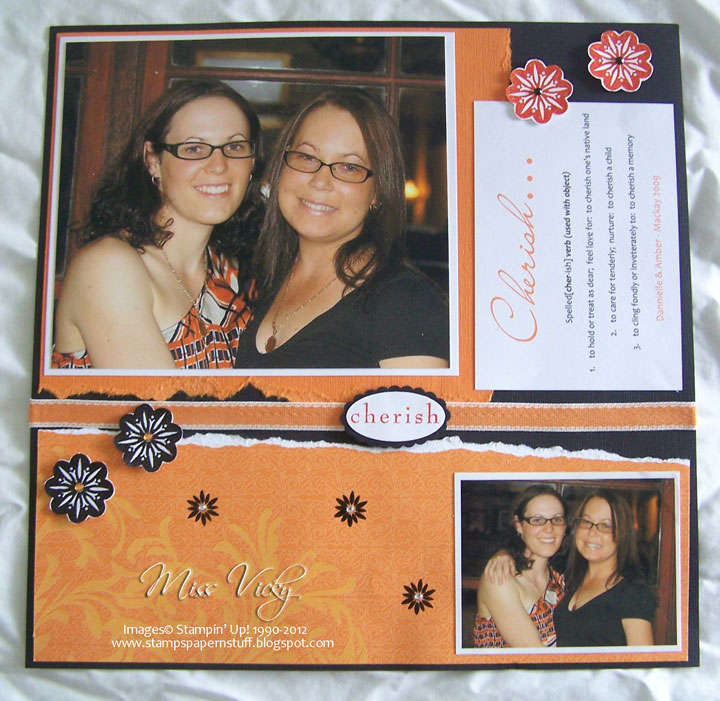
 I stamped the smaller flower image onto a piece of scrap Whisper White & then to a piece of DSP. The larger flower was also stamped onto scrap Whisper White & then a piece of DSP. I coloured the pieces stamped onto Whisper White with my Blender Pen & SU Melon Mambo Marker & cut them out.
The larger flower image stamped onto DSP was cut out, ends tucked under & adhered to the middle of the Whisper White flower image prior to adhering to the card with a Mini Glue Dot. The Button was adhered to the centre with another Mini Glue Dot.
The middle was cut from the stamped DSP flower & adhered to the centre of the stamped Whisper White Image with Snail Adhesive & finally to the card with a Mini Glue Dot.
Until next time, Happy Stampin’