Sweet Ice Cream meets Manly Monday

G’Day Friends,

Thank you for dropping by today.  It is always very much appreciated.

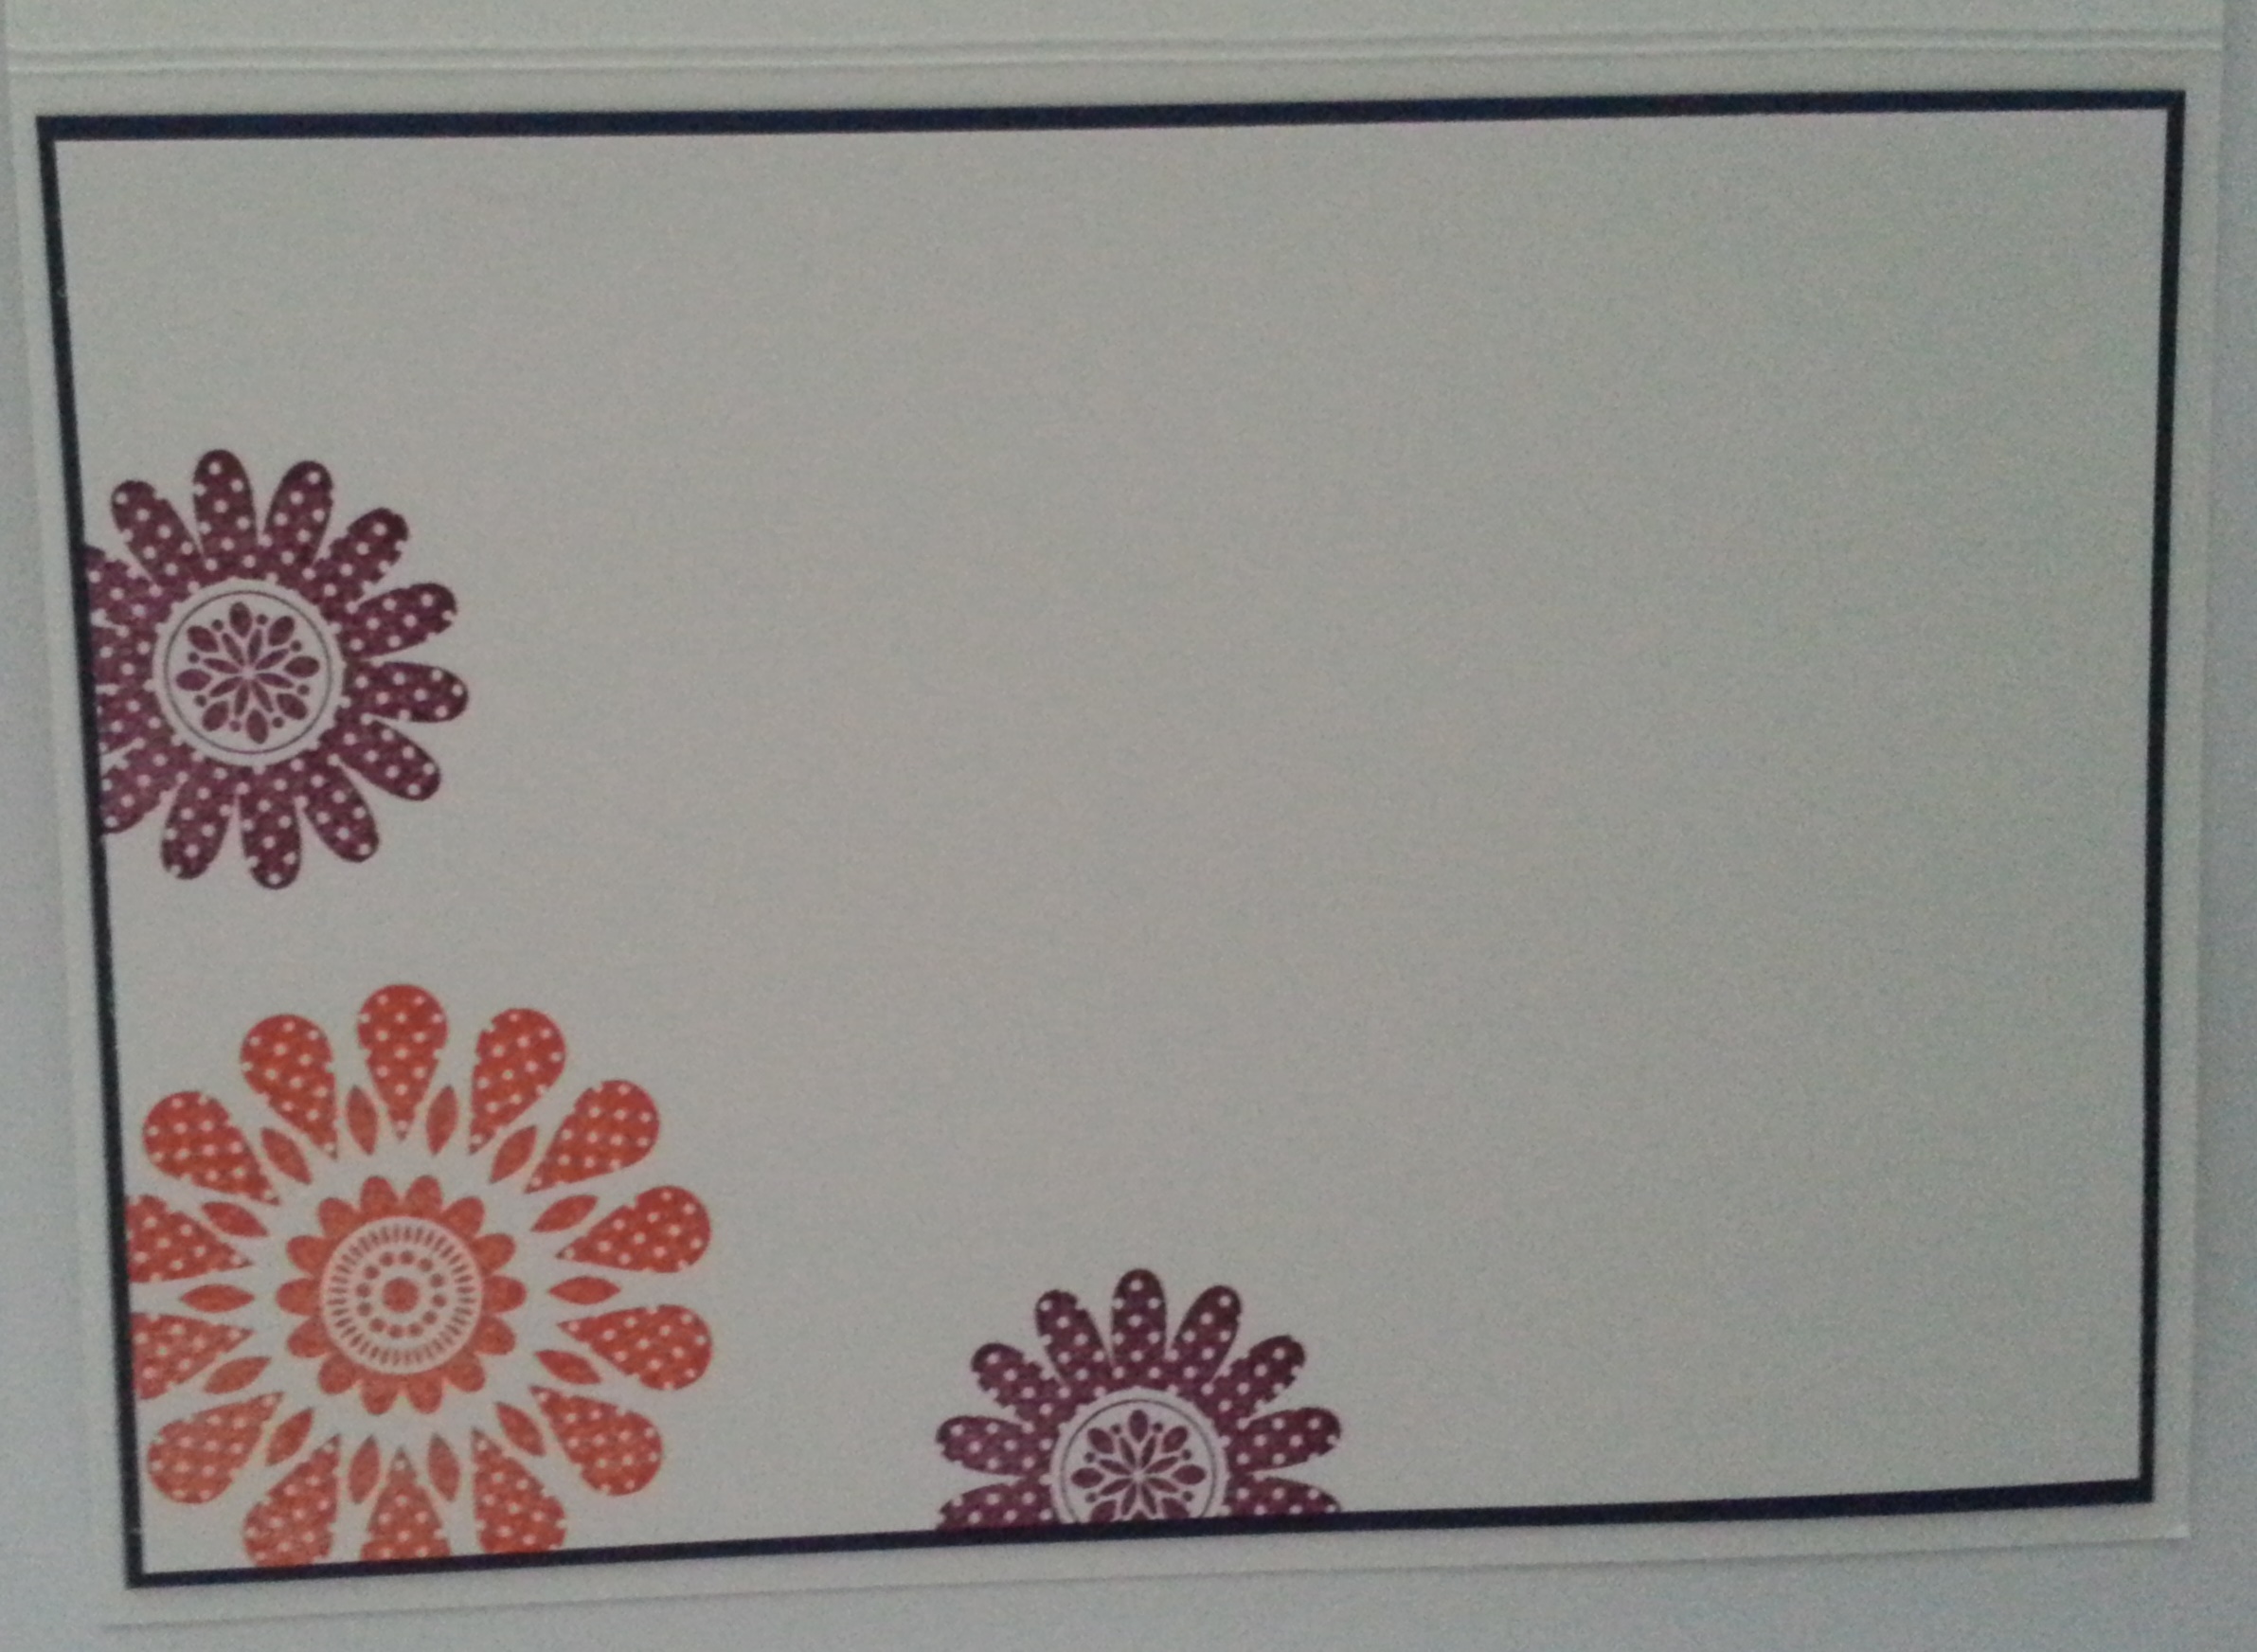
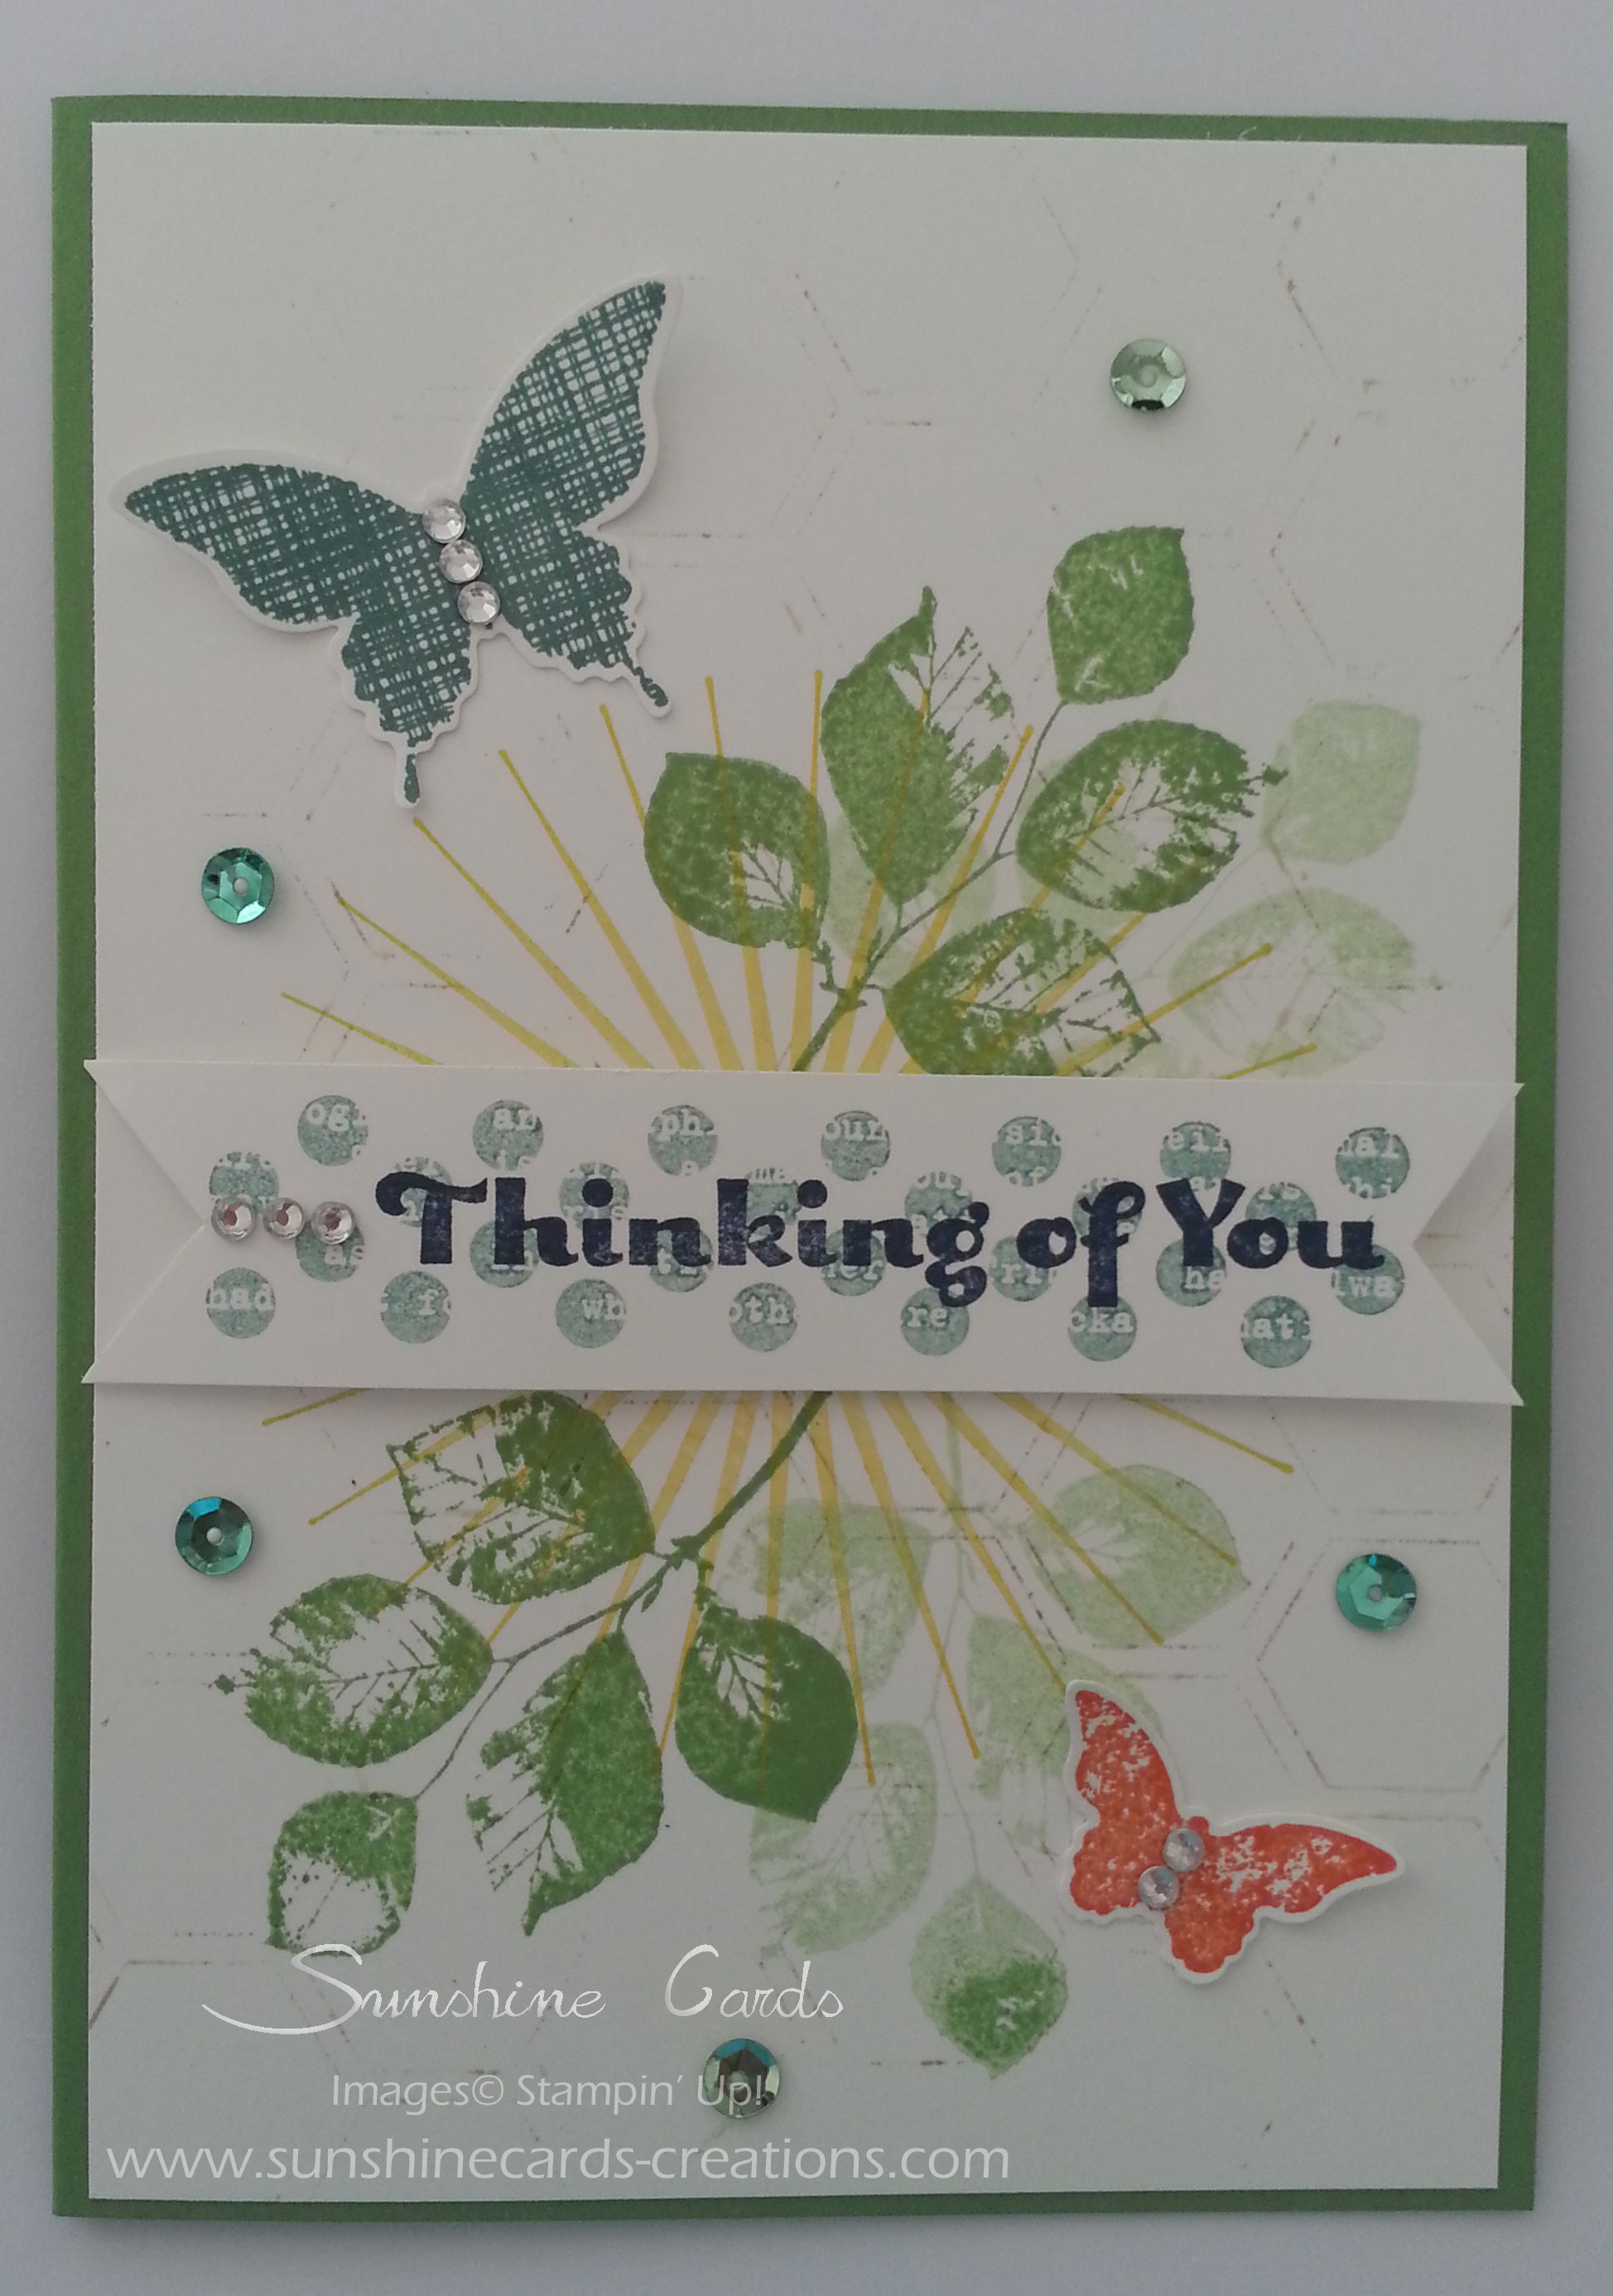
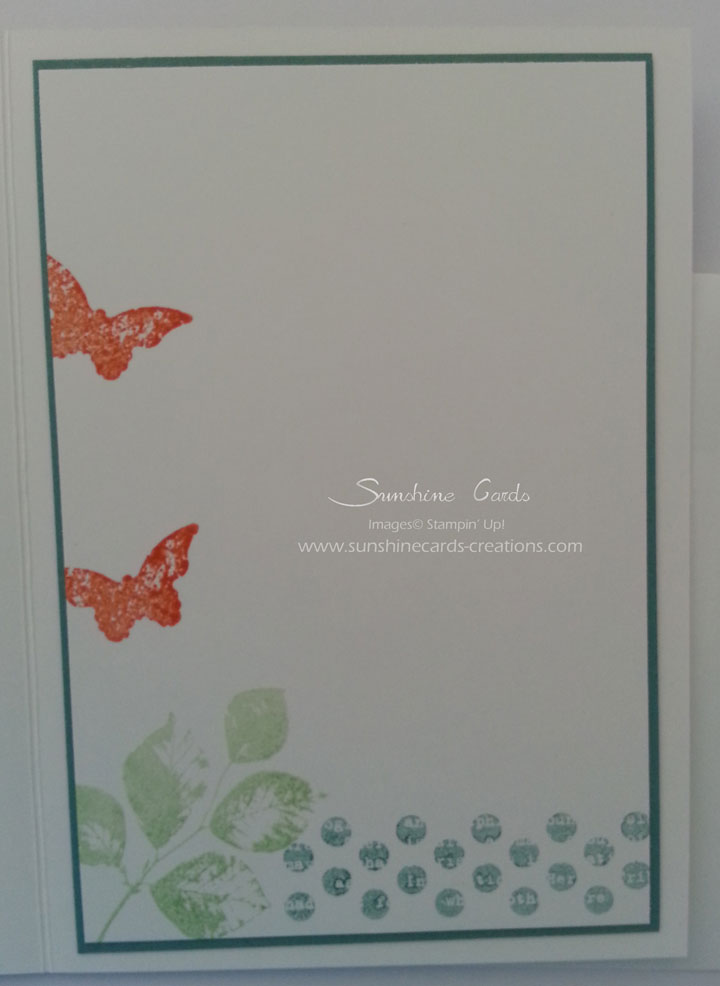
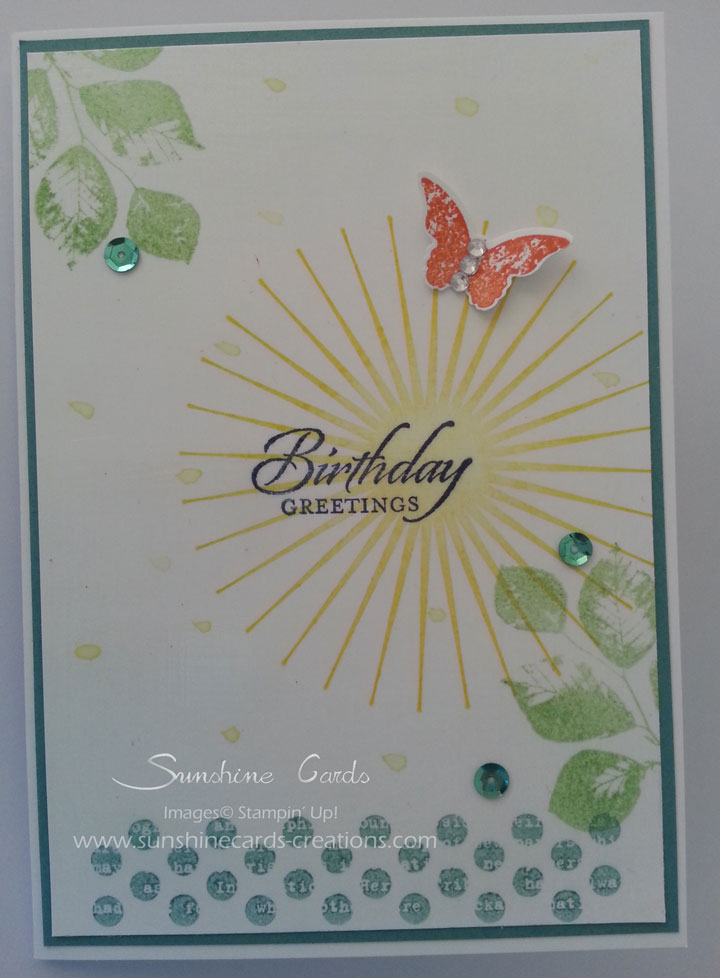
Today’s card is one I created for our December challenge in our World Card Making Group – #WCMG.  You are able to join us if you like.  December is all about a Colour Challenge.

Don’t you just love these colours together?

As the Sweet Ice Cream Stamp Set was already sitting on my desk I decided to go with what was in front of me.  But how to use the colours?

I masked off a small section of a piece of Very Vanilla Cardstock prior to randomly stamping the images in the above colours onto the Cardstock & over the masked area.

Carefully removing the mask, I stamped the sentiment in the middle with Night of Navy Ink.  Now this is perfect timing to use your Stamparatus as it makes things so much easier & you know your sentiment will be straight.

This piece of Cardstock was then adhered to a Night of Navy Base Card.

How easy & simple is this card?

Need supplies to create today’s project at home?  Don’t forget to use December’s Host Code – N4ABBA4T –  if your order is under $250.

Please feel free to contact me if you have any questions.

Happy Stamping!

Embossing Folders

029 (2)Today’s card is another we did in our Technique Class – Embossing Folders.  There are so many ways of using your EF instead of just running it through the Big Shot.  In our class we create 2 cards as well as a sample to take home for your Technique Books.

Next time you dig out your Folders to use on a card, look at it & try & use it a different way.  It will open up a whole new world for you & you will look at your Folders in a different light.

Our Stamp Set was Polka-Dot & Pieces.  Once which I think I purchased in error & had never used, but I love it.  So many possibilities!

In our card today we didn’t actually run our Folder through the Big Shot, instead we sponged different colours inks around the flat side of the folder, sprayed a little water & then pressed it flat onto our card.  Perfect for a background!  The fun part about this was that everyone had a different background, even though we used the same technique!  When I demonstrated the technique, I even got a different background to the one in today’s card.

EFIn fact, I didn’t even do this Technique on Watercolour Paper, it was done on our ordinary Whisper White CS.  I wanted to see how different it would be to use the Whisper White CS & what result I would get.  I must say I am happy with it!


Until next time, Happy Stampin’

Vicky

Supplies used for this card –

Kinda Eclectic #2

Today’s card share is our 2nd card from a couple of weeks ago.043a

Instead of a Fancy Fold for the Base Card, I decided it would be a little different if we did a different fold for the inside. It is a bit of a “WOW” when you open the card & something that the receiver would not be expecting.

We again applied the Technique – Faux Canvas or Linen onto our card.

If you haven’t tried this technique, give it a go as it can be a little addictive.

Until next time, Happy Stampin’

Vicky

Products used to create this card –

Kinda Eclectic

At our Technique Class a couple of weeks ago, we did the great Technique – Faux Canvas.  What a fun & relaxing arvo we had creating our cards. 019a

We used the great stamp set – Kind Eclectic. There are so many fantastic cards over the internet using this set that you can’t help but like it or in my case love it!  So many ideas, so little time!

To learn how to create a card or project with this technique, be sure to click on the page “Technique Tutorials“.  I will be adding more tutorials for techniques we have covered in our class as time goes.

For the inside of my card, I stamped images using Lost Lagoon, Tangerine Tango & Wild Wasabi Inks direct onto Very Vanilla CS before adhering to inside of Base Card – Wild Wasabi.

016aUntil next time, Happy Stampin’

Vicky

Products used to create this card-

SC 058/12…

Our challenge this week is to use Black & White only on our cards as well as going by the sketch.  Usually I don’t have a problem with this sort of thing, but for the life of me, hard a hard time.  Thanks Kris!


Measurements –
Base Card – Basic Black – 8 1/4″ x 5 7/8″ or 21cm x 15cm – Scored in the middle & folded in half
Layer 1 – Whisper White – 5 1/2″ x 3 3/4″ or 14cm x 9.5cm
Layer 2 – Basic Black – 5 3/8″ x 2 1/4″ or 13.5cm x 5.5cm

Supplies –
Stamp Set – Happiest Birthday Wishes (Retired)
Ink – Basic Black, Versamark
Cardstock – Whisper White, Basic Black
DSP – Neutrals Designer Packs (Basic Black)
Punches – 1″ Circle, 1 1/4″ Circle, Scallop Circle, Scallop Border Trim
Embossing Folder – Square Lattice
Accessories – Stampin’ Dimensionals, Simply Scoring Tool, Big Shot, Tombow Multi Purpose Glue, Heat Tool, Embossing Powder – Clear, Bone Folder, Sticky Strip

Technique – Faux Leather

My piece of Whisper White was run through the Big Shot using the Square Lattice Embossing Folder prior to adhering to the Base Card – Basic Black.

Prior to adhering the piece of Basic Black to the card, I applied the Faux Leather Technique to it, punched along one of the edges with the Scallop Trim Border Punch & adhered to the Card with Tombow Glue.

For my Rosette, I cut a 12″ strip of DSP at 1 1/4″ wide, scored with my Simply Scoring Tool, punched along one edge with the Scallop Trim Border Punch & put together with Sticky Strip prior to adhering to the Base Card.

I stamped my sentiment twice onto a scrap piece of Whisper White Cardstock, punched 1 with the Scallop Circle & the middle of the 2nd one with the 1″ Circle Punch.  I adhered the smaller piece to the large piece with a Stampin’ Dimensional prior to adhering to the Rosette with Tombow Multi Purpose Glue.

A very easy & simple card but a couple of different techniques to complete my card.

Don’t forget to pop over to Sunny Challenges & Creations to check out what Kris, Gwen, Christine & Carole  have created for you.  We would love for you to play along as well.

Have a great week with heaps of stampin’


5th Avenue….

G’day Stampers,
I made a test card last night using one of the techniques which is on offer this month – Blurred Watercolouring.  This is a very easy, quick & fun technique to do.  This is not the card we will be making, but just wanted to show you the end result!
Please contcat me if you would like to attend one of my classes as I still have spaces available – vickiawright@bigpond.com
First class starts tomorrow @ 10.00am – BYO Adhesives
Supplies –
Stamp Set – 5th Avenue
Ink – Basic Black, Riding Hood Red
Cardstock – Very Vanilla, Basic Black, Rich Razzleberry
Accessories – Snail Adhesive, Aqua Painter, Grosgrain Ribbon – Rich Razzleberry
Until next time
Enjoy!

Male Card…

G’Day Stampers,
It has been a couple of days since my last post.
This is one of the cards we made Wednesday, using the great & effective Technique – Crayon Resist.  We also stamped off to create the faint shells in the background.
Although it was created for a male, it could easily be a female’s card as well.
Supplies –
Stamp Set – Seaside, Bitty Birthday
Ink – Creamy Carmel, Ballet Blue, StazOn
Cardstock – Chocolate Chip, Whisper White, Ballet Blue, Glossy White
Punches – 1 3/8″ Square, 1 1/4″ Square
Accessories – Snail Adhesive, Grosgrain Ribbon – Chocolate Chip, Stamping Sponges, Crayons
Don’t forget, if you would like to learn new techniques, please see the Classes at the top for times & dates.

Until next time, Enjoy!

SSSC64 – Congratulations…..

G’day Stampers,
It has been a couple of days since my last post, but had some great news last Saturday night & as a result this is the card I come up with using the sketch SSSC64 from “The Sweetest Thing” – http://www.kgiron.blogspot.com

Knowing that red was a must and what goes with red, but black & white!  Then not being able to decide between the sets “Embrace Life” or “Eastern Blooms” –  the flower from “Eastern Blooms” winning out in the end, as I just love how the Heat Embossing Technique works on this flower.
I’ve changed the layout of the flowers a little.
Card –
Supplies –
Stamp Set – Eastern Blooms, Wonderful Words
Ink – Basic Black, Versa-Mark
Cardstock – Real Red, Basic Black, Whisper White
Accessories – Snail Adhesive, Pretties Kit, 2-Way Glue,
3/4″ Polka-Dot Grosgrain Ribbon*, Embossing Buddy,
Powder Tray, Embossing Powder – White, Heat Tool
* Summer Mini-Catalogue 2010
Congratulations Dannielle & Chis!
Enjoy!

Gift Cards….

My 2nd post for the day – 4 small gift cards………. Using SU “Embrace Life”
Gift Cards –
Cose Up –
Supplies –
Stamp Set – Embrace Life
Card StockSoft Suede*, Whisper White
Ink – Chocolate Chip, Melon Mambo*
Punch – Eyelet Border
Accessories – Bone Folder, Snail Adhesive, Aqua Painter
 * Autumn/Winter Mini-Catalogue

I’ve created a “Faux Tile” look for the cards – see close up.

These make very quick and easy Gift Cards/Tags

Until next time, Enjoy!

Always…

G’Day Stampers,

This is one of the cards we did in our Technique class today – “Rock n Roll” – Tutorial below….

The colours – YoYo Yellow – is way out of my comfort zone, but hey you have to try these colours & surprise, surprise, I quiet like the end result!

Again, I’ve not stampes a greeting.  This way, you can either include a greeting just prior to posting or leave blank.


Closed –
Open –

Supplies –
Stamp Set – Always
Ink – YoYo Yellow, Chocolate Chip
Cardstock – Whisper White, YoYo Yellow, Chocolate Chip
DSP – Chocolate Chip
Punches – Eyelet Border
Accessories – Snail Adhesive, Glue-Dots
Non-SU – Rhinestones

Instructions –


1. Stamp image onto light-coloured ink pad

2. Press edges of stamp in a rolling motion onto darker ink pad, being careful not to ink the centre of the stamp


Tip –
Always use the lightest coloured ink first to avoid getting dark ink on your light ink pad

Until next time, Enjoy!