Hello Fellow Stampers,
I thought I would post a little ditty in ref to our bits & pieces of left over cardstock.
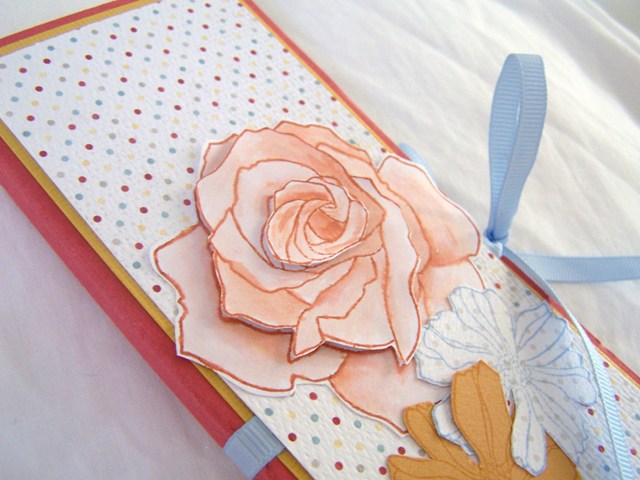
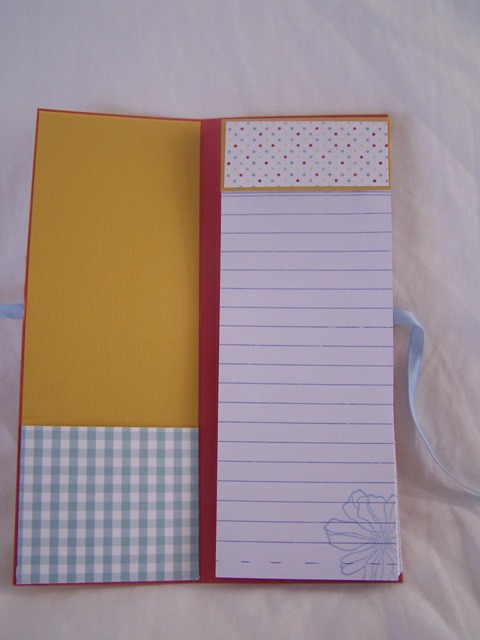
I’ve decided to do a little project with my left over “stuff”, but more of that later.
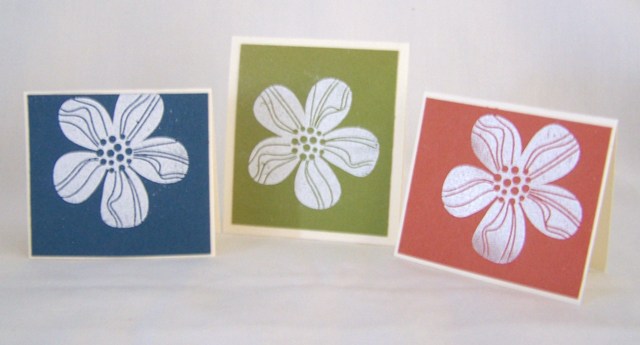
Sample 1
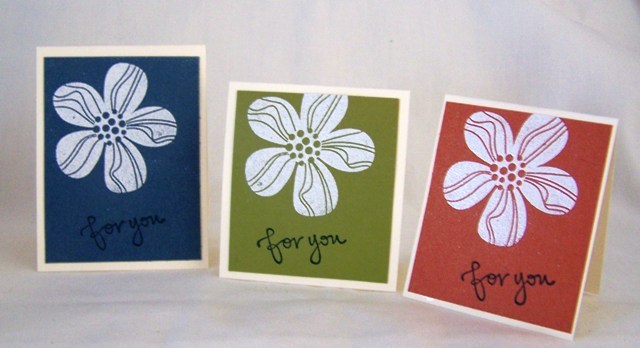
Sample 2
Supplies –
Stamp Set – Eastern Blooms, Great Friend
Ink – Not Quite Navy
Card Stock – Not Quite Navy, Old Olive, Really Rust, Very Vanilla
Accessories – Anywhere Glue Stick, Heat Tool, Stampin Emboss Powder – White
How easy is this! Doesn’t matter what size the little cards are, they always come up great! In fact, the more varied the sizes, the better I like them!
No Very Vanilla Cardstock has been hurt in this project, only the coloured Cardstock – Earth Elements – and they were from my scraps.
I then used the Embossing Technique for the front. Doesn’t require anything else.
Find this Technique Here
I like to make a fresh batch – sounds like cooking. Opps, I forgot, I don’t cook – of small gift cards every 2/3 weeks which I give to my customers along with their orders. I try to cater for their tastes in colours, etc as not everyone likes the same thing!
Not only that, I am totally out of my comfort zone by using the “Earth Elements” but I love the way they have come out!
One more thing, Stampin’ Emboss Powder would have to be the greatest powder I have ever used! It is so fine & always comes out so lovely! I love watching the heat changing the texture!
Tip – As long as I am able to punch the smallest circle from cardstock/DSP, I NEVER toss any of it out.
Make sure you check back in a couple of days to view my little/big project!
Until tmw, have a great night
Vicky